The plans below will walk you through all of the information needed to create your own Dancensor
Key terms
Linux is an open source operating system written by Linus Torvalds, The source code may be reused by anyone and from this freedom and flexibility arrive many flavors of Linux.
Udoo is the name of a company who created the computer that houses both the Ubuntu Linux OS and the Arduino Microcontroller. These form the brain of the Dancensor.
Ubuntu is a flavor of Linux and the Ubuntu Studio is a release of that flavor, tailored for use with audio applications.
VNC or Virtual Network Computing is a protocol allowing a user to remotely access a computer to administer to it without being physically connected.
This is the computer that will run the Digital Audio Workstation DAW and receive the wireless MIDI signals sent out by the Dancensor.
Steps for Linux, Ubuntu, Udoo
Download the custom image file Ubuntu Studio 12.04 Dancensor.img and follow the instructions on the Udoo website for creating a bootable micro SD card from image. Use the custom image I have made available for download on this site with working MIDI, Pure Data Extended and QmidiNet pre-installed. (The disc image / Linux OS I have compiled is for the Udoo quad core only and will not work with the single or dual core version.)
Below is the Ubuntu Distribution used as base for custom image
The first time you set up your Udoo computer for the Dancensor you will need to connect to an HDMI port to configure the wireless networking and VNC settings. Also connect with HDMI anytime you wish to use the Udoo computer as a standalone computer for web browsing, E-mail, or many other common computer tasks.
The first thing to configure on your Ubuntu 12.04 Studio (Udoo) computer is the wireless networking. If possible have a wireless network solely for the Dancensor and host computer. The wireless network icon is located in the upper right hand side of the Ubuntu 12.04 desktop you can click on the icon to access the settings to configure your Udoo computer to connect to the network.
I have already installed and configured VNC server to run at startup on the Udoo /Dancensor computer however to access VNC on the DAW (Host Computer) you must download and configure a VNC viewer for the DAW (Host computer)
Instructions on configuring DAW (Host computer VNC) the video starts in the middle, the first part has already been accomplished and is part of the custom Disc Image you downloaded for the Ubuntu installation to MicroSD
For security purposes you must change the password for tightVNC already running on the Linux OS, below is a link to the steps needed to change password
Key terms
A patch is what a Pure Data file is called. You can combine a patch with sub patches to create a multilayer abstraction.
Pduino is a patch written by Hans Christoph Steiner. It is paired with the Standard Firmata library loaded on the Arduino which allows for General Purpose Input & Output GPIO pins of the Arduino to be programmed by Pure Data visual programming language instead of the native Arduino programming language, which is based on C/C++
Steps for Pure Data
Pure Data is an open source visual based programming language for audio and MIDI. The Pure Data Floss Manuals are filled with information on Pure Data. There is also an excellent and in depth youtube series by Dr. Rafael Hernandez. That although deals with some commands we won’t be using in the Dancensor directly it gives a great presentation of what Pure Data is and how to accomplish programming with Pure Data.
This patch may be downloaded, used and edited as needed for your custom environment.PD Patches
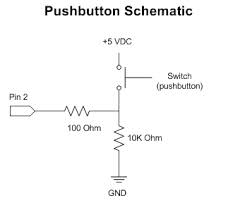
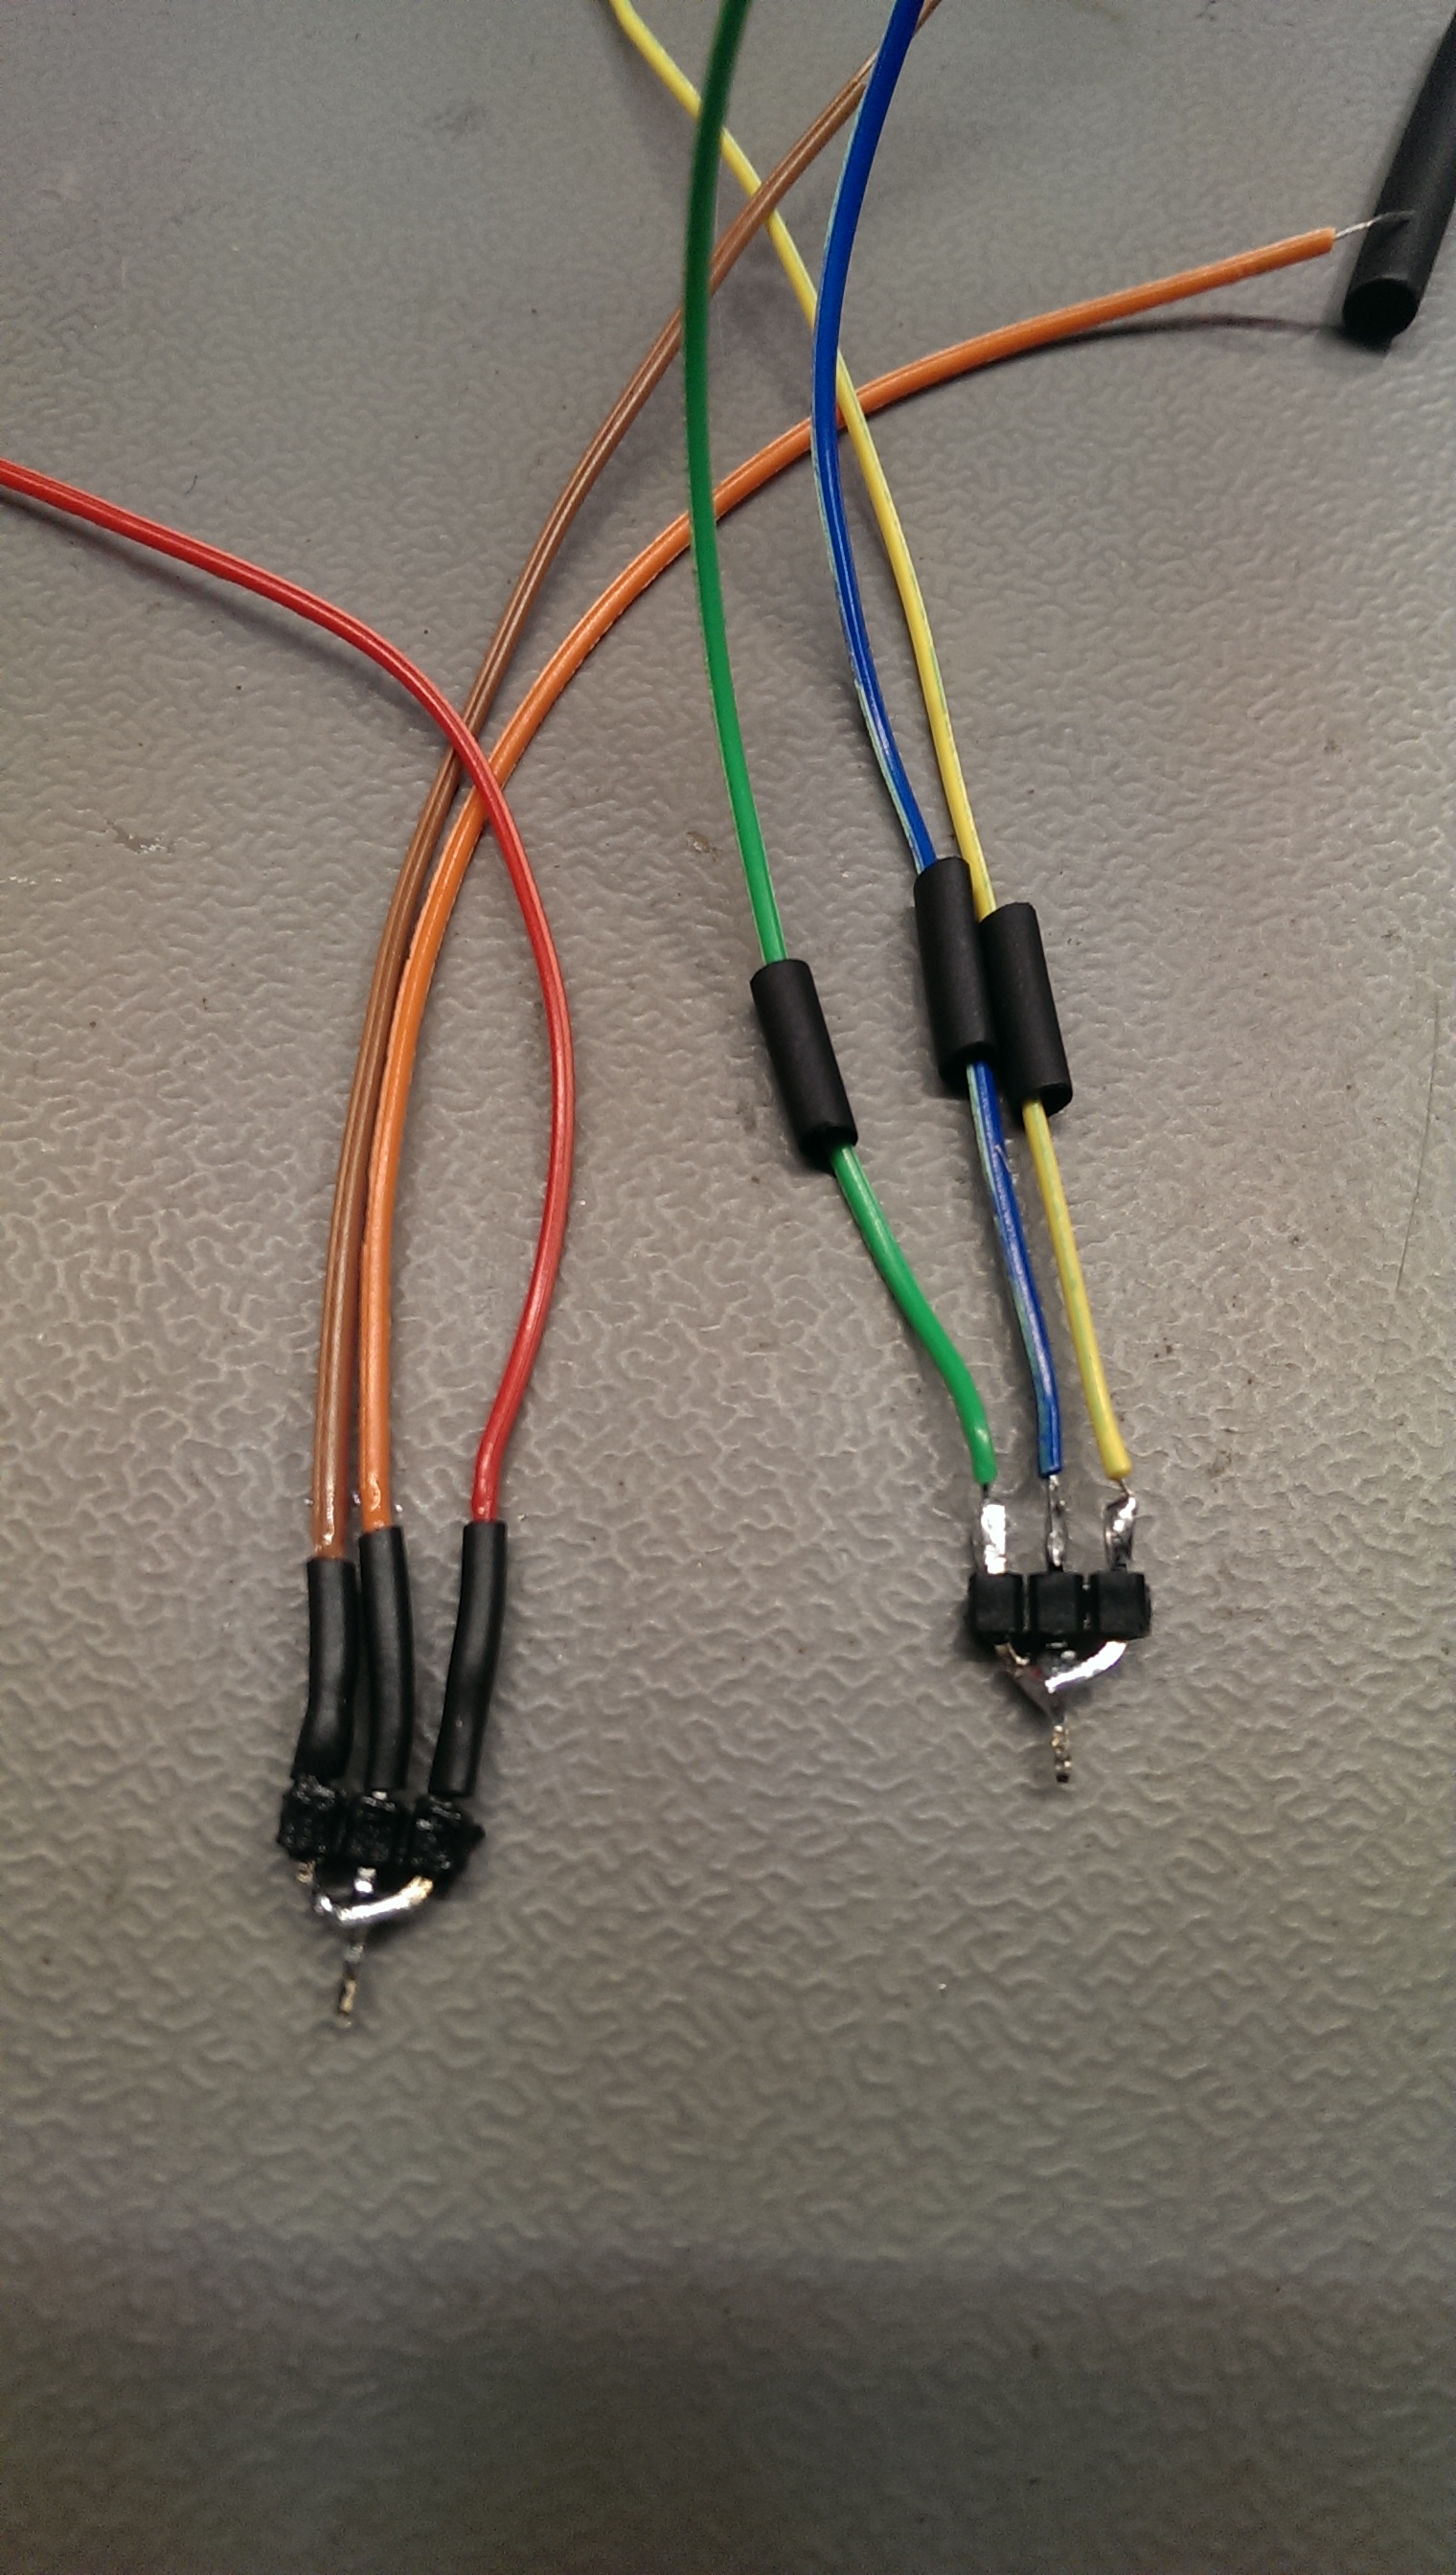
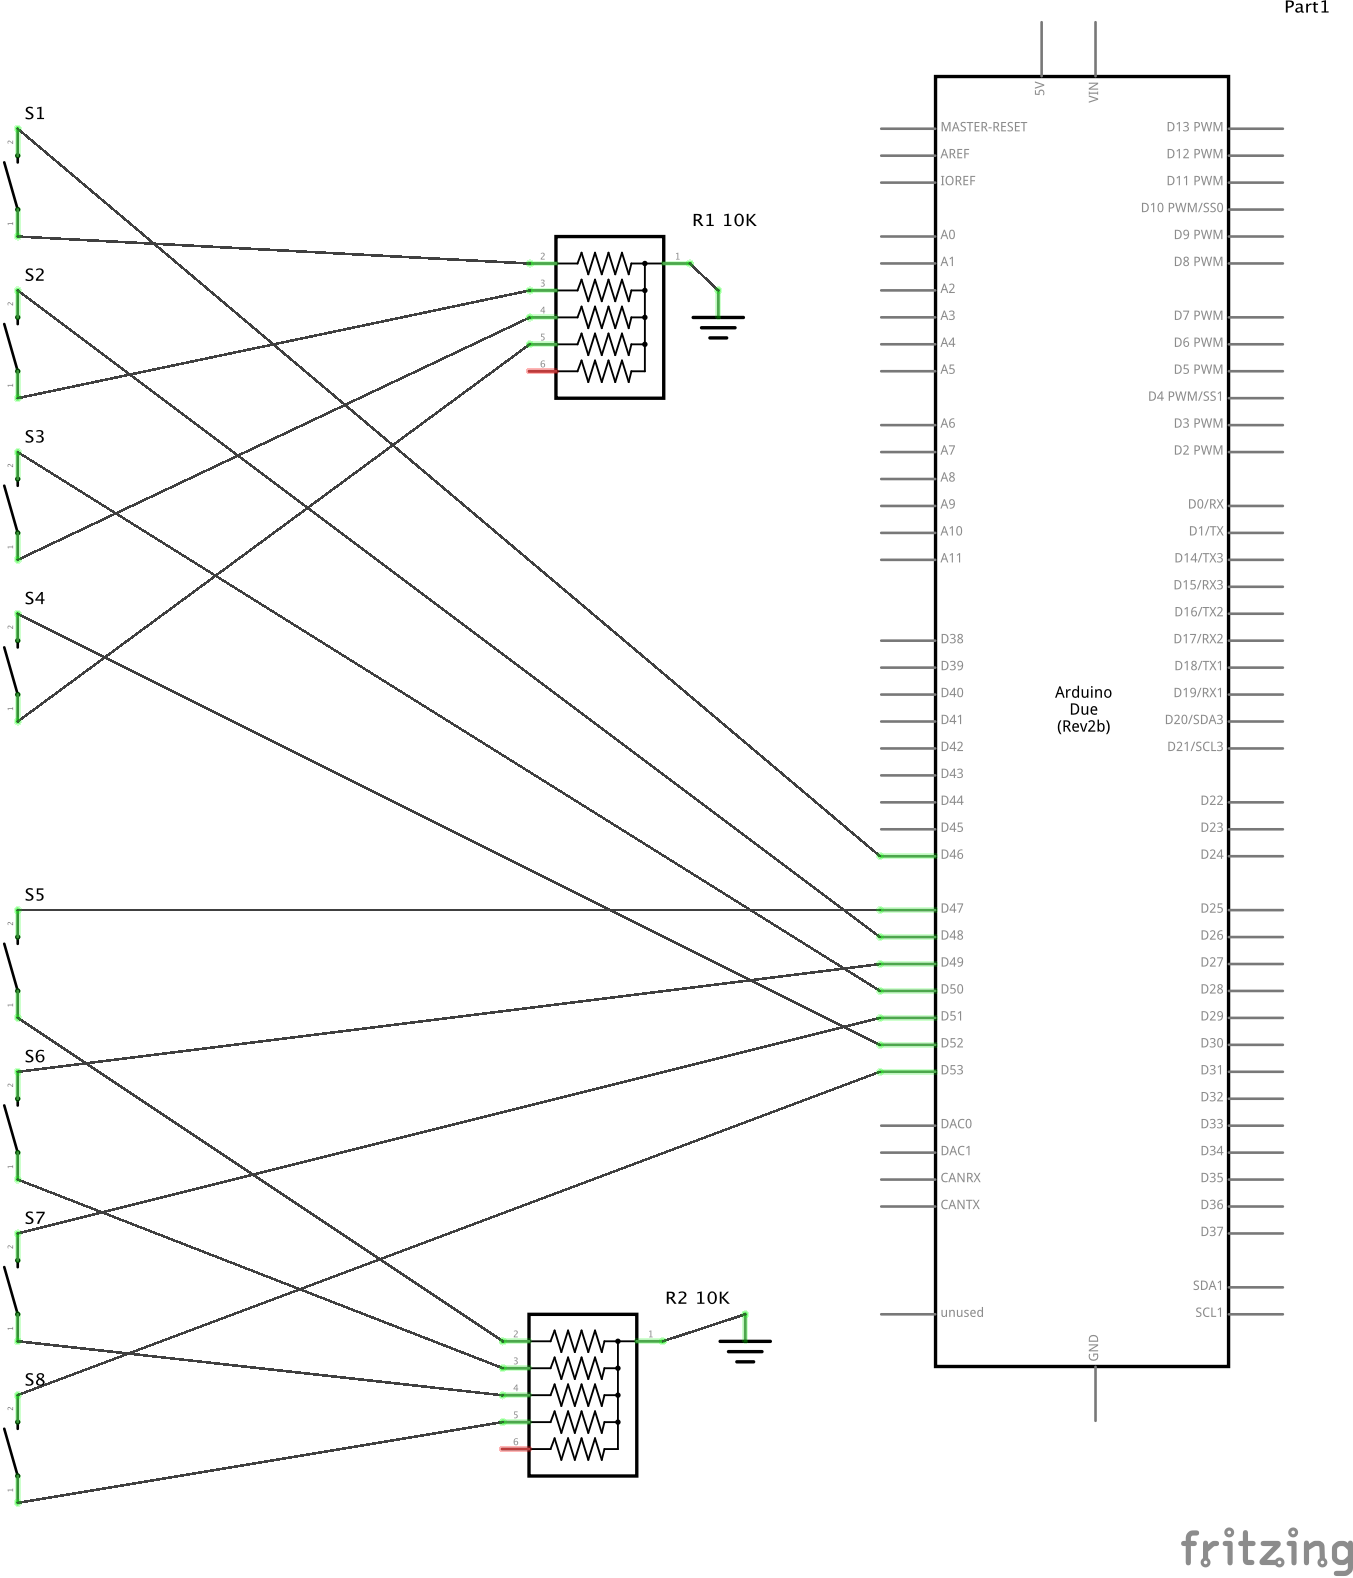
Schematics
Schematics for array 1, 2, & 3
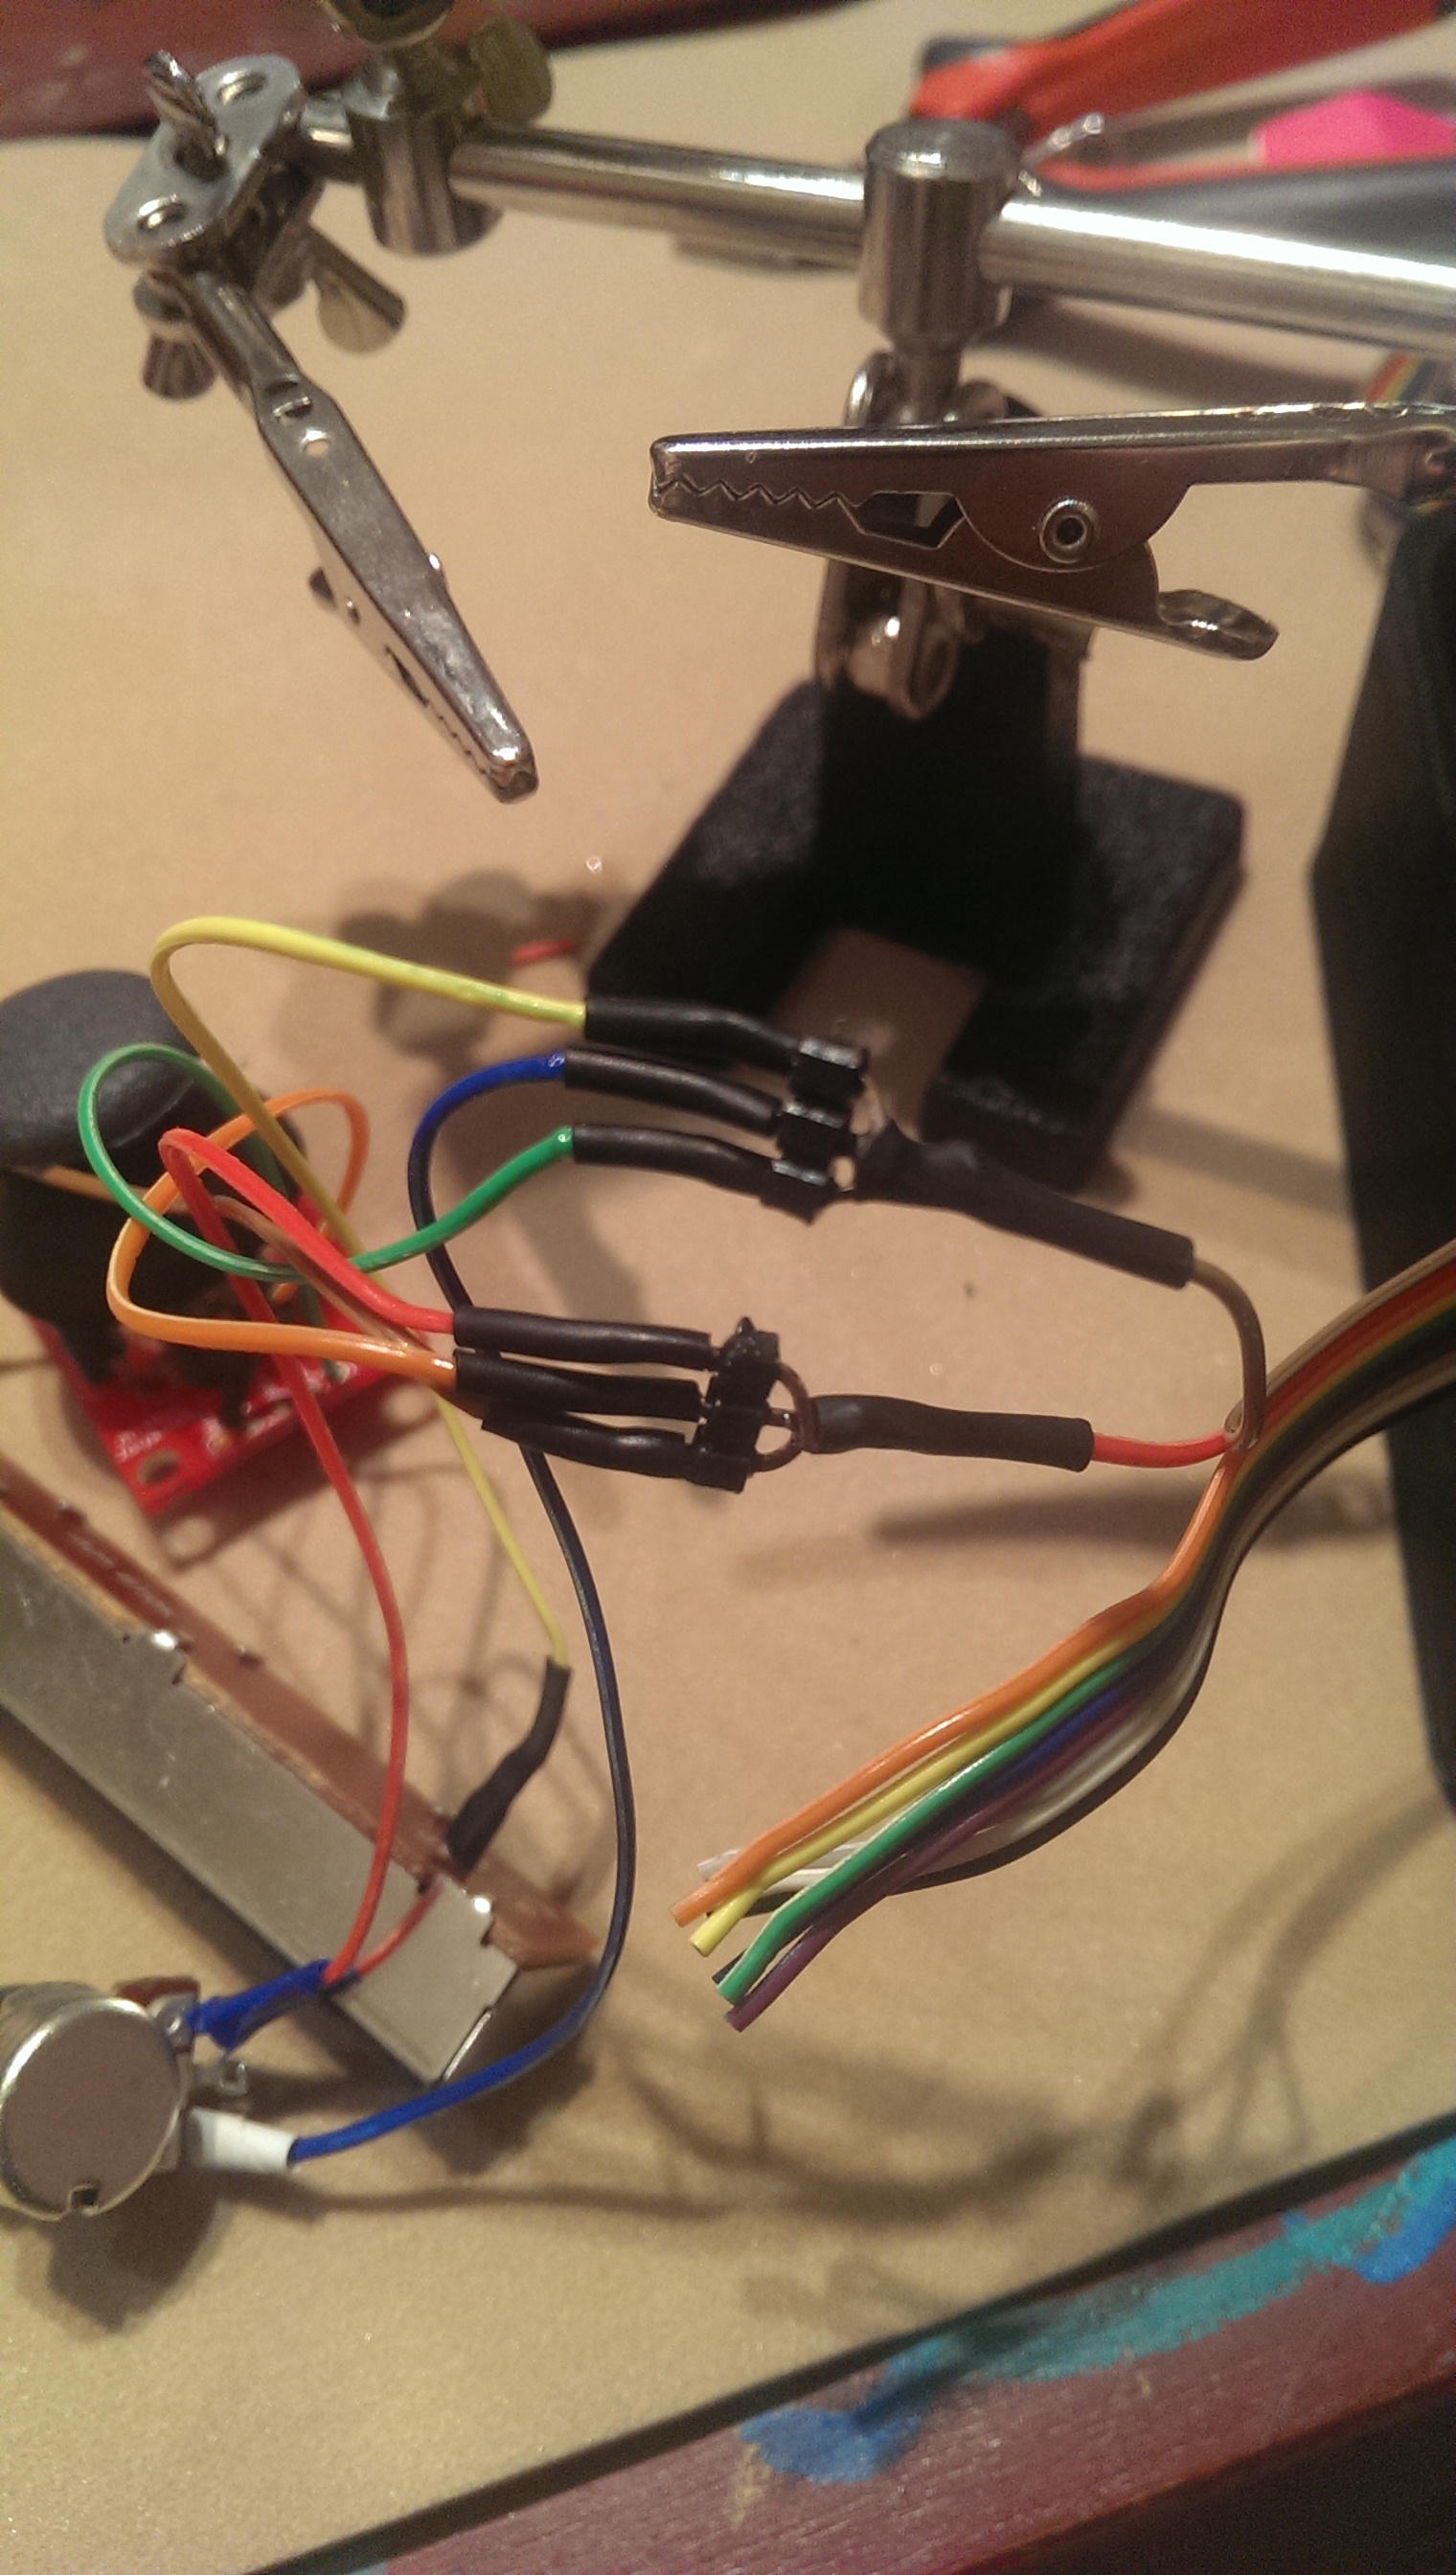
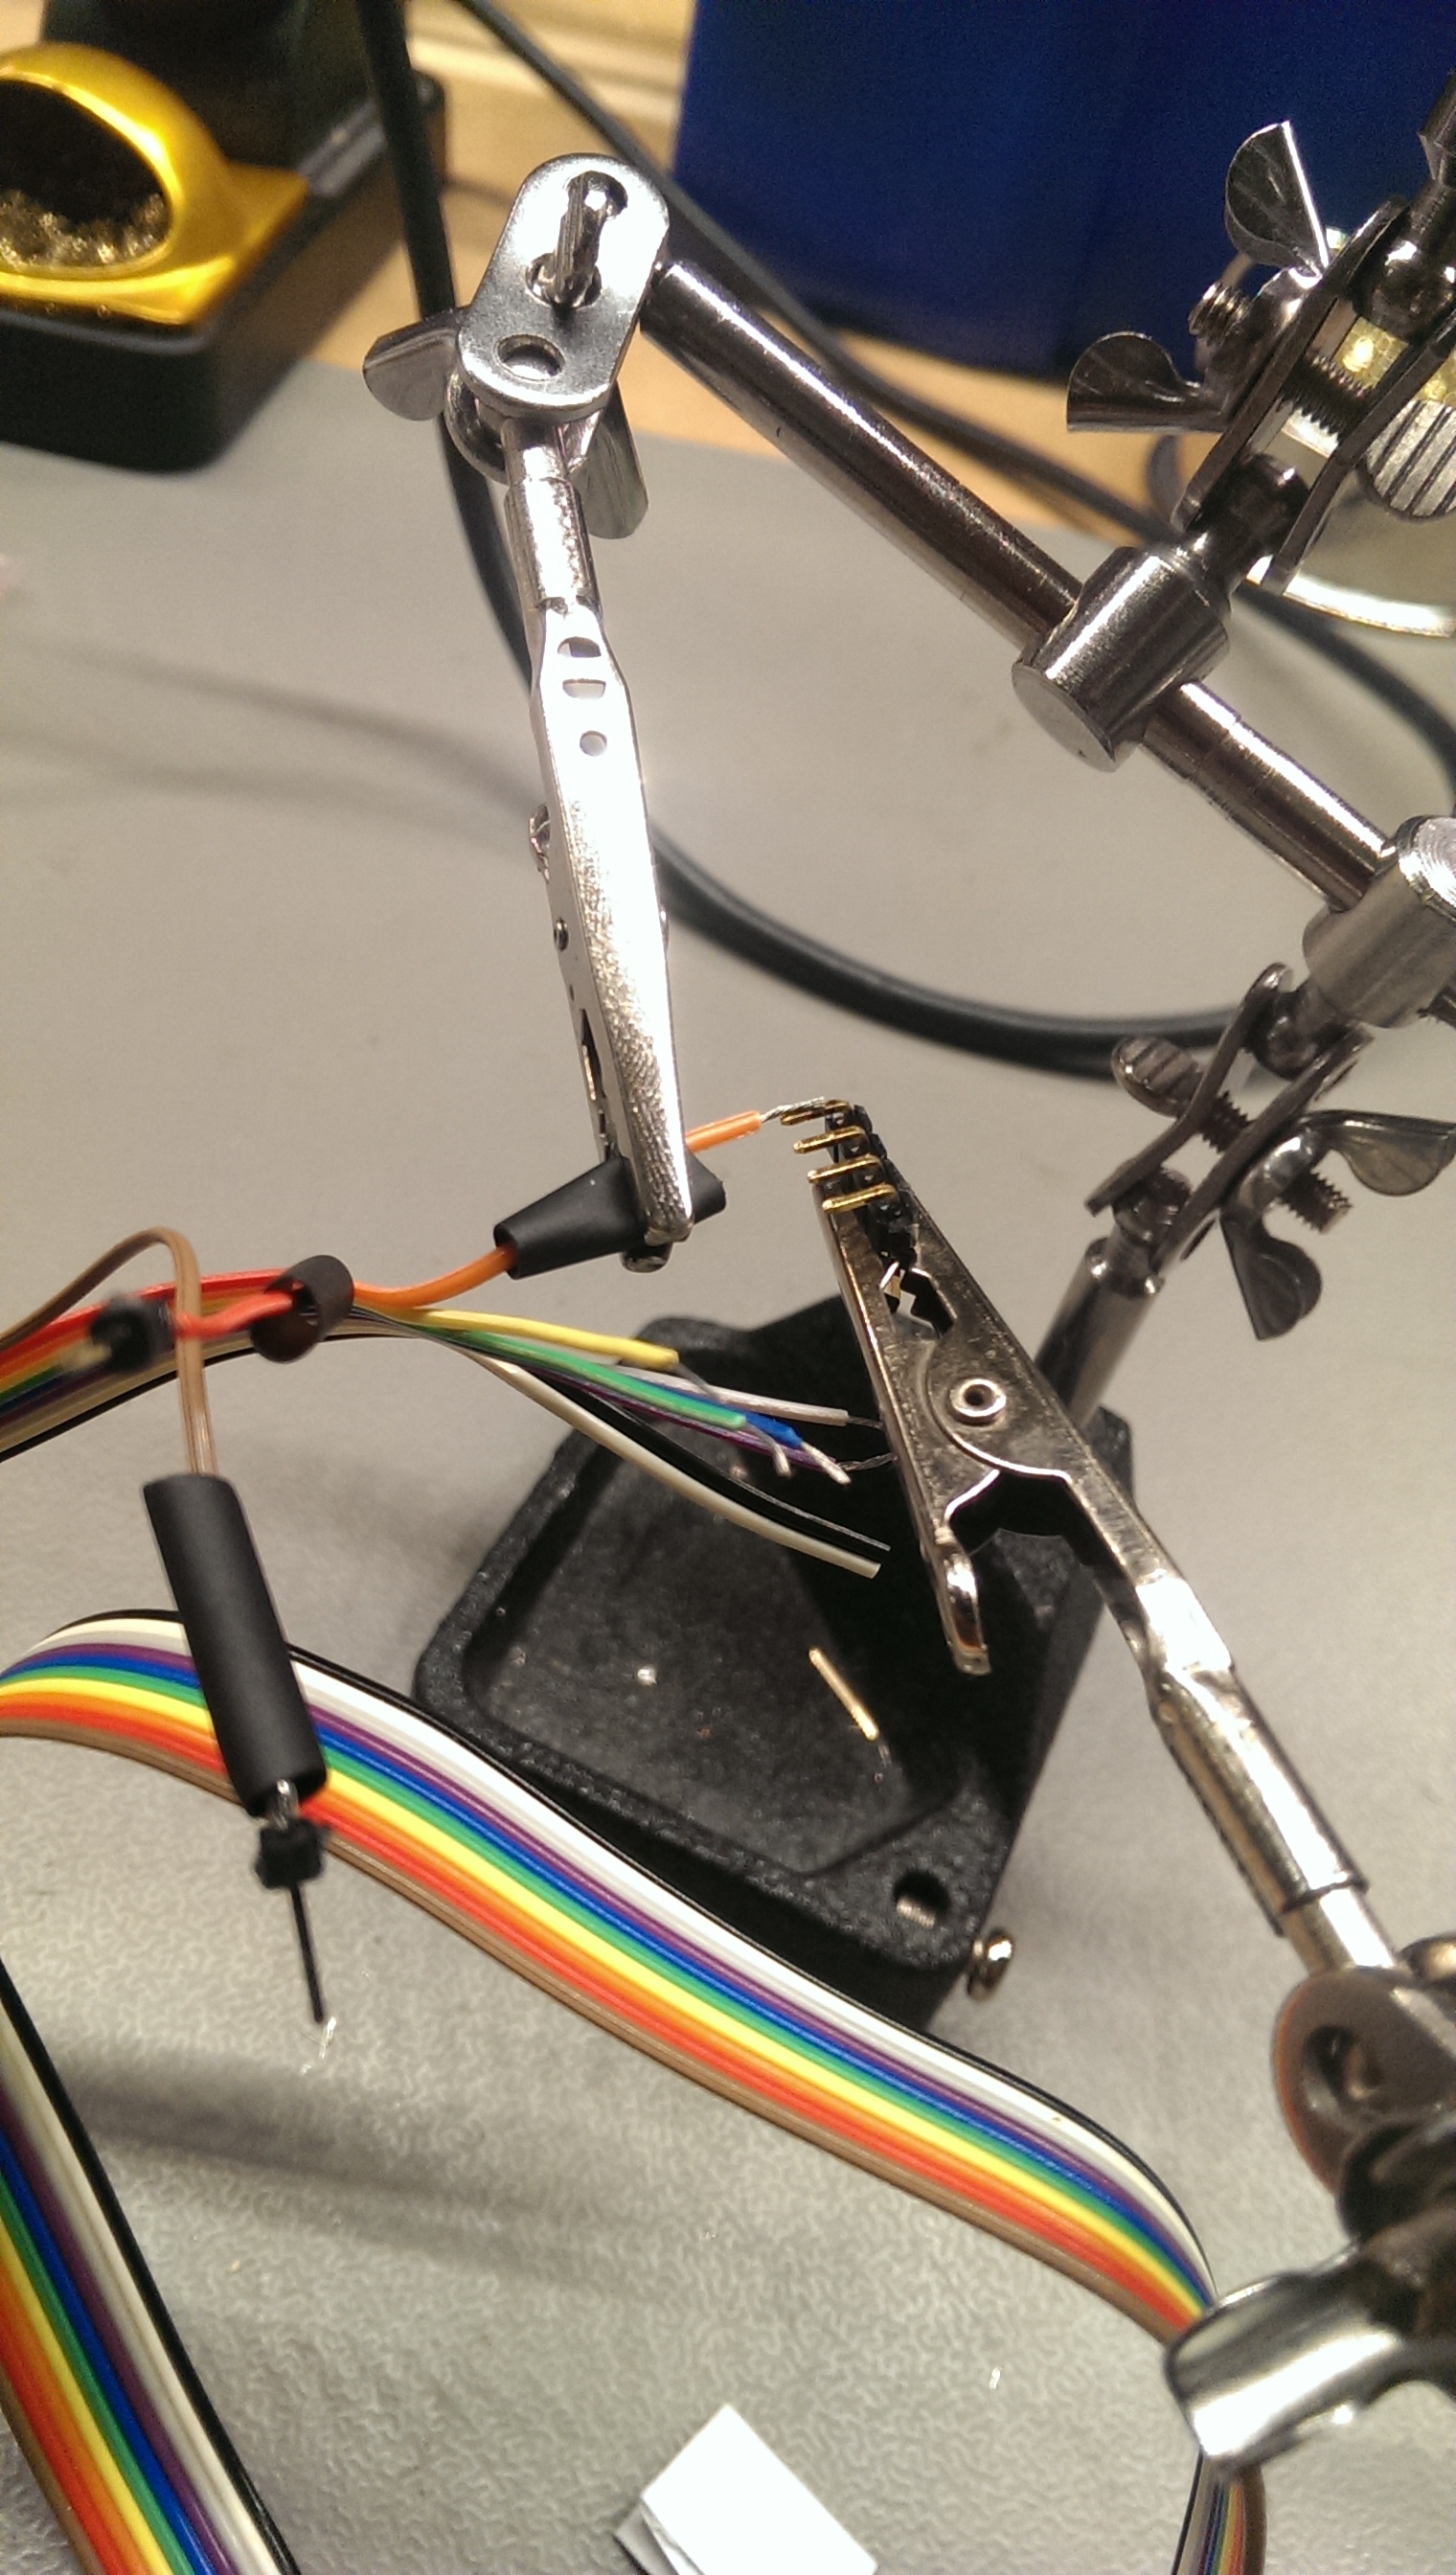
Supplies Needed
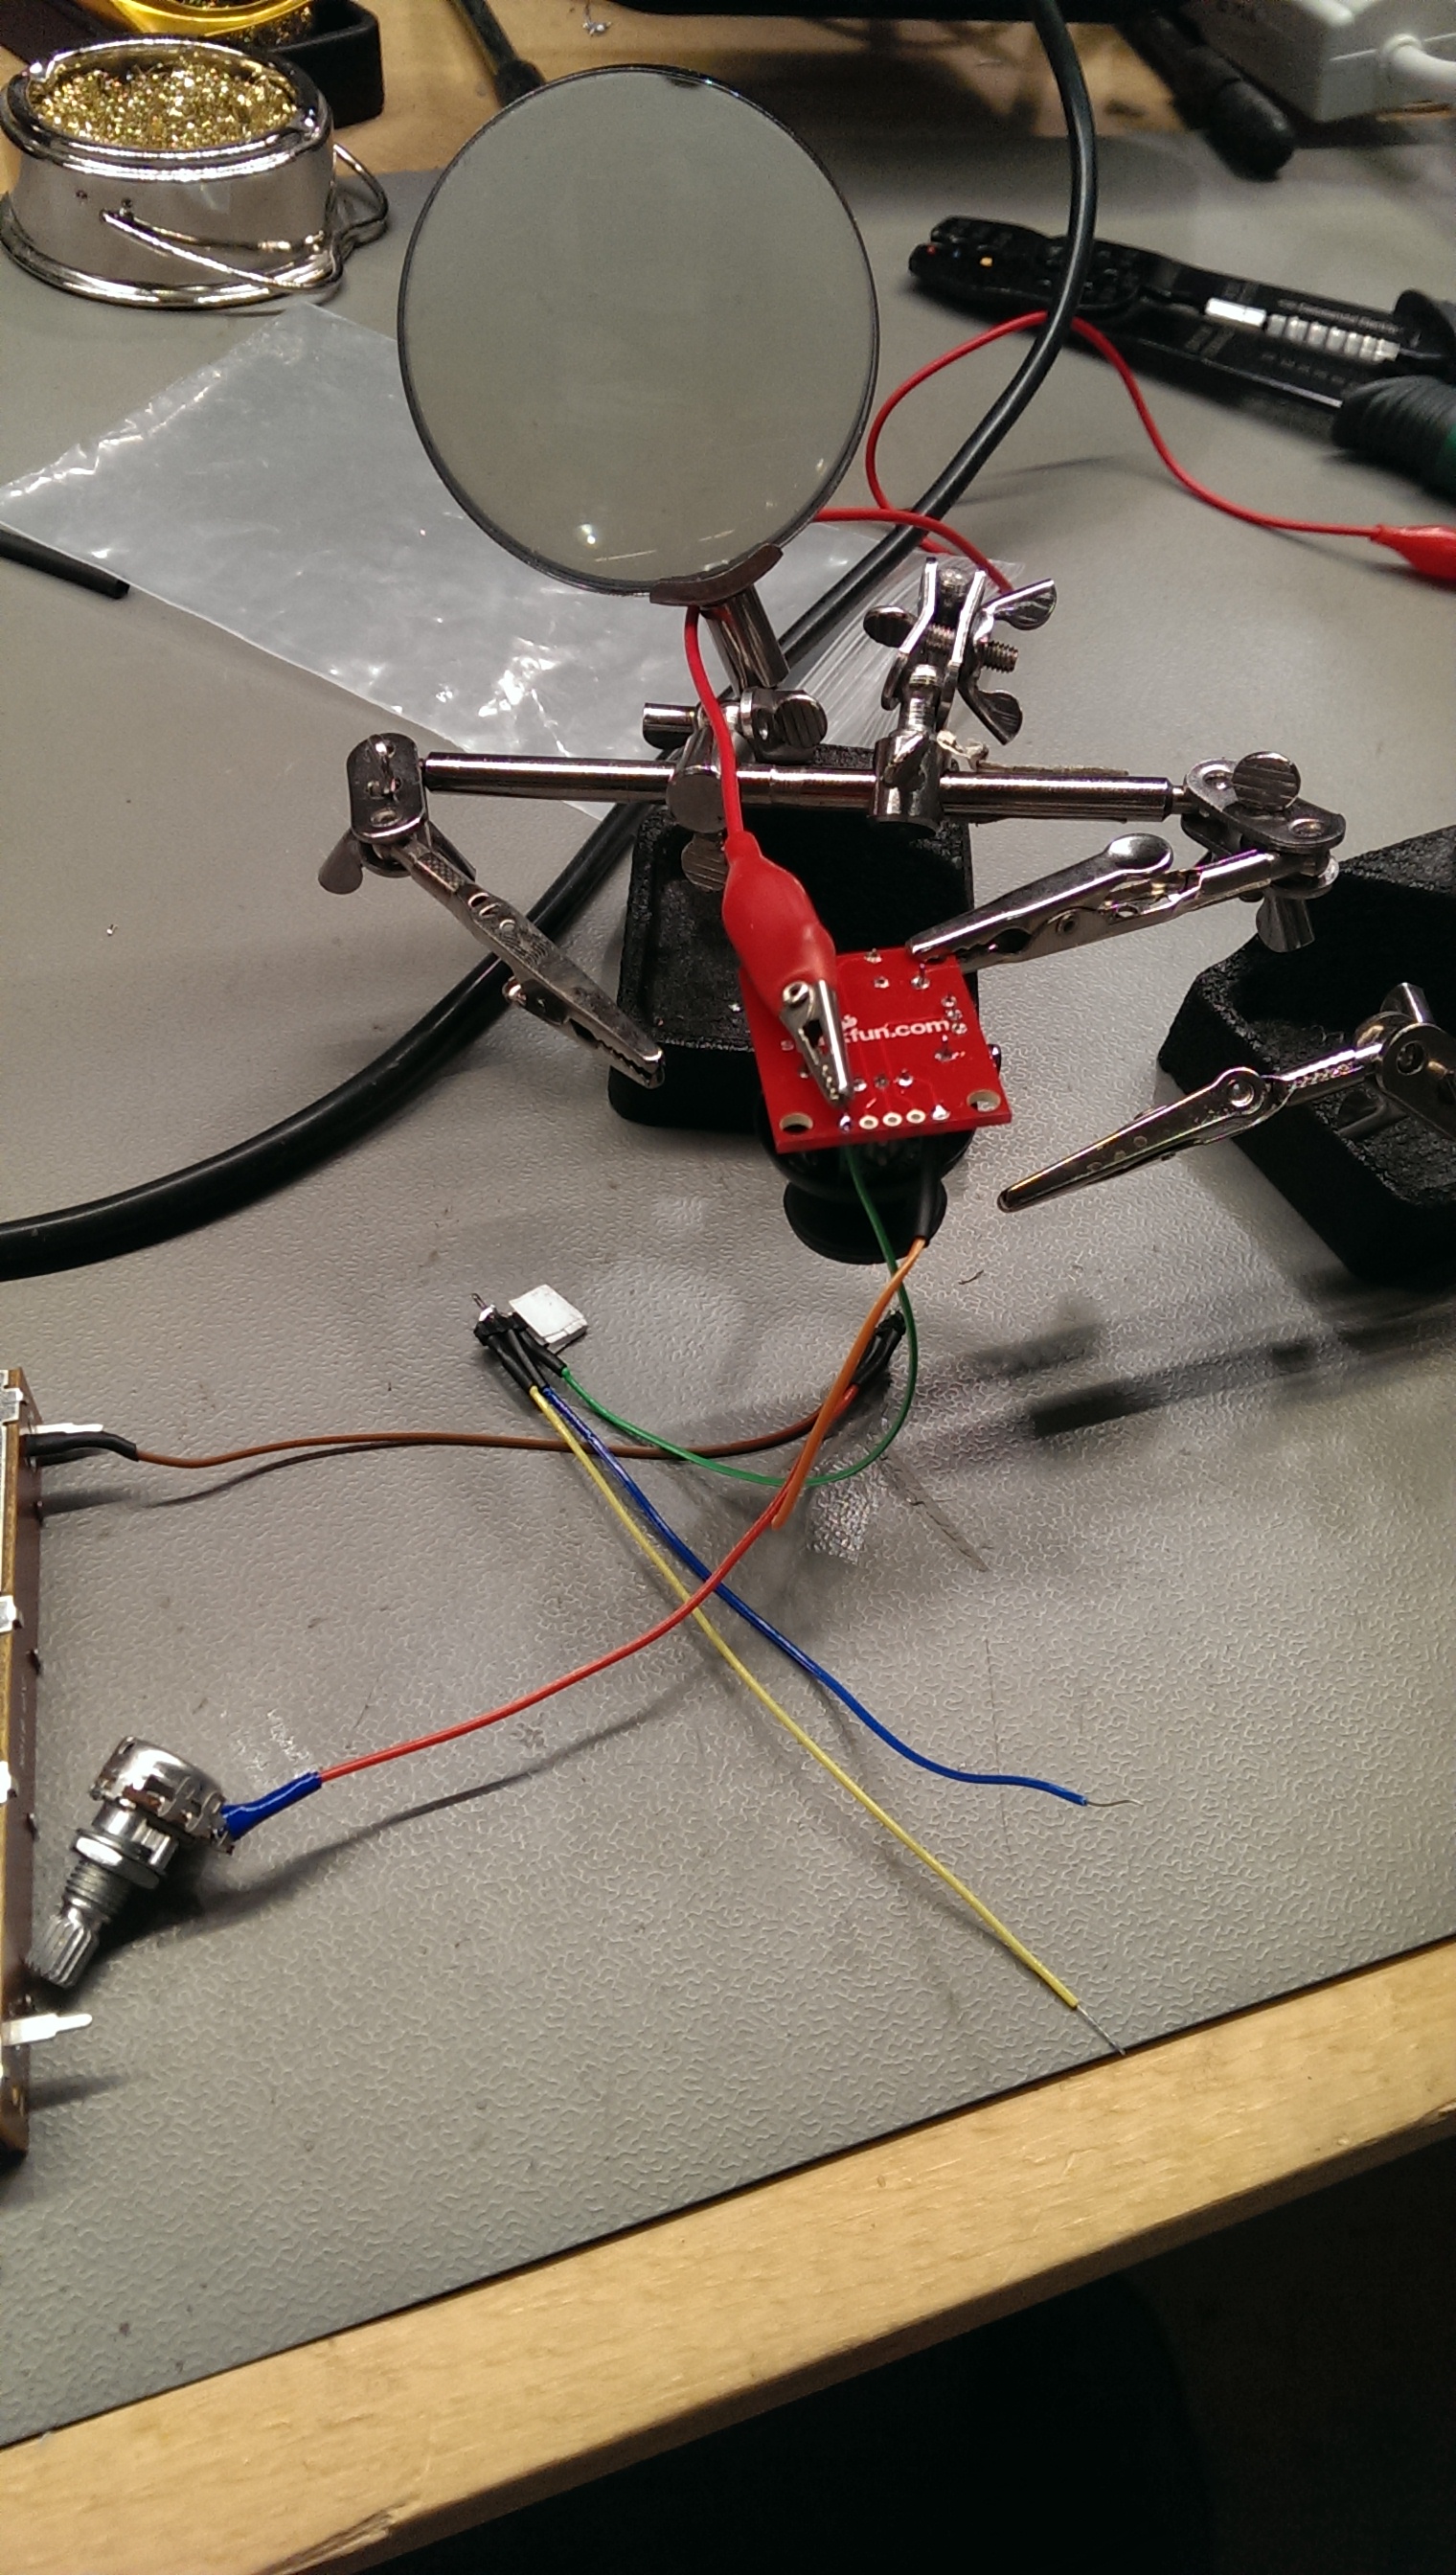
Soldering iron, Helping hand, Wire strippers, Phillips and flat head screwdriver, (Drill, 1/2 inch drill bit, 1/8th inch drill bit), assorted sizes of machine screws.
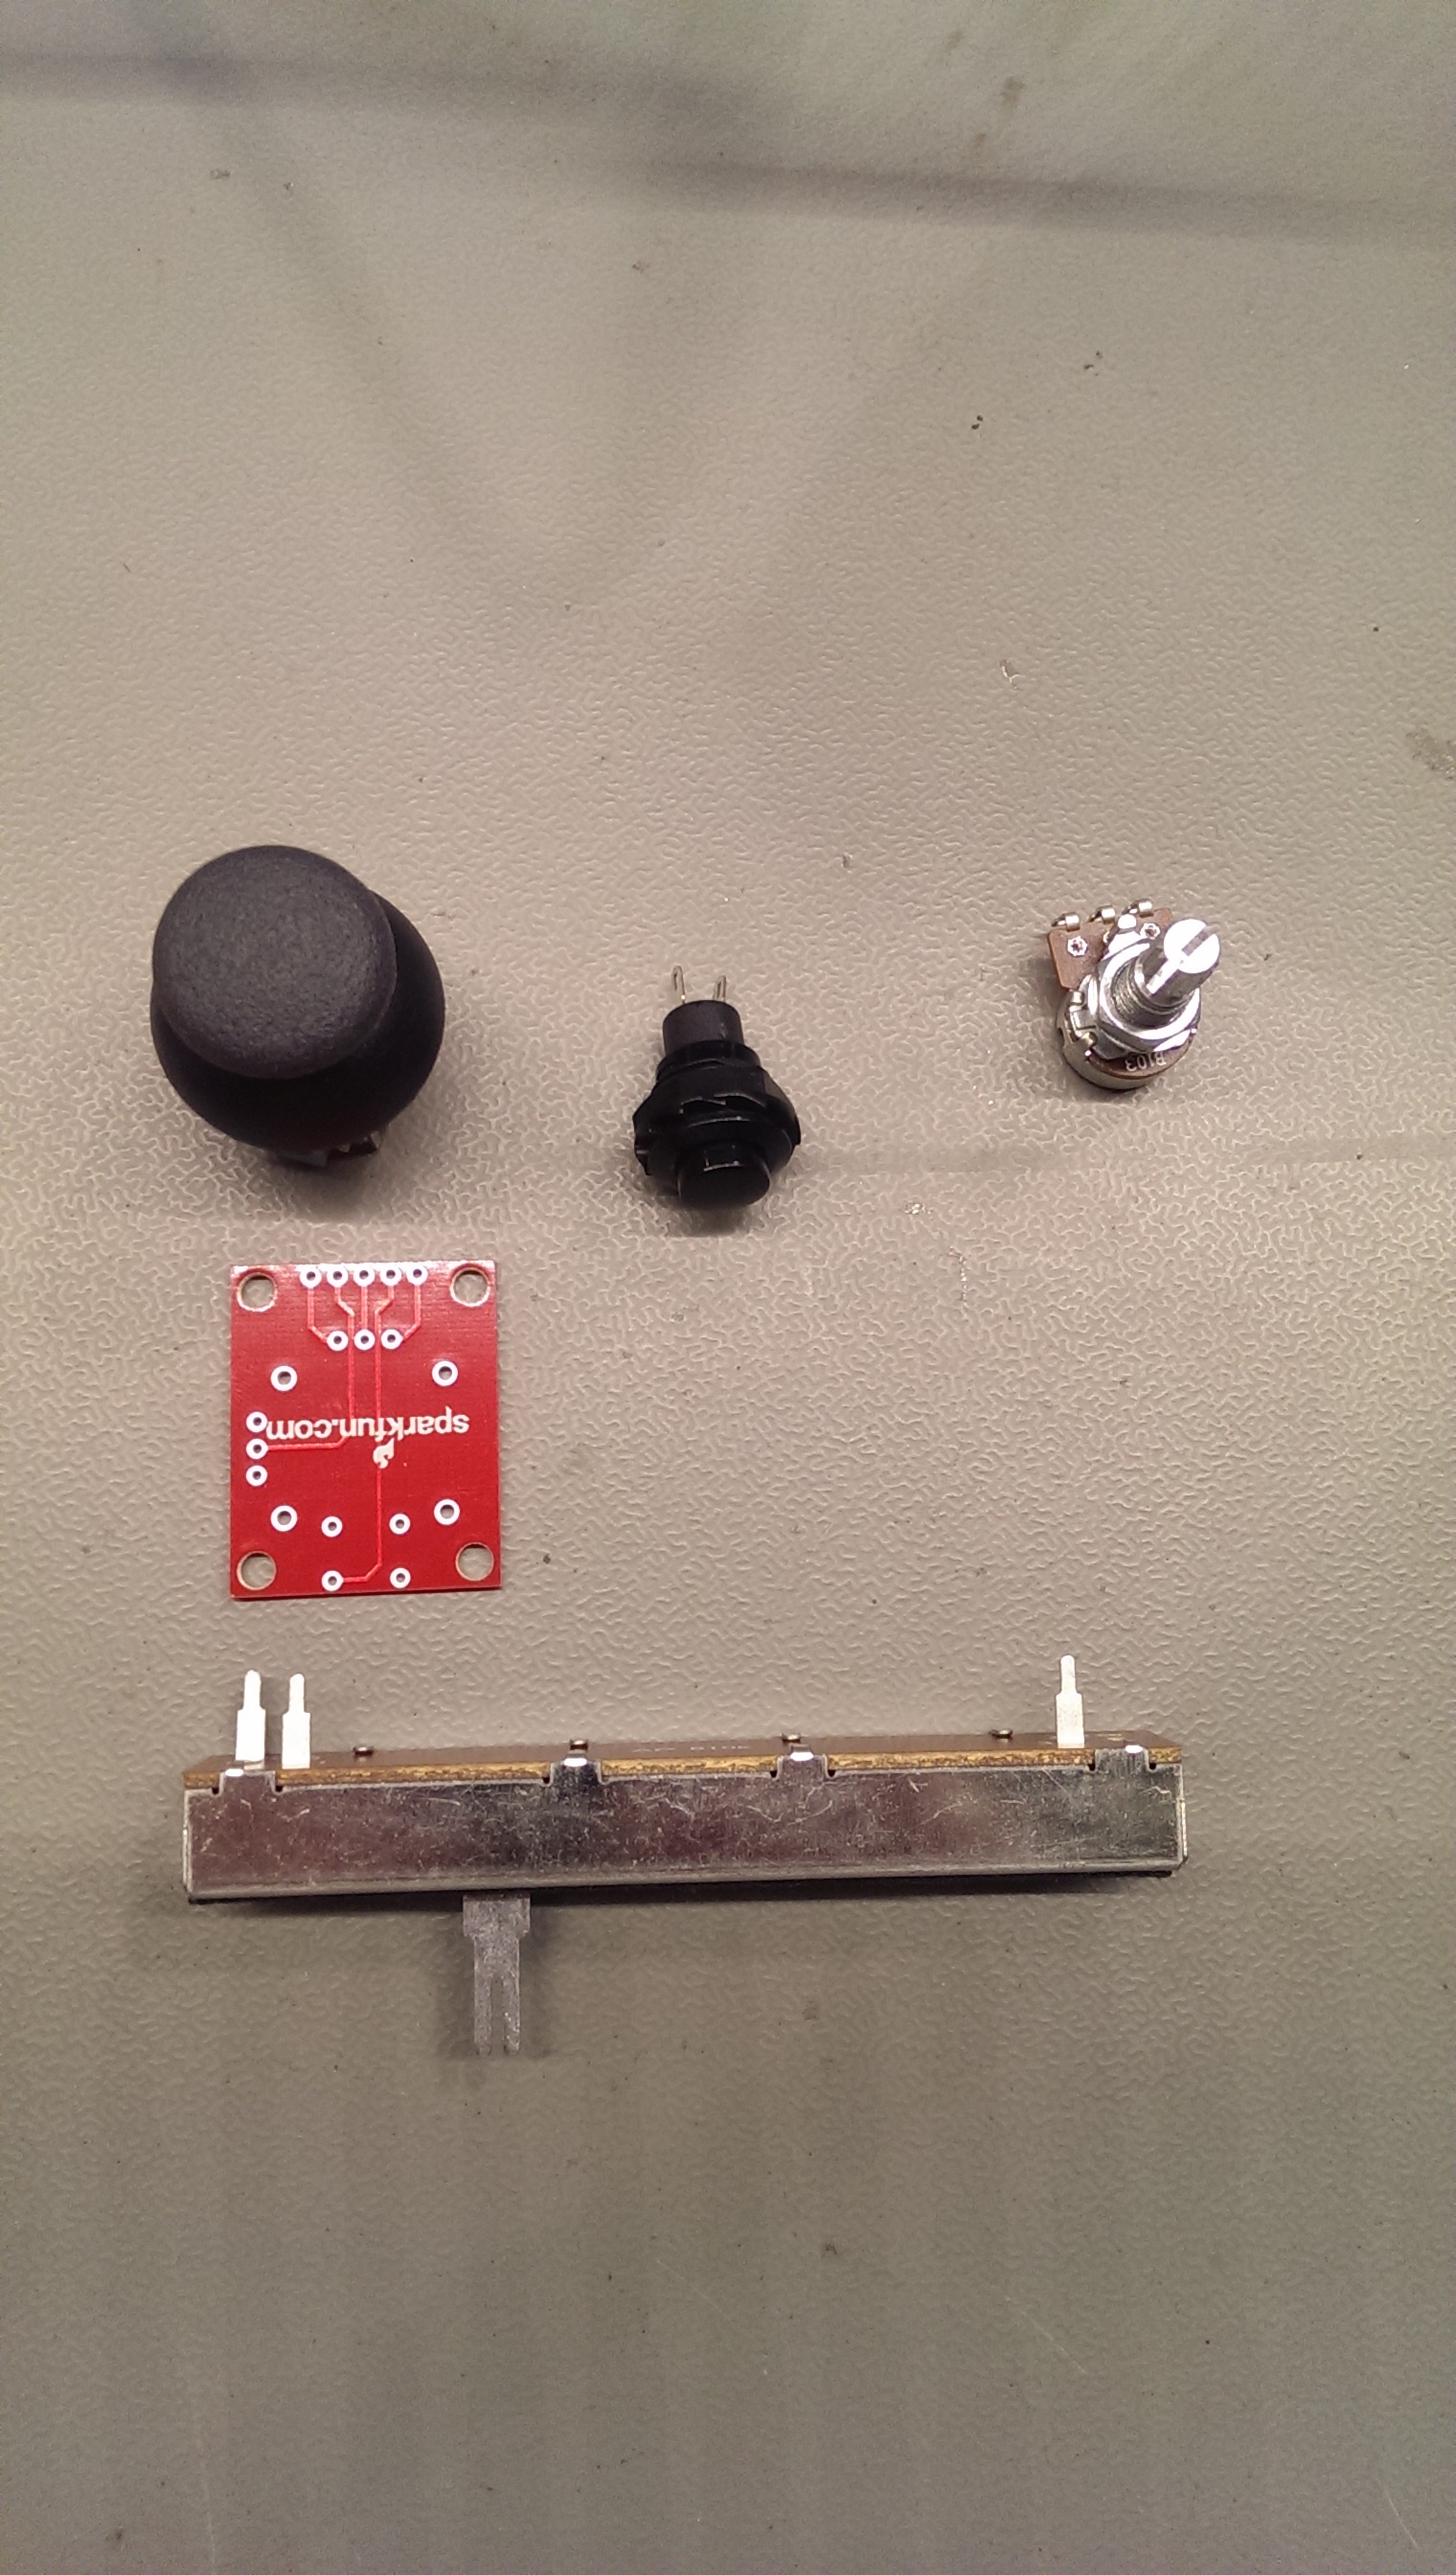
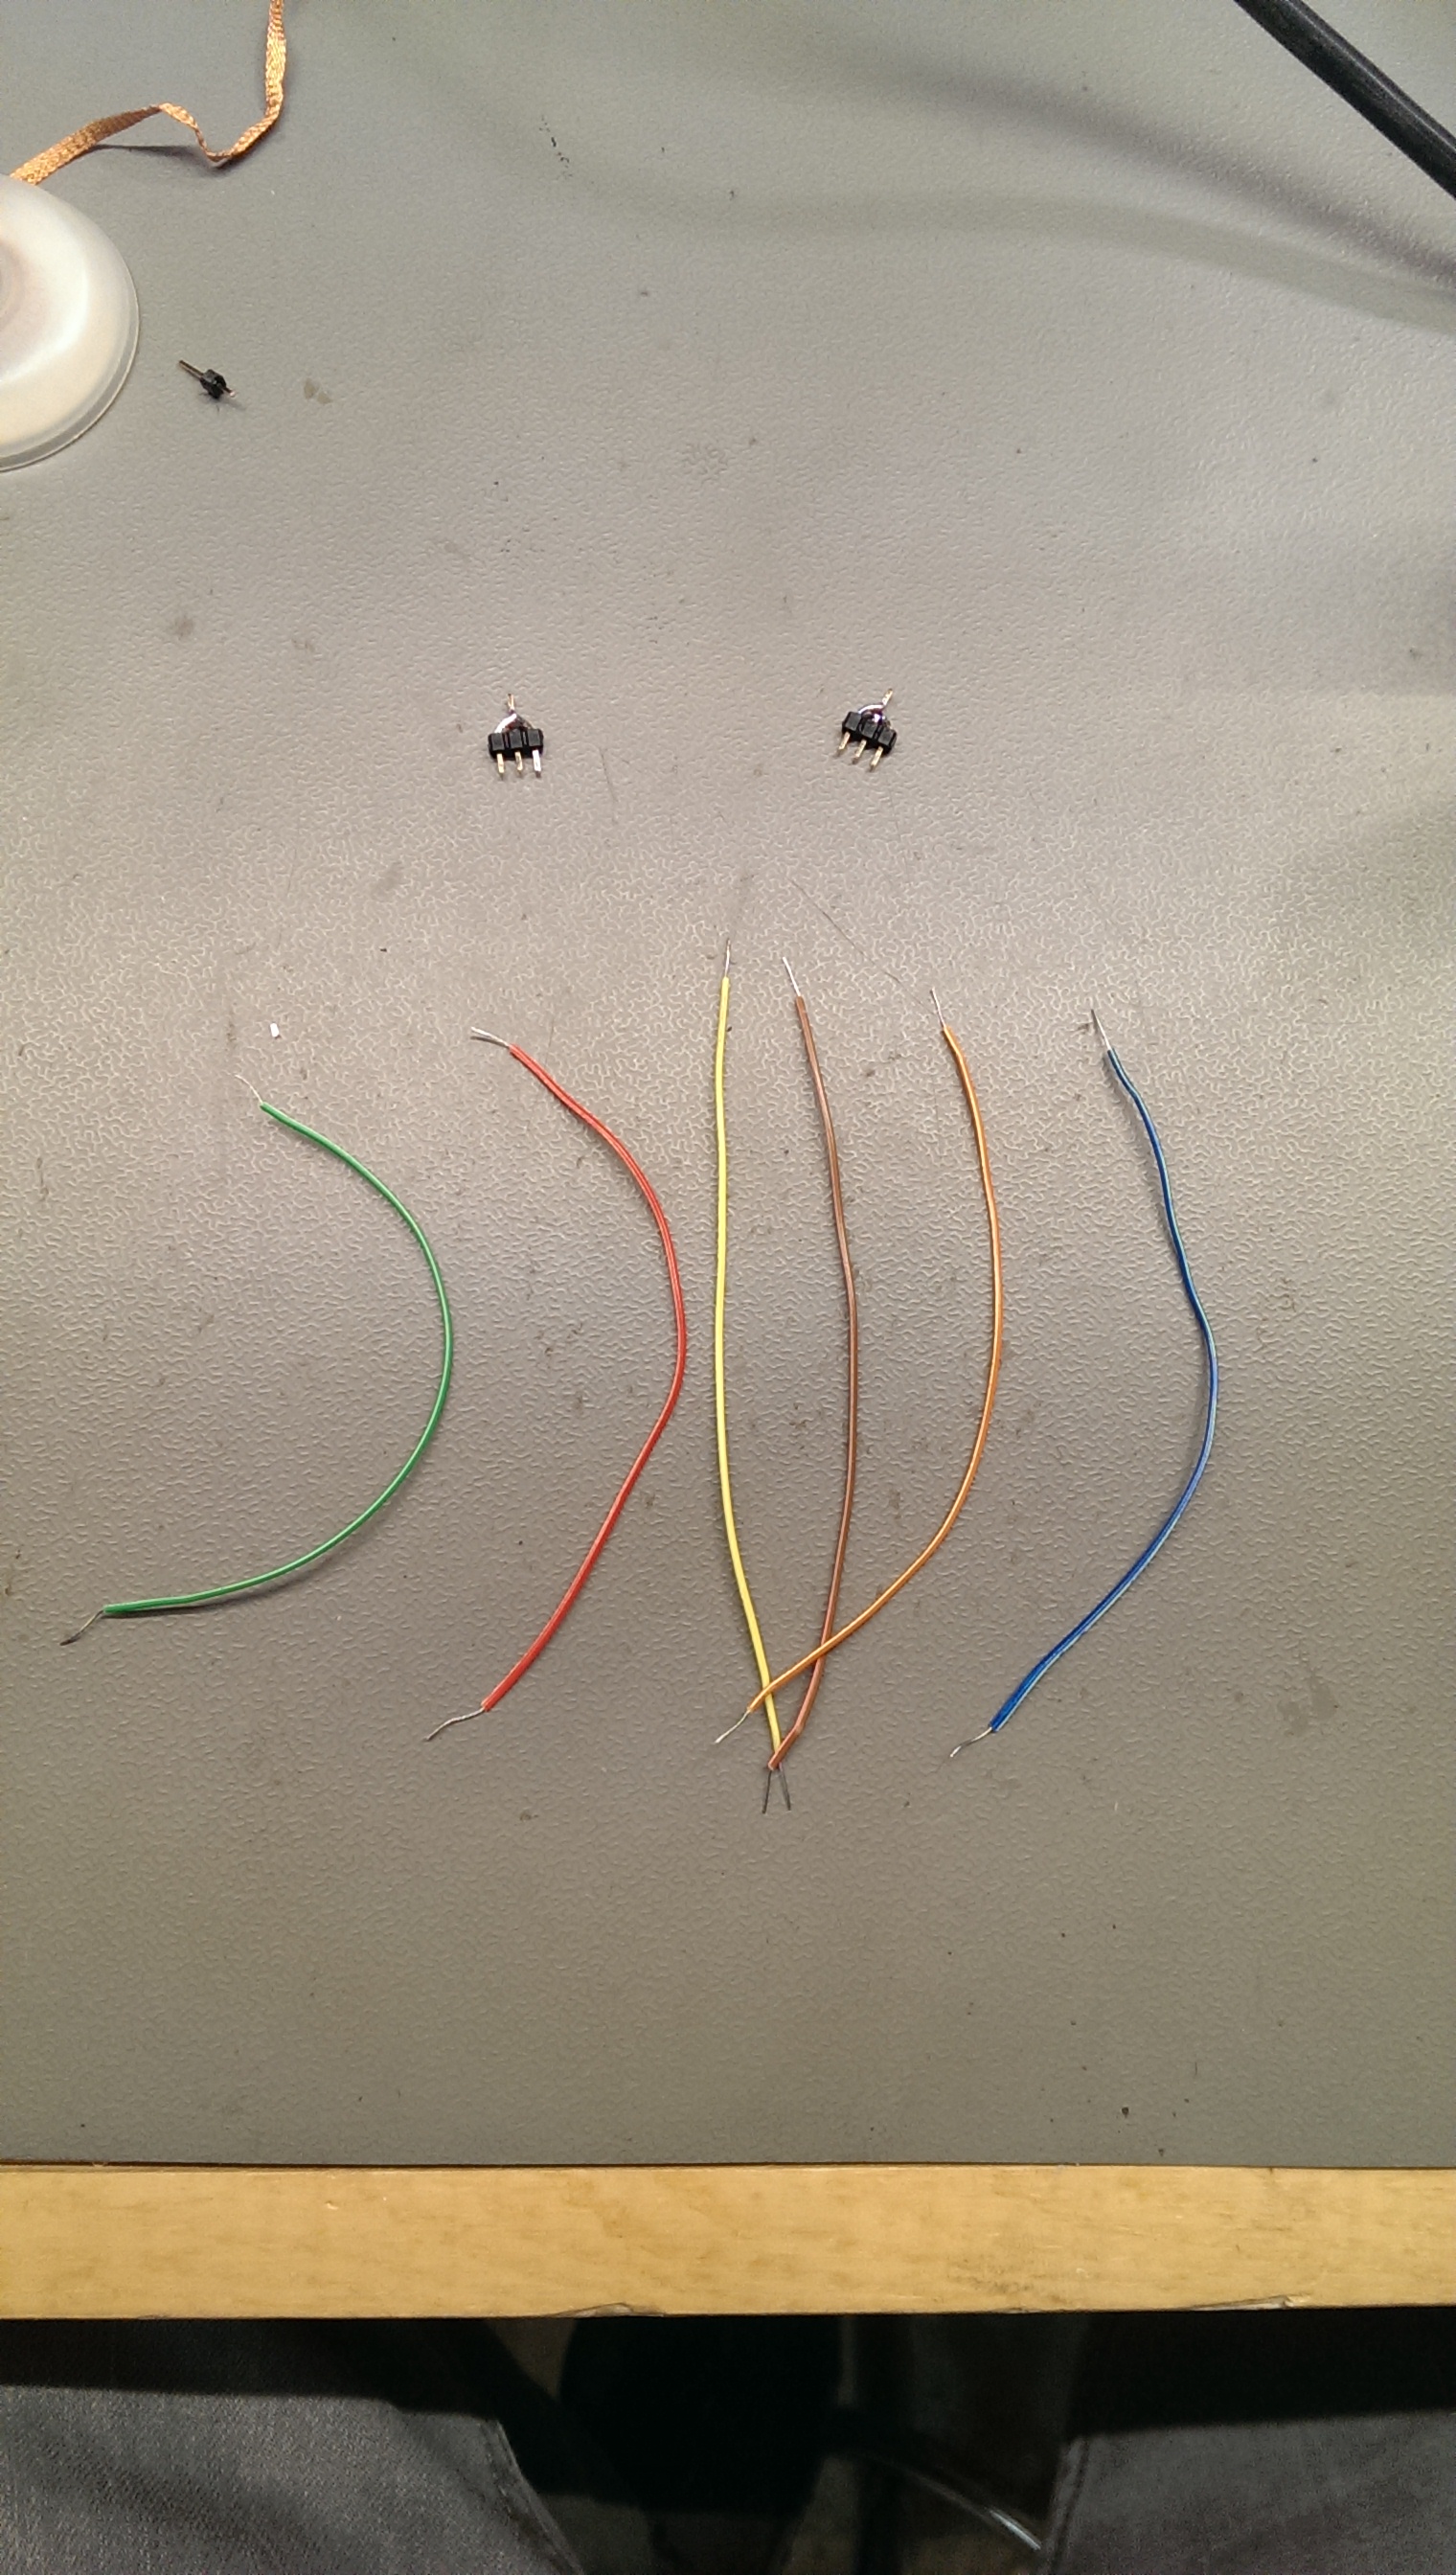
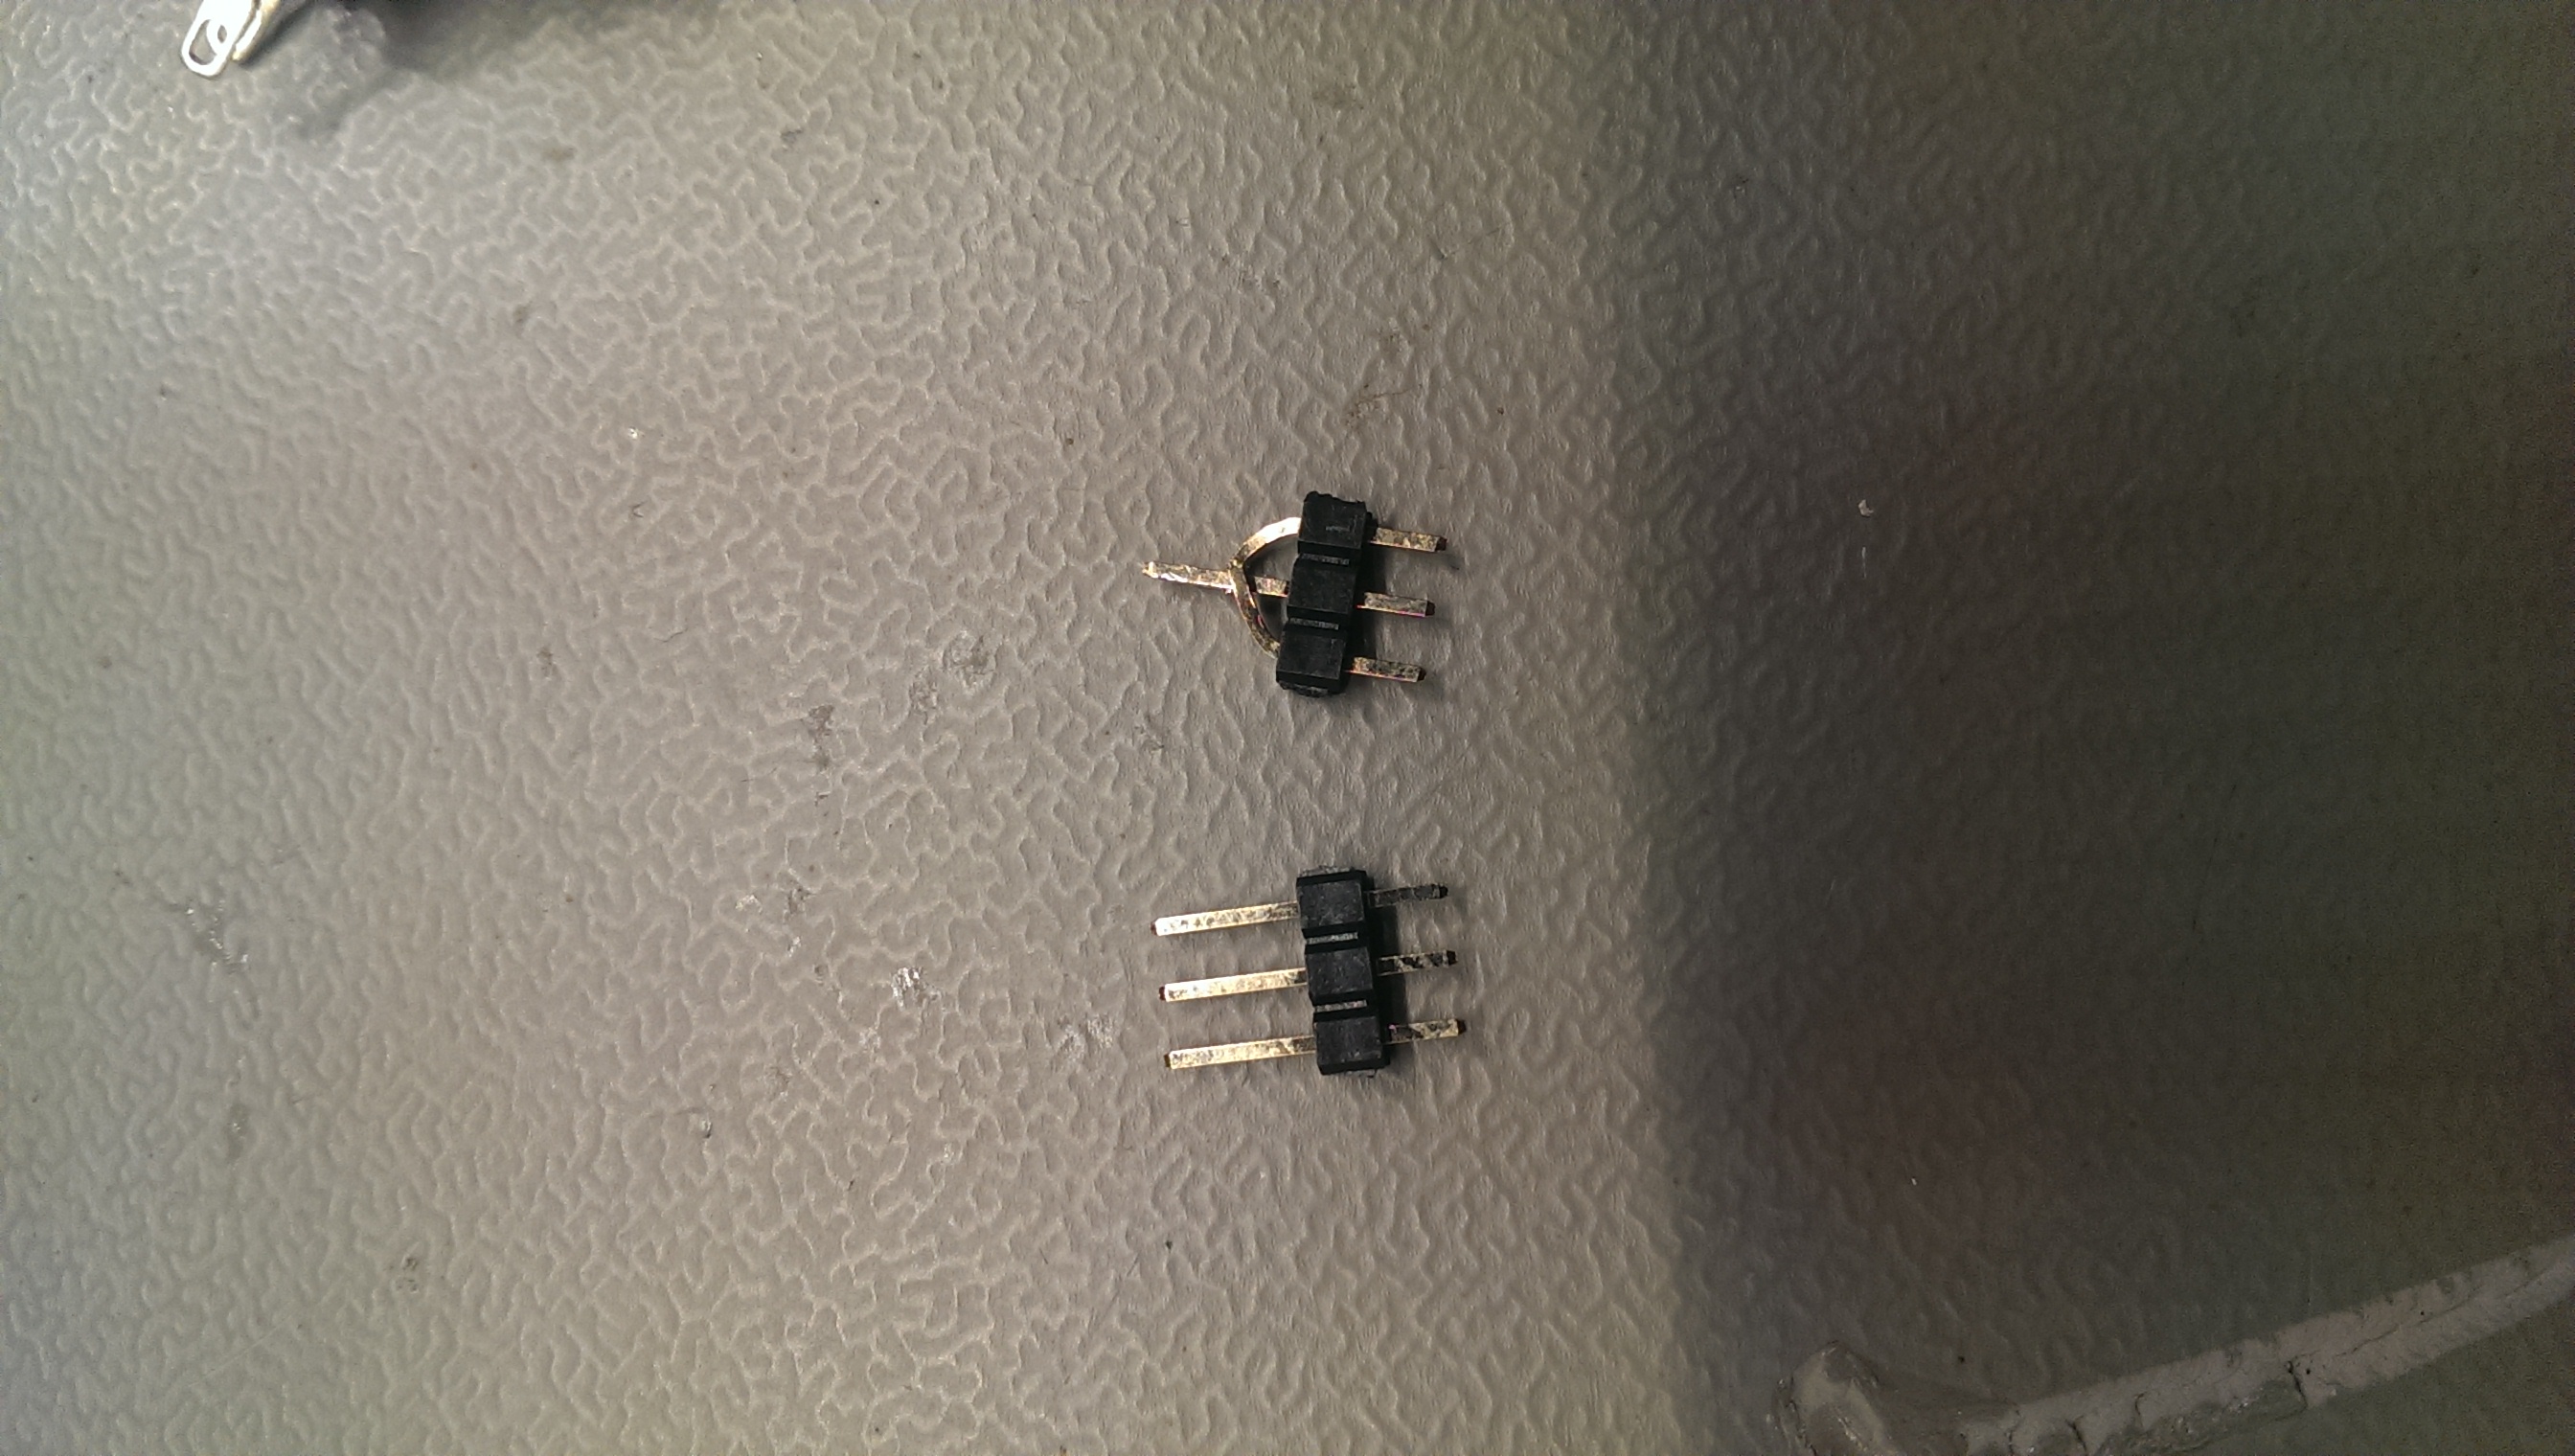
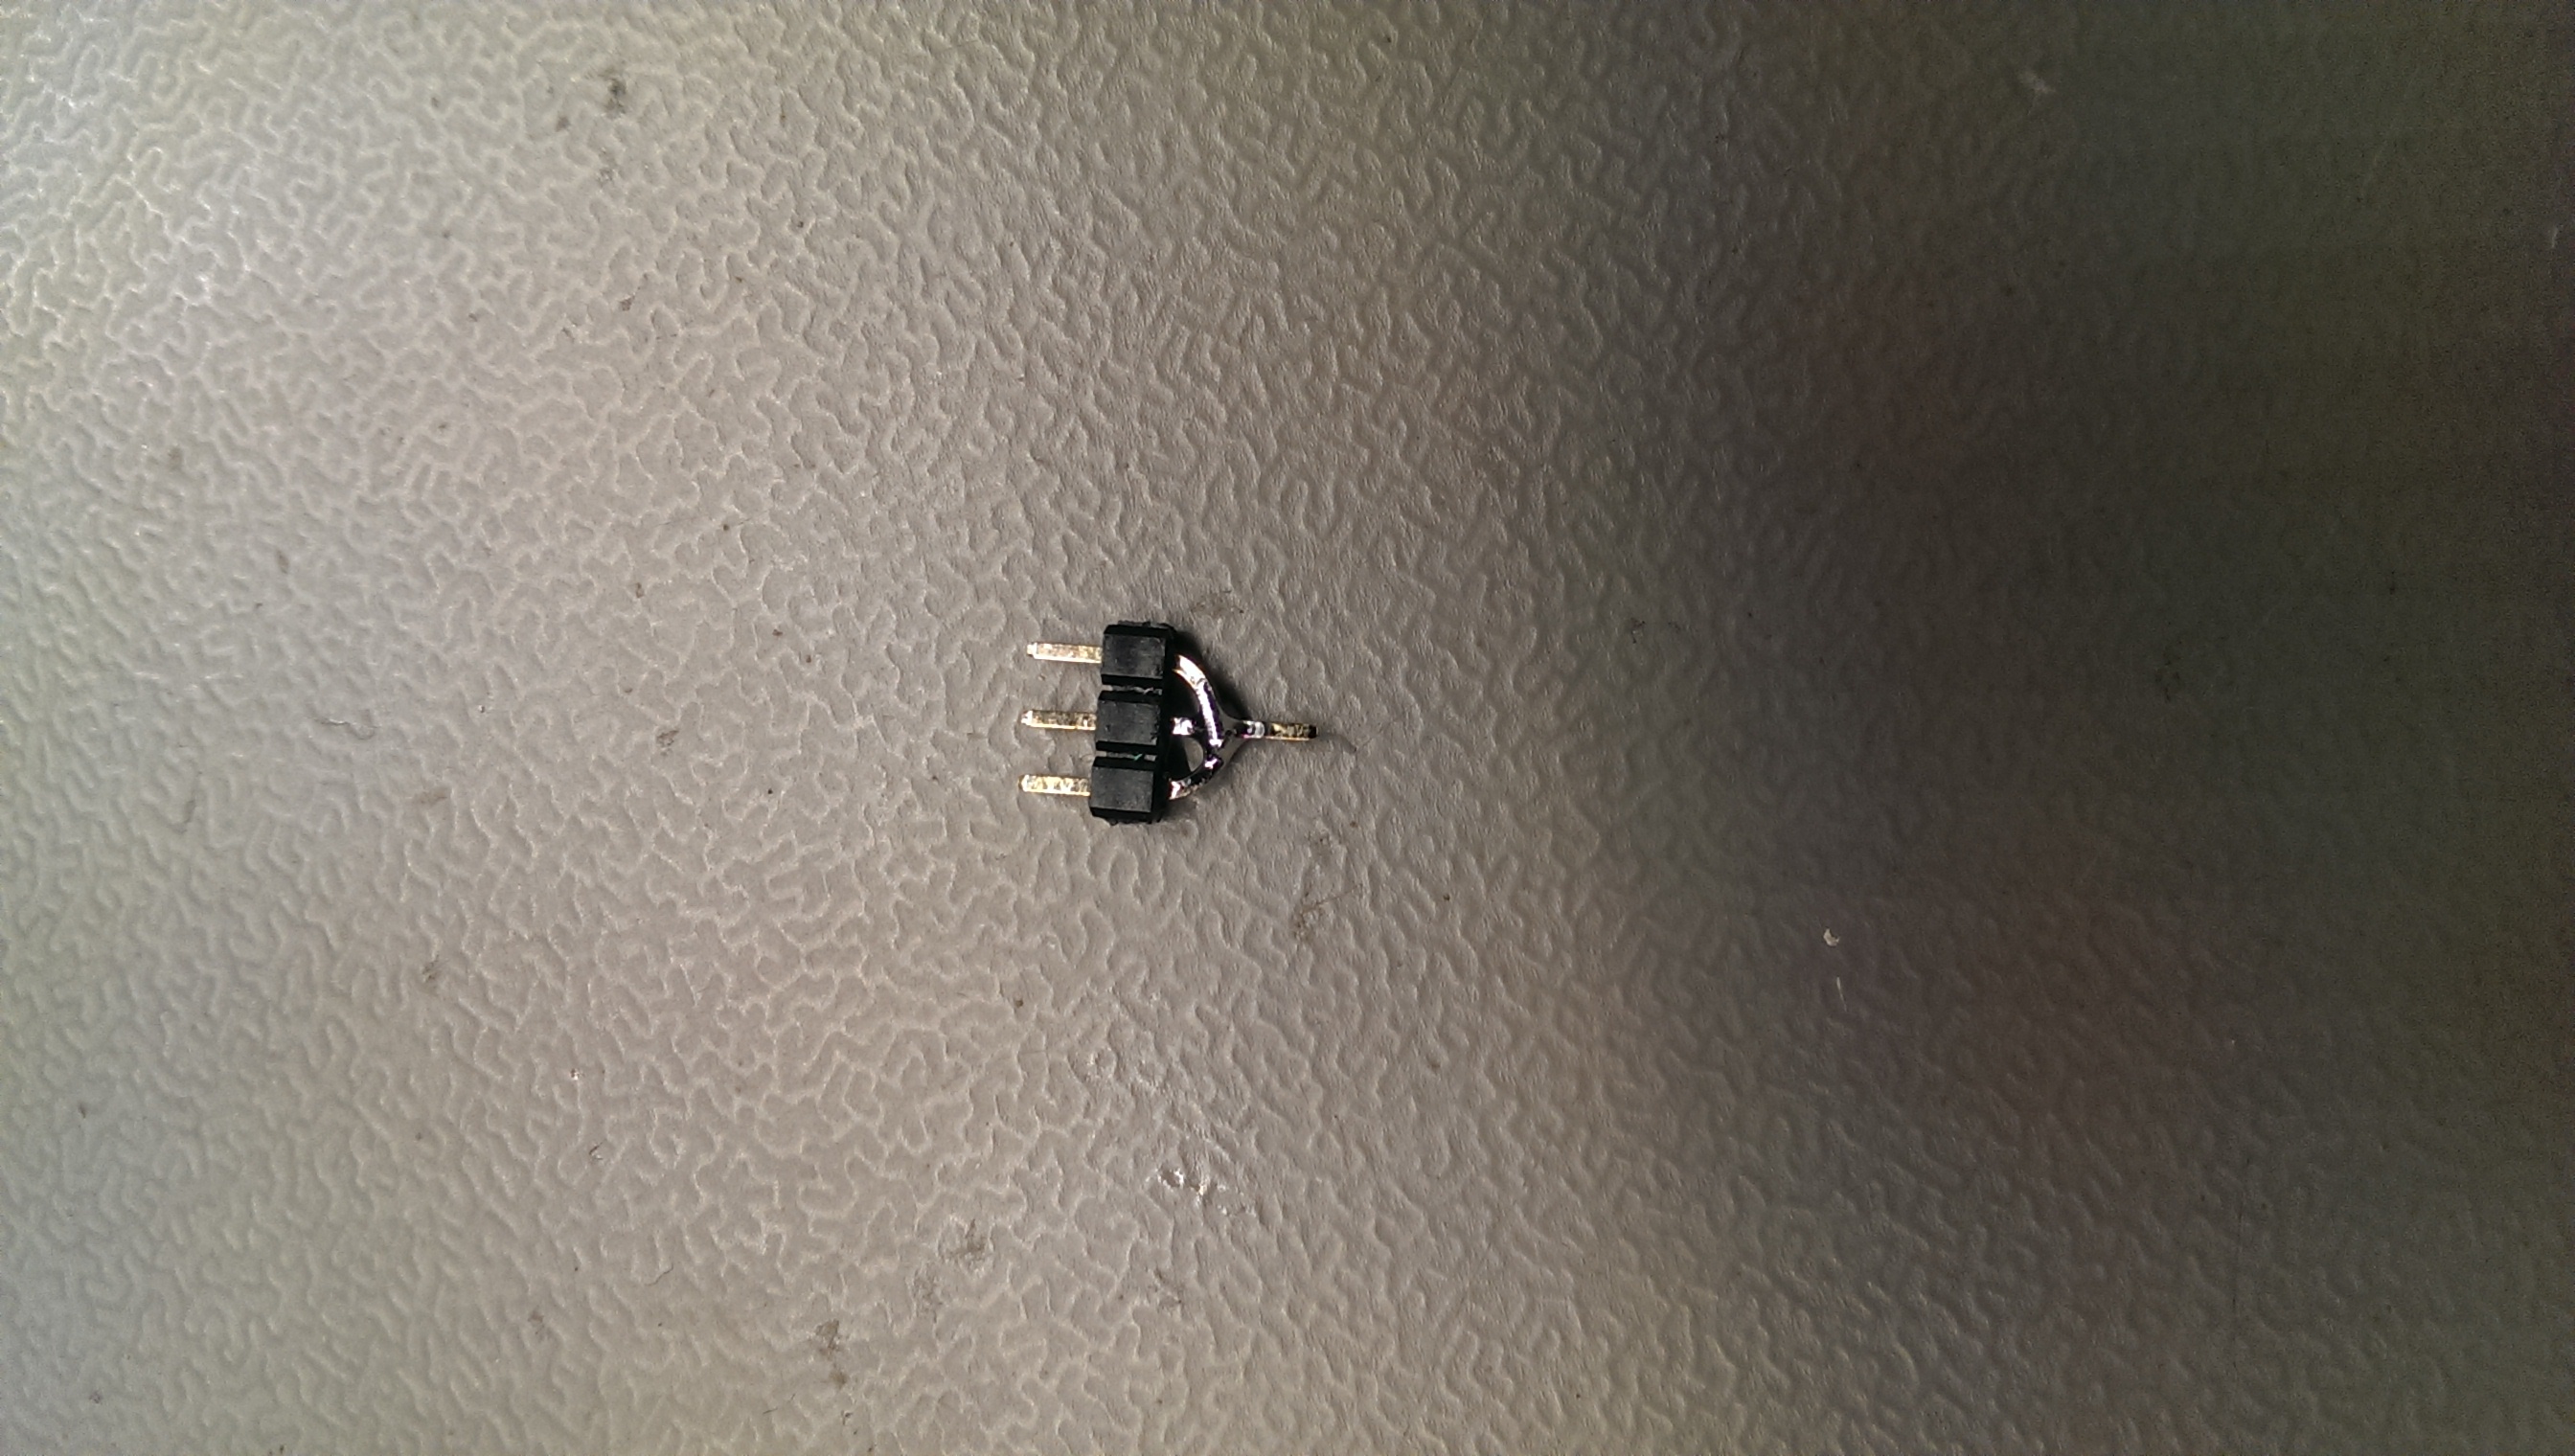
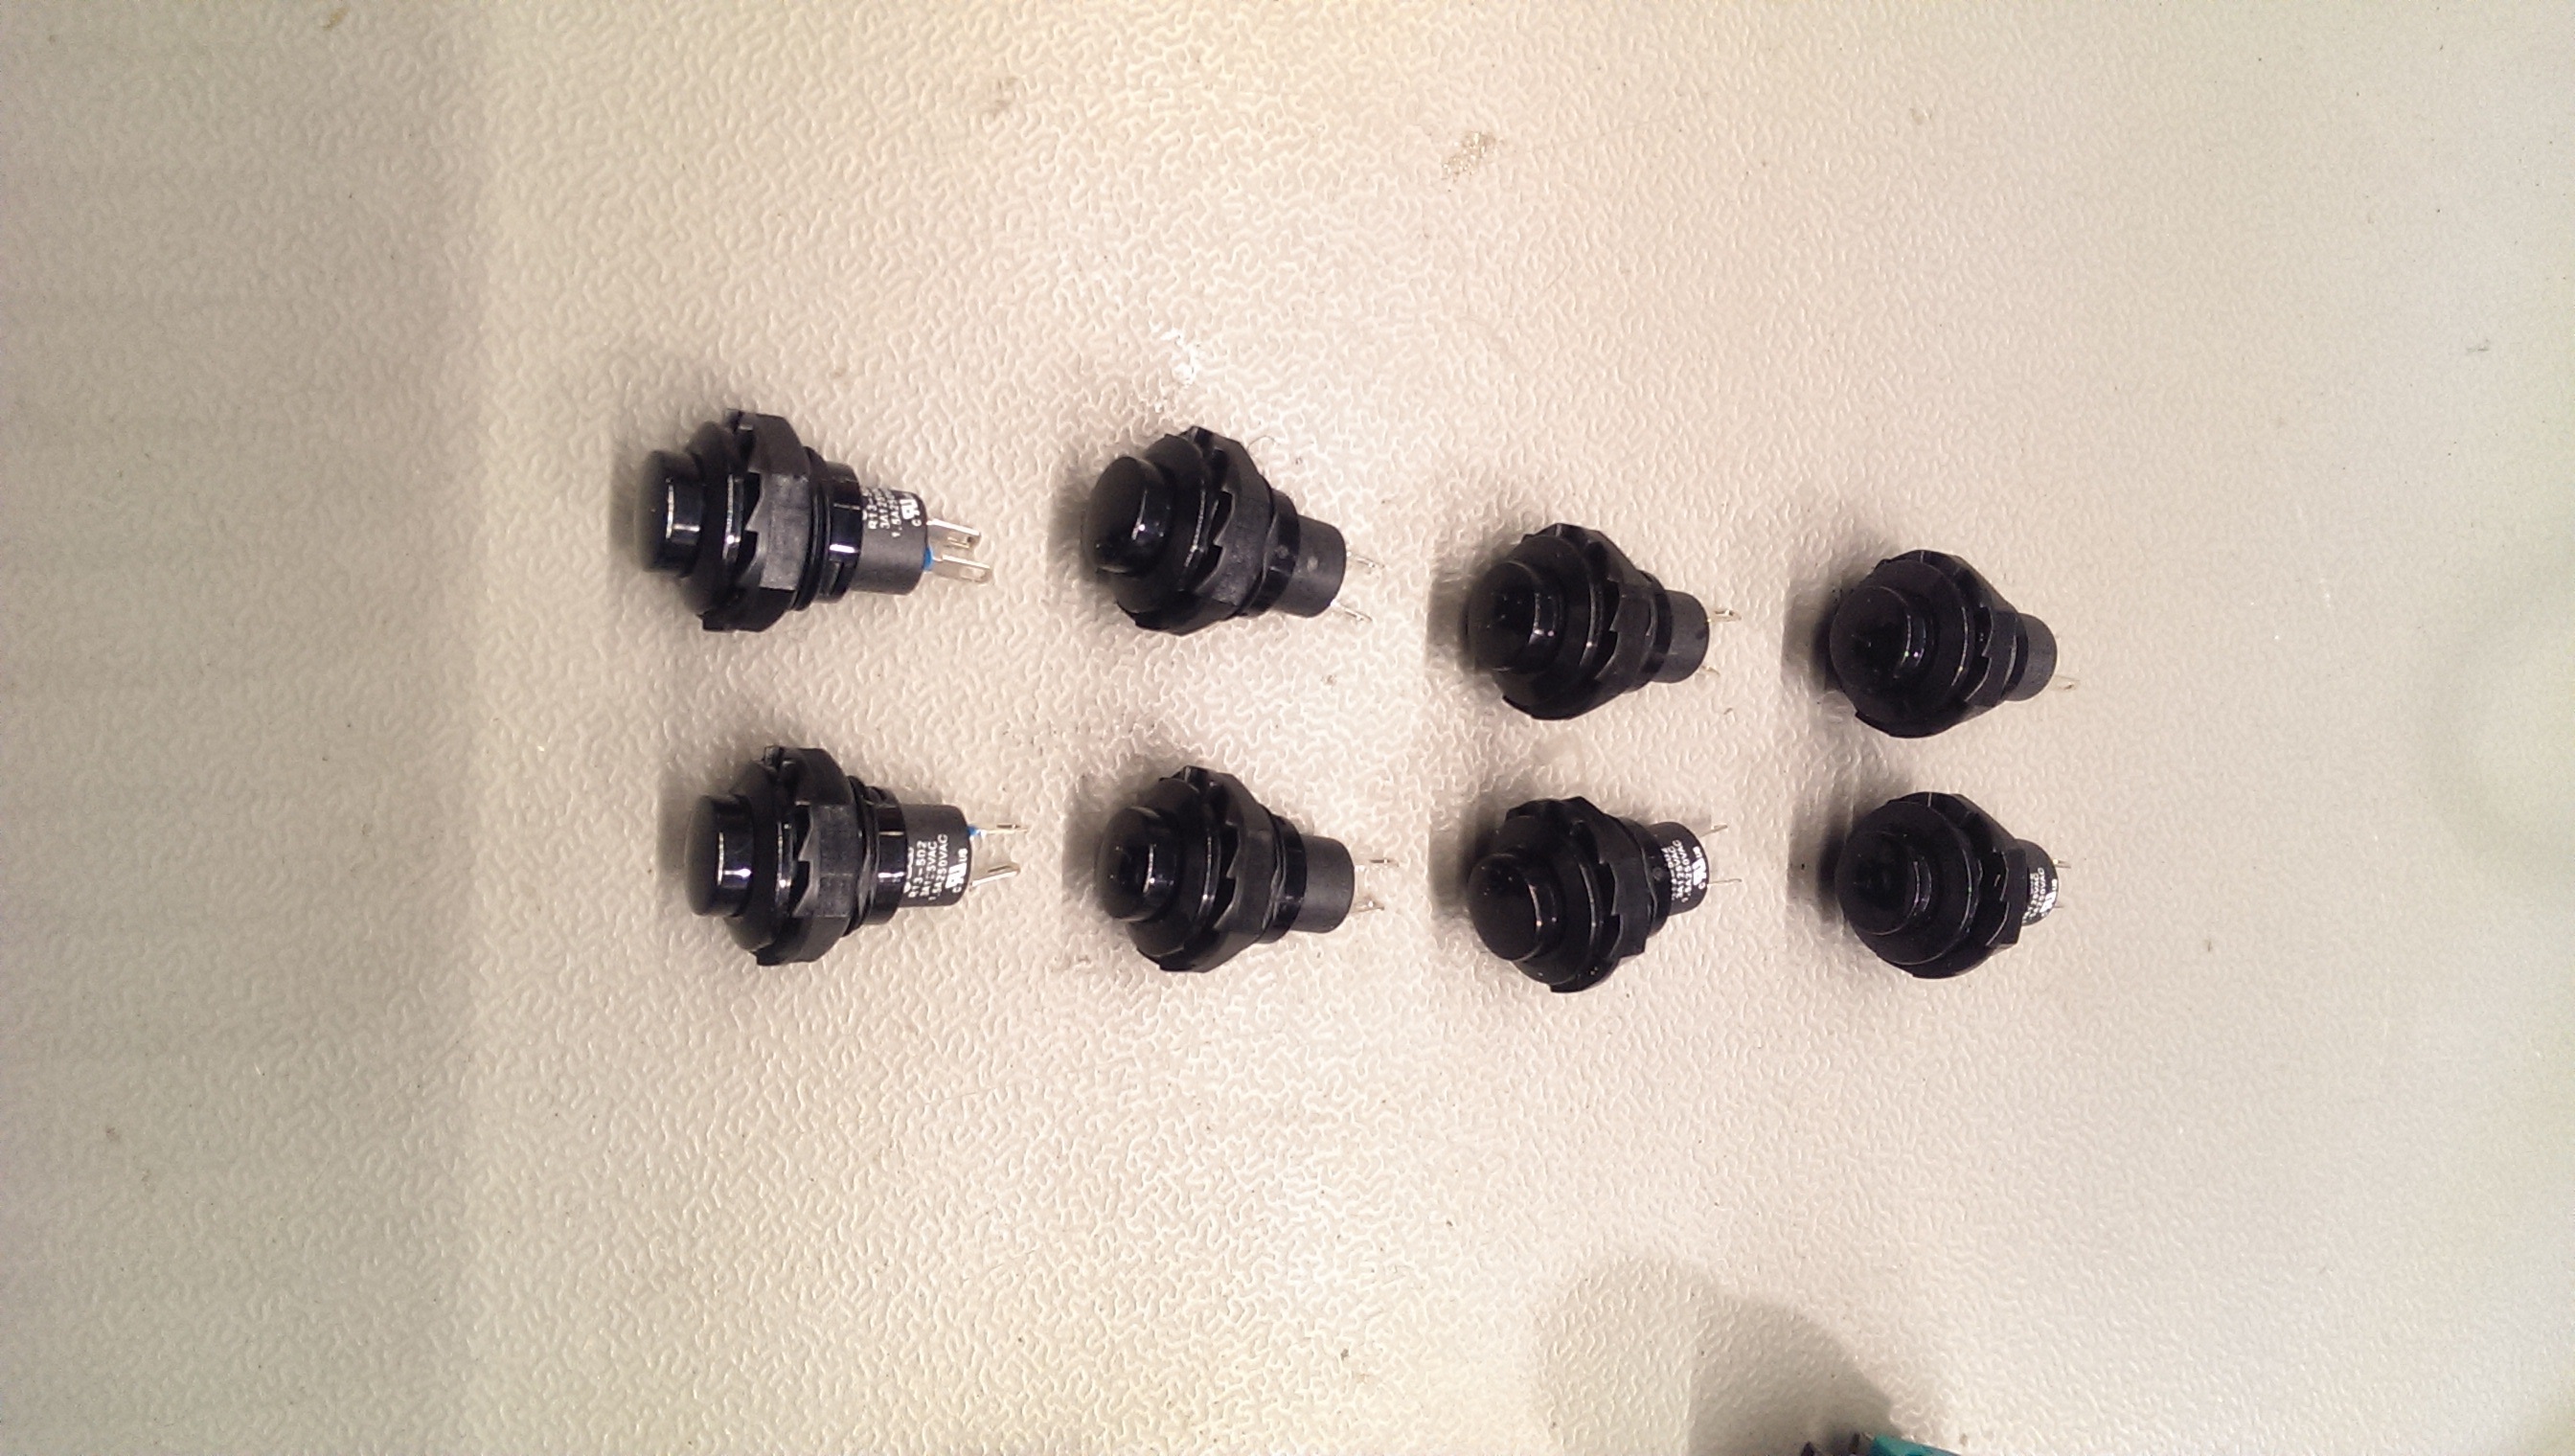
15 feet of 10 strand ribbon cable, 9 mini arcade buttons, 1 analog sonar sensor, 1 2×2 breakout pcb, 1 2×2 silicon button, 1 10K potentiometer, 1 10K linear potentiometer, 1 X,Y joystick with breakout board. 2 2esistor networks, 1 row of breakaway header pins.
Parts from Newark Buy 9 of the buttons from Newark!
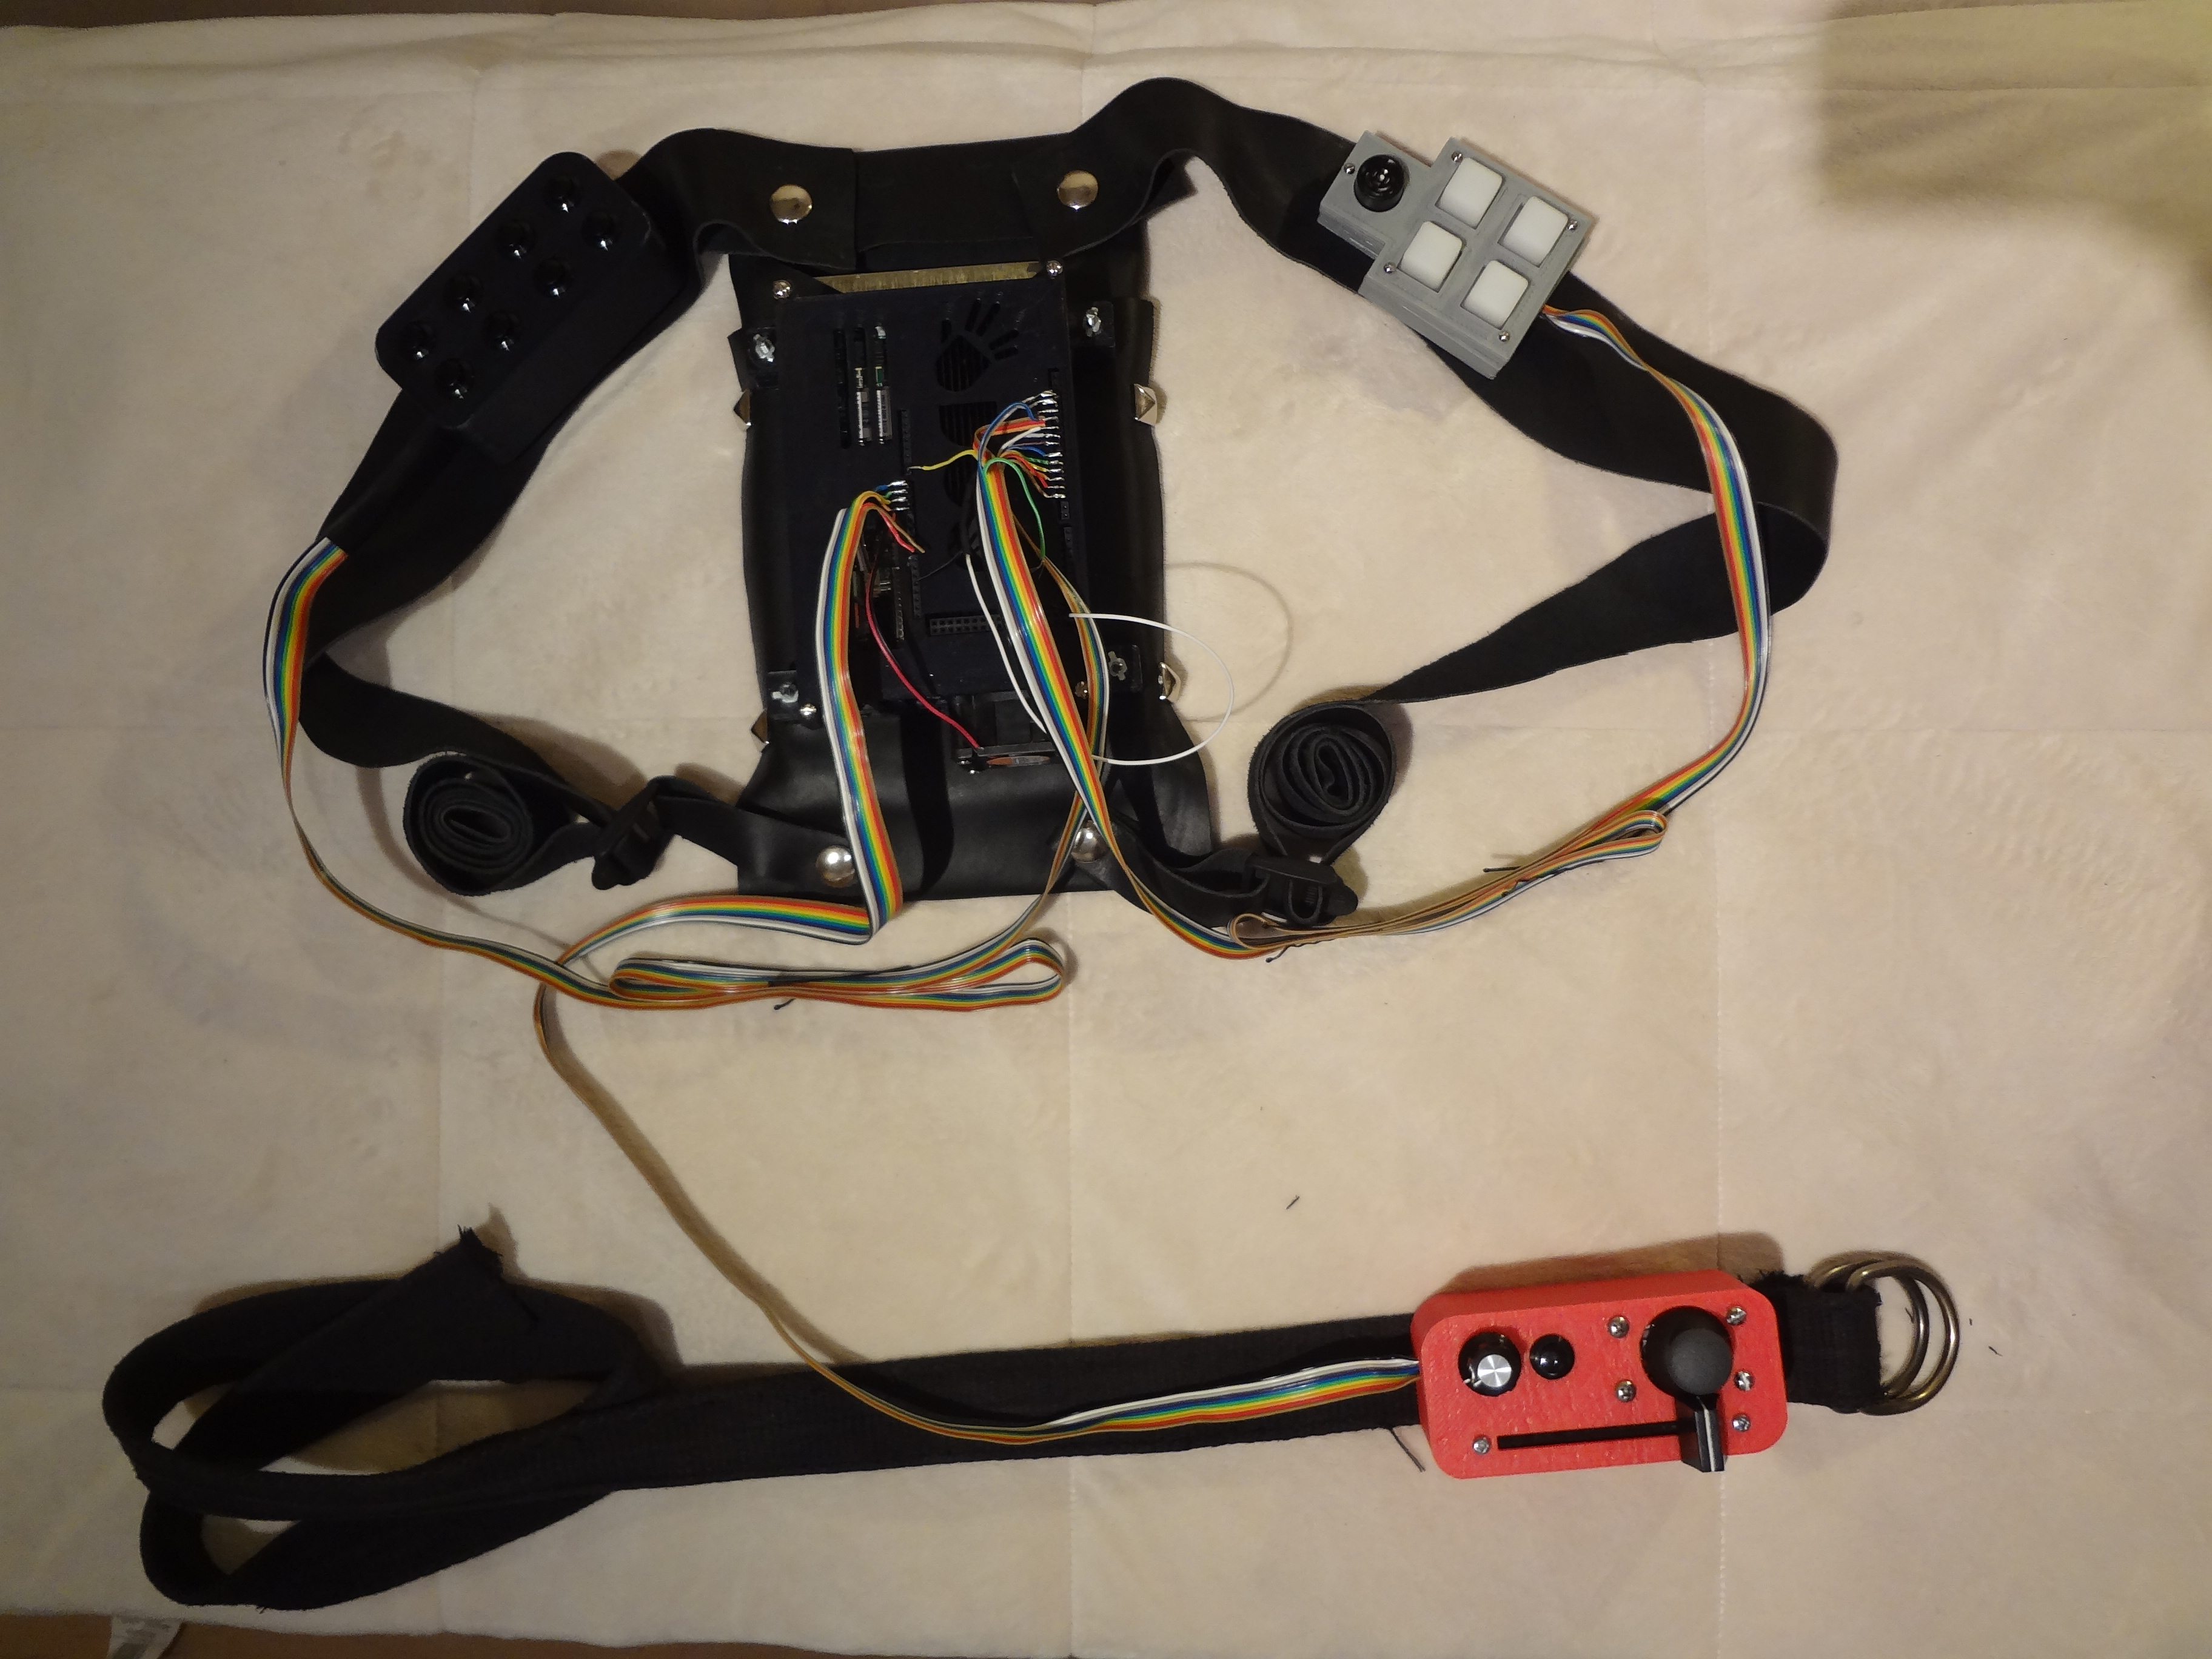
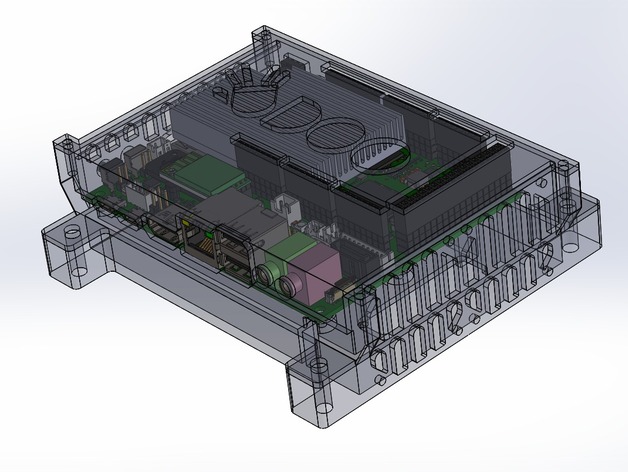
The Udoo i.MX 6 ARM Cortex-A9 Quad core 1GHz computer. With on board Atmel SAM3X8E ARM Cortex-M3 CPU (same as Arduino Due)
1 Anker portable battery variable 12v, 16v, 19v, (never use power setting above 12 volts for Udoo computer), 1 HDMI Cable, 1 Wireless router, 1 USB Keyboard / Mouse.
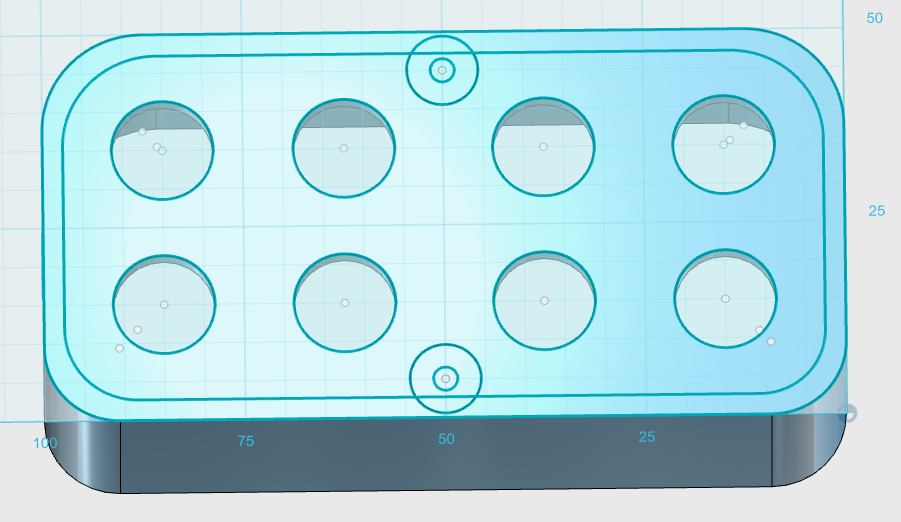
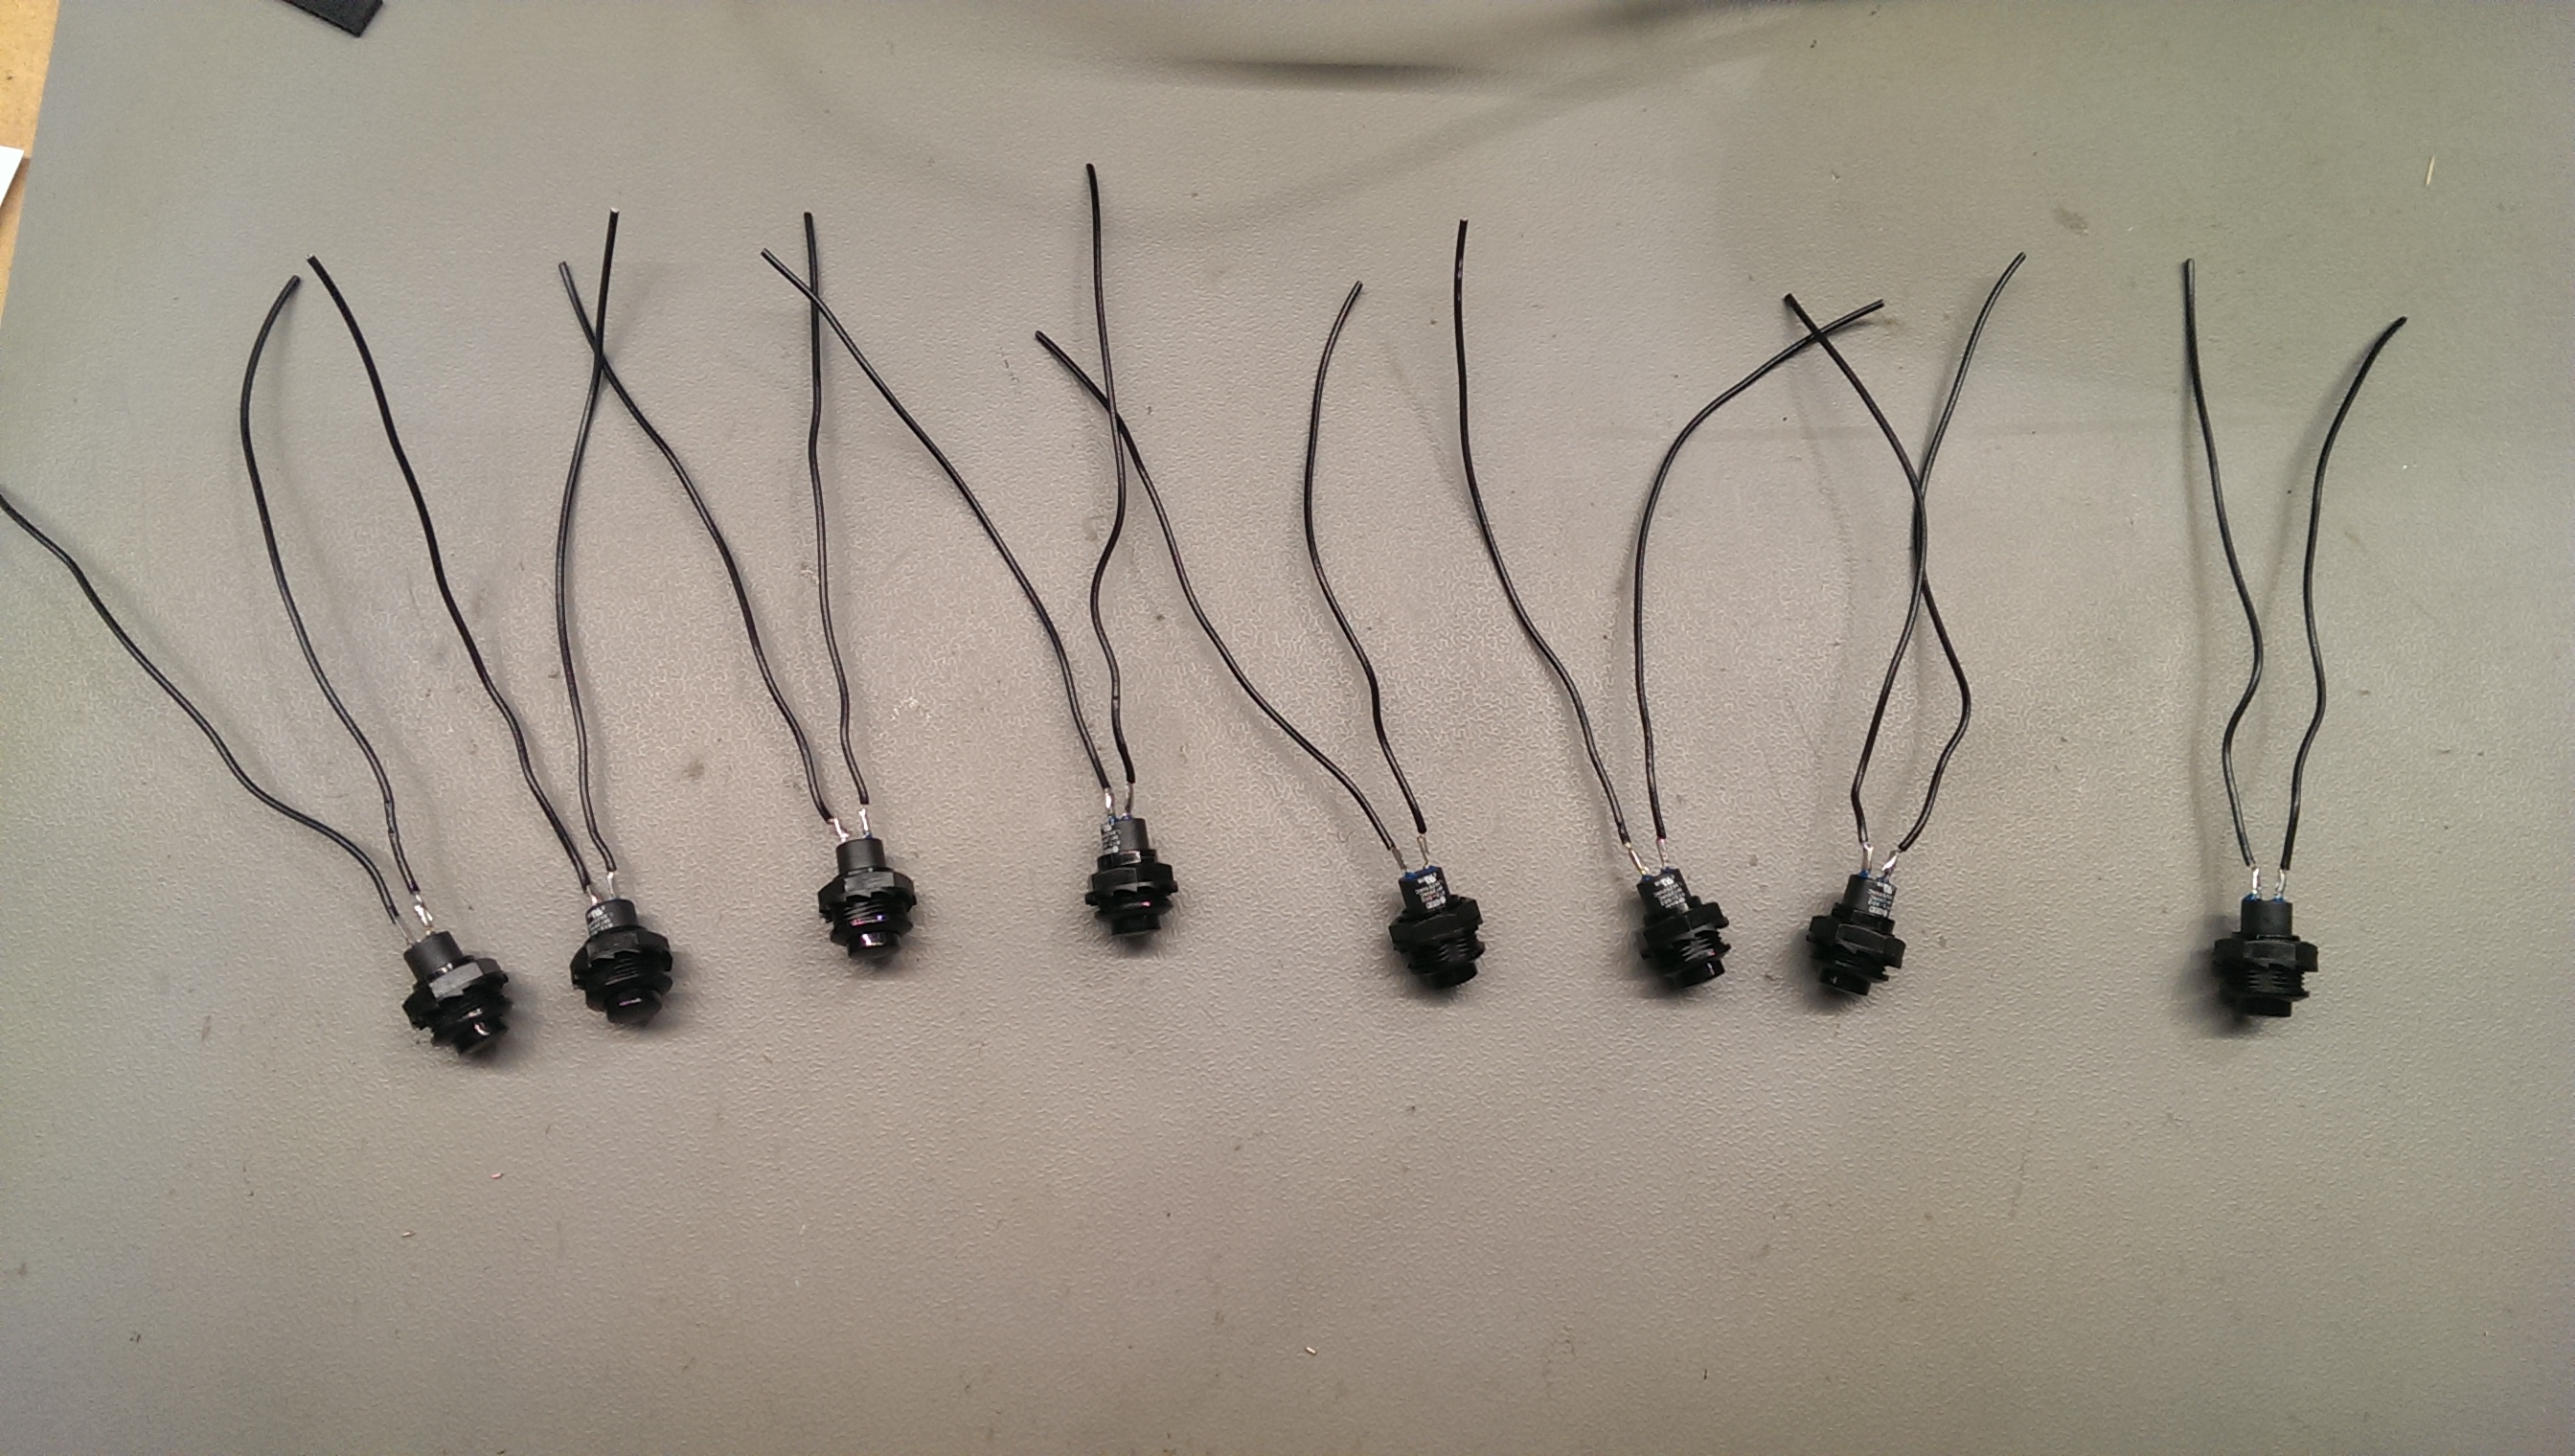
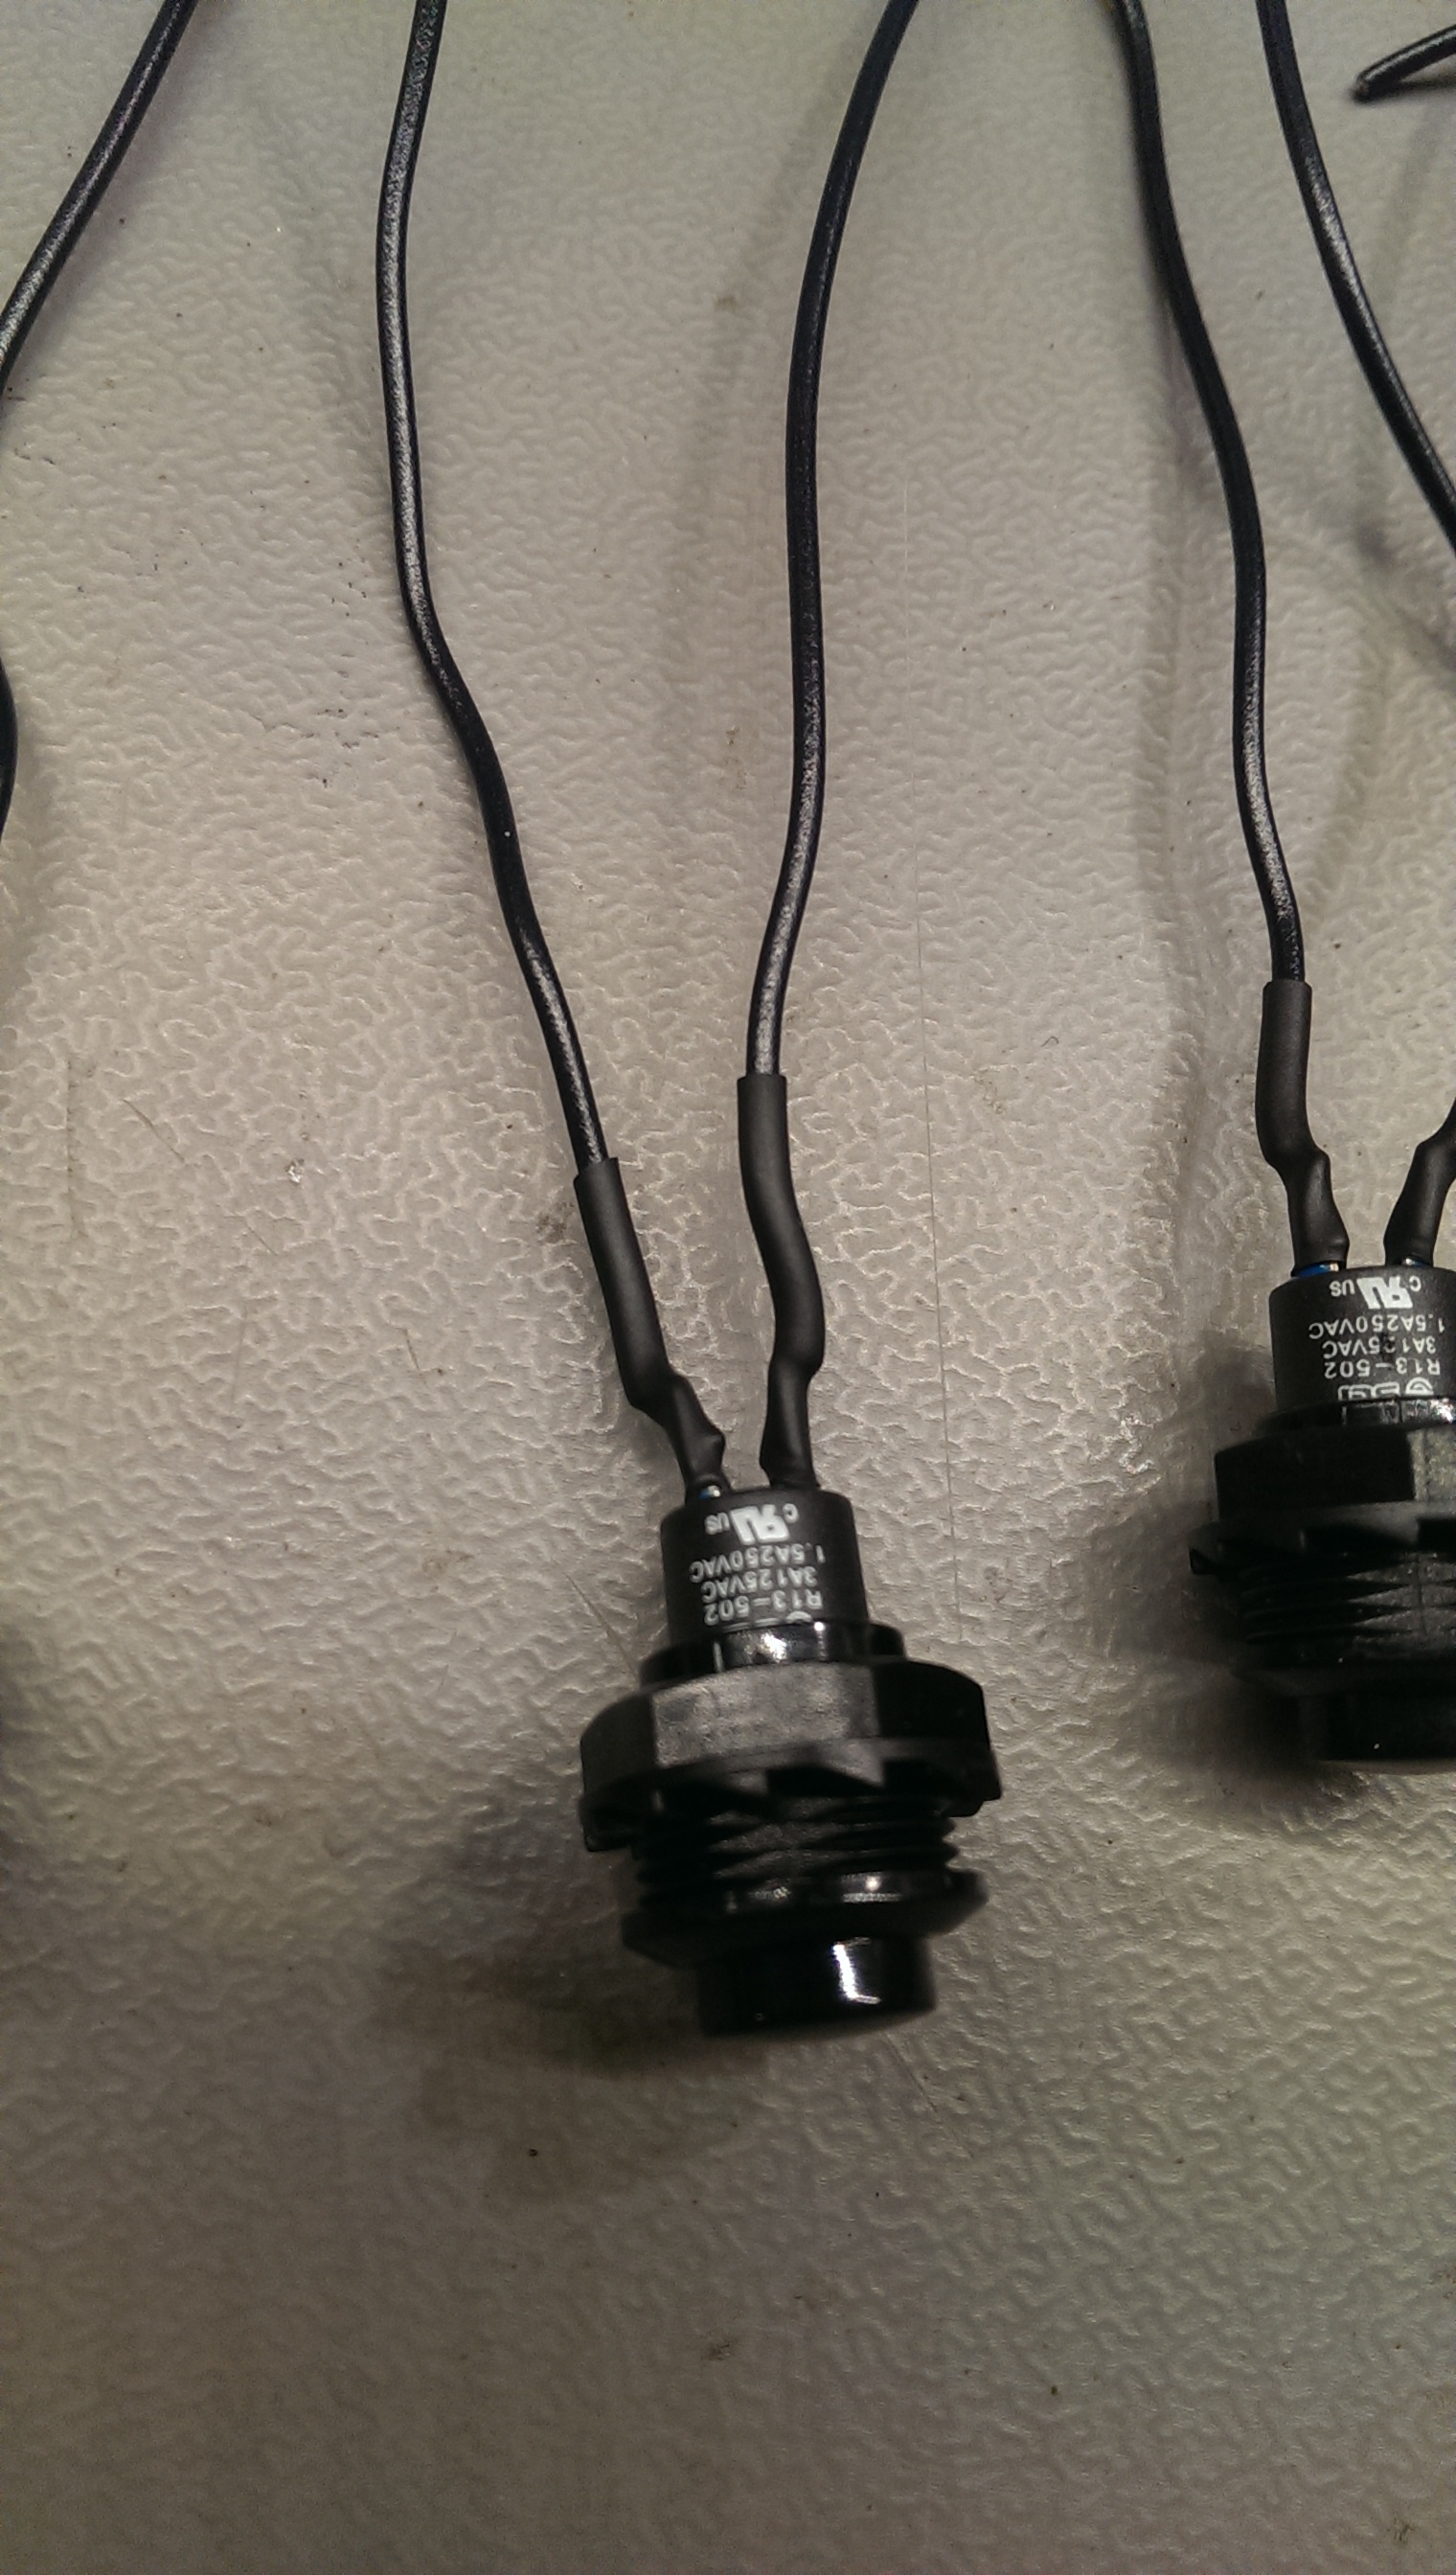
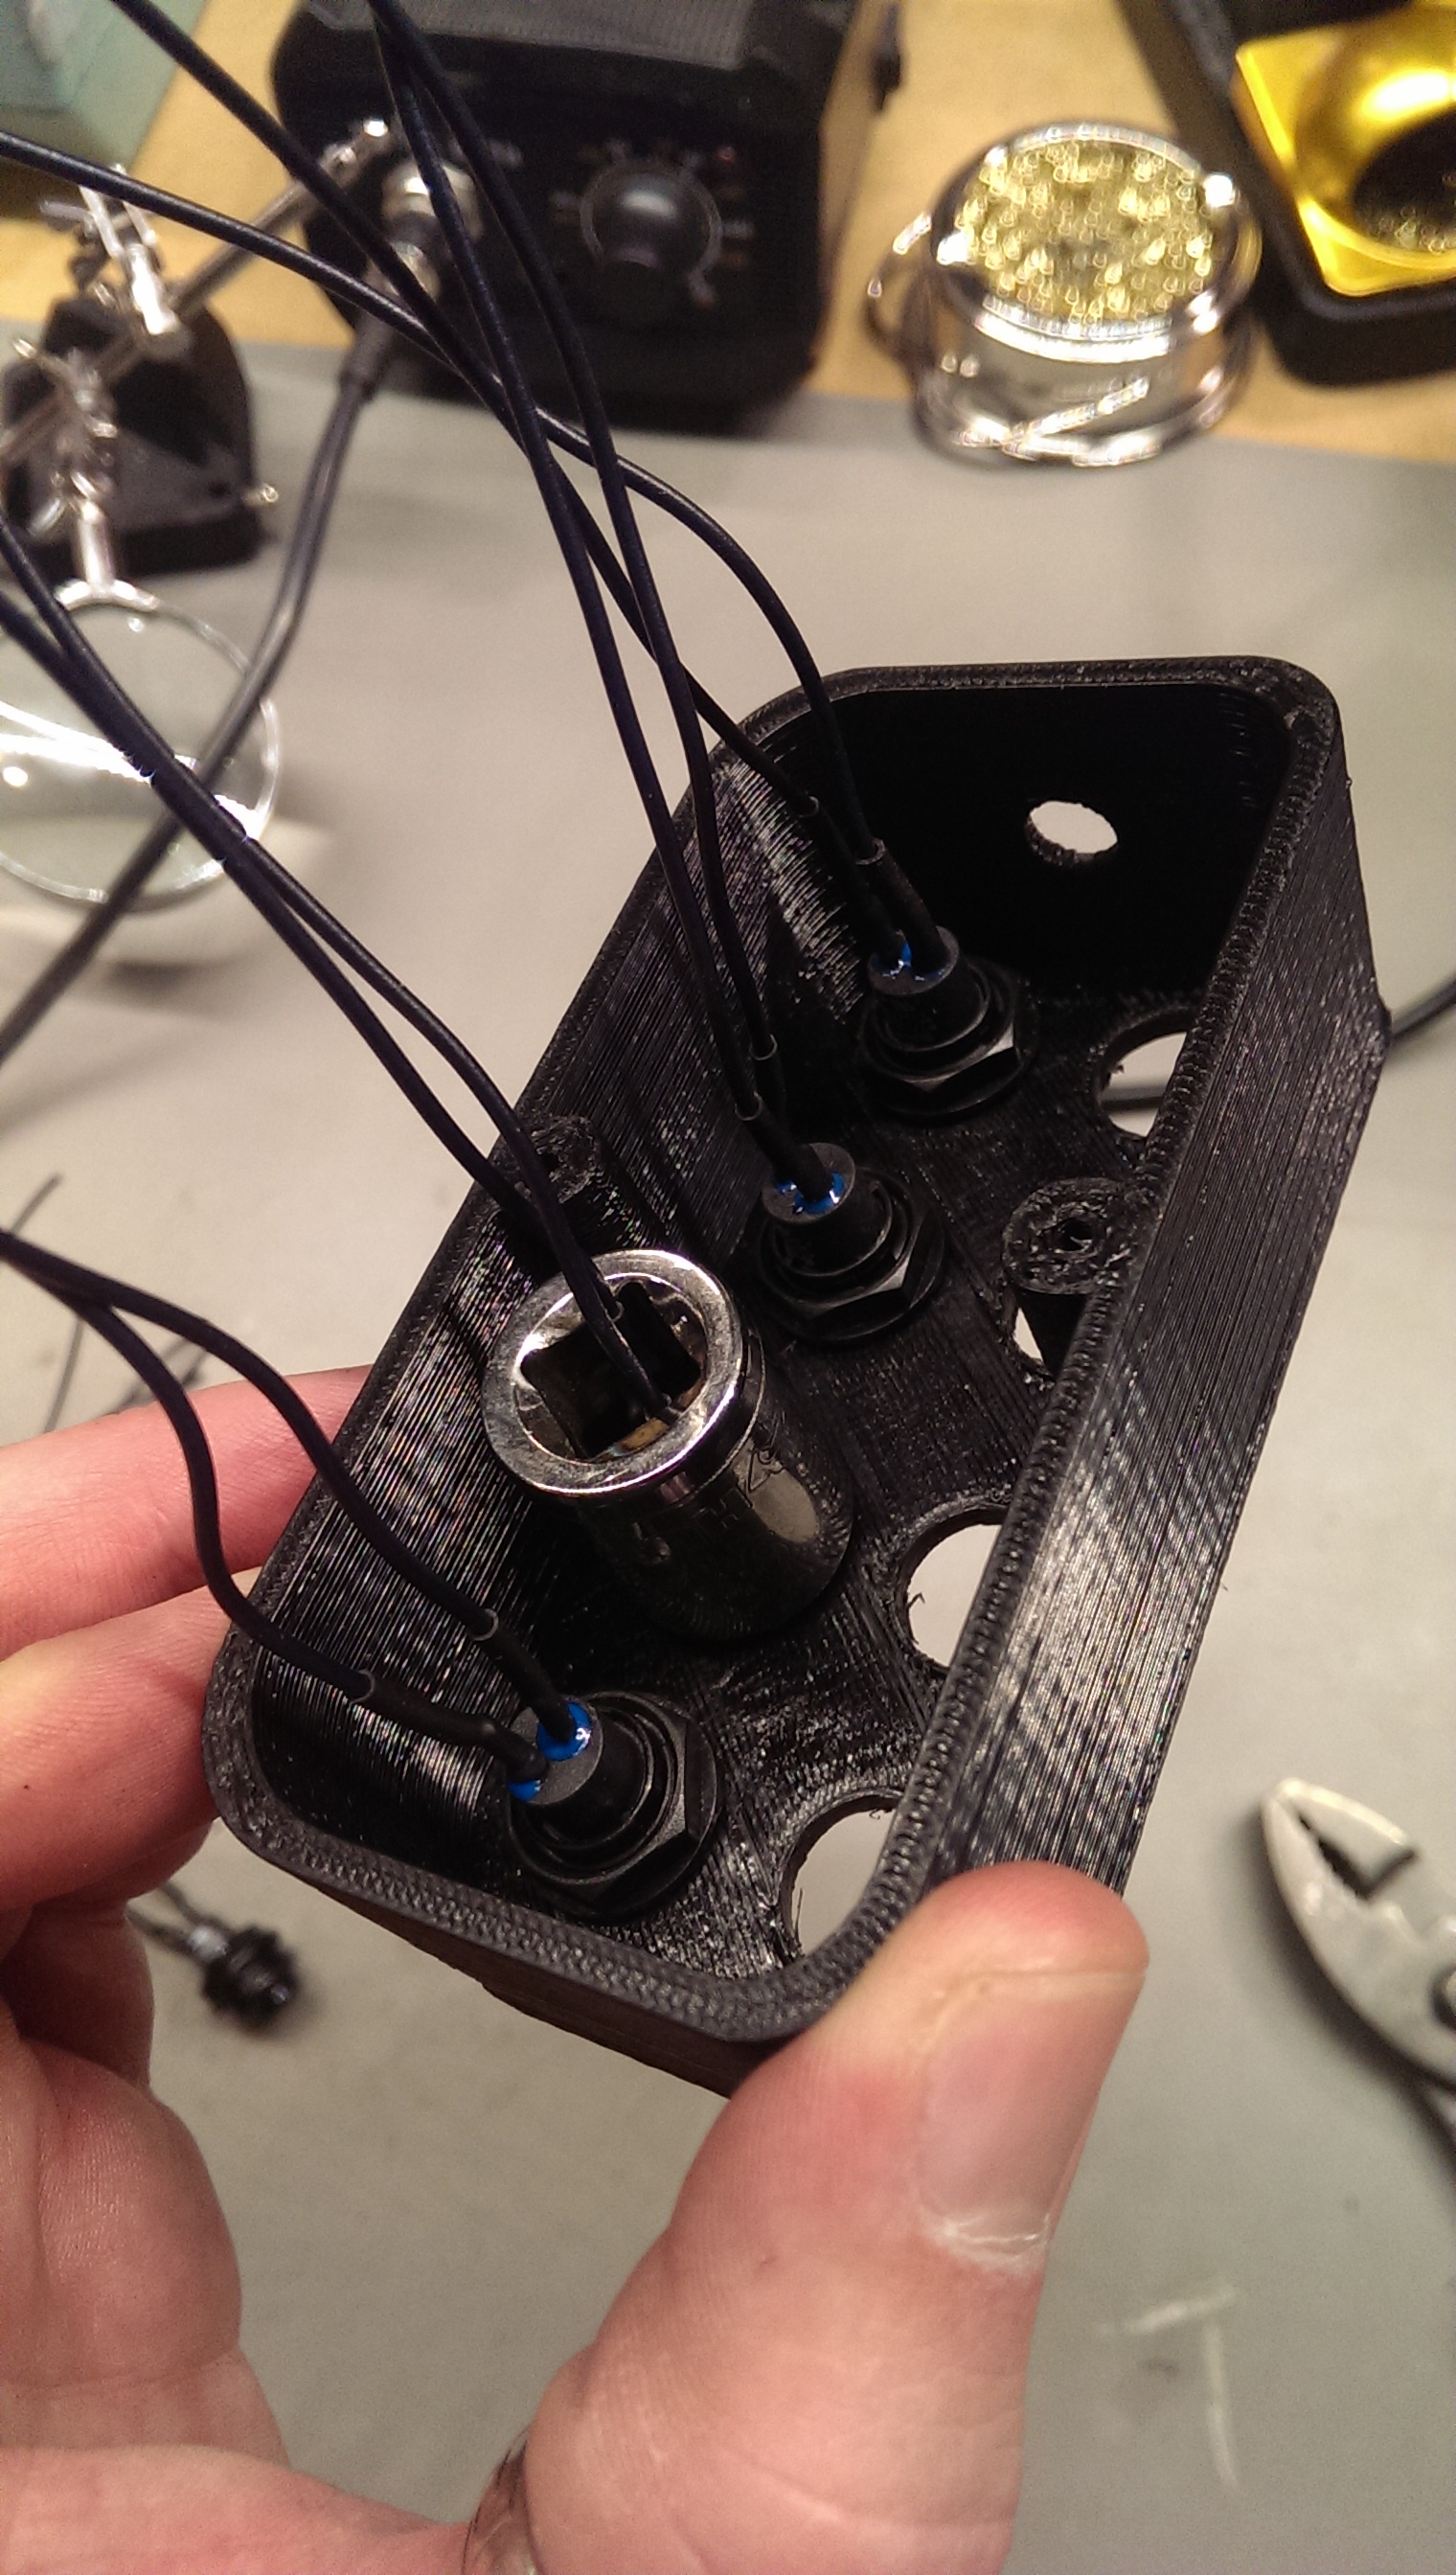
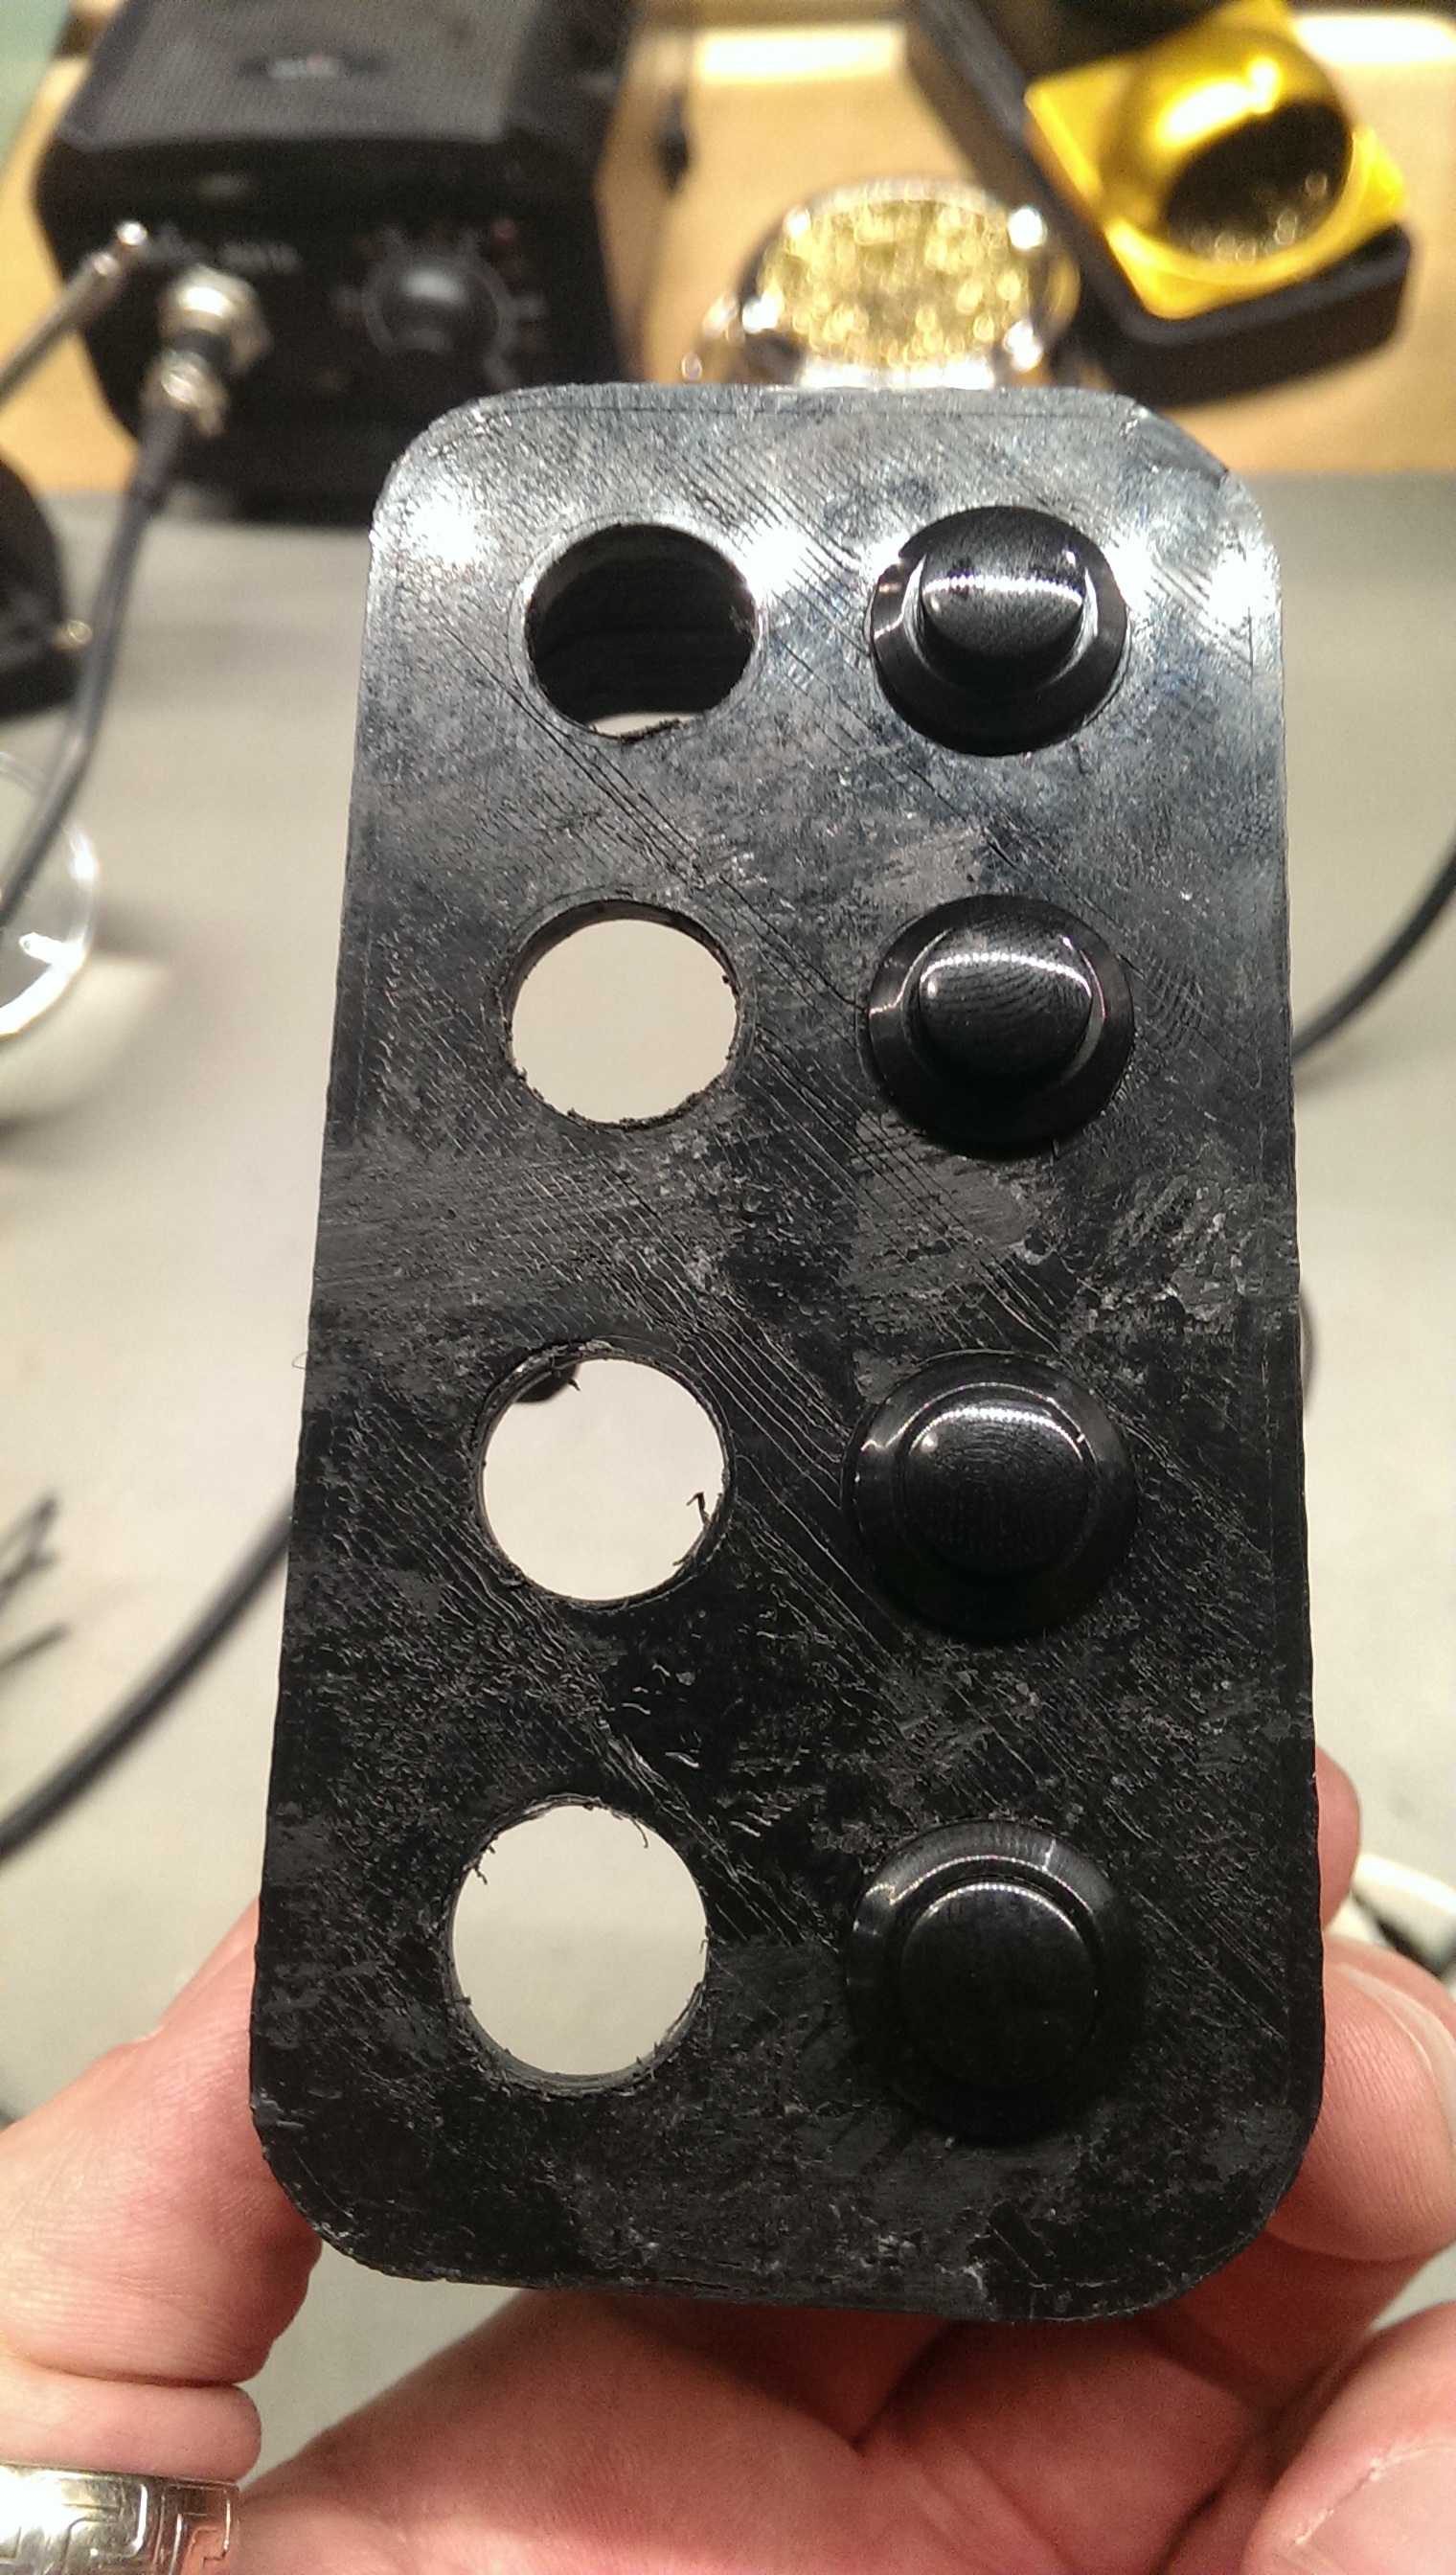
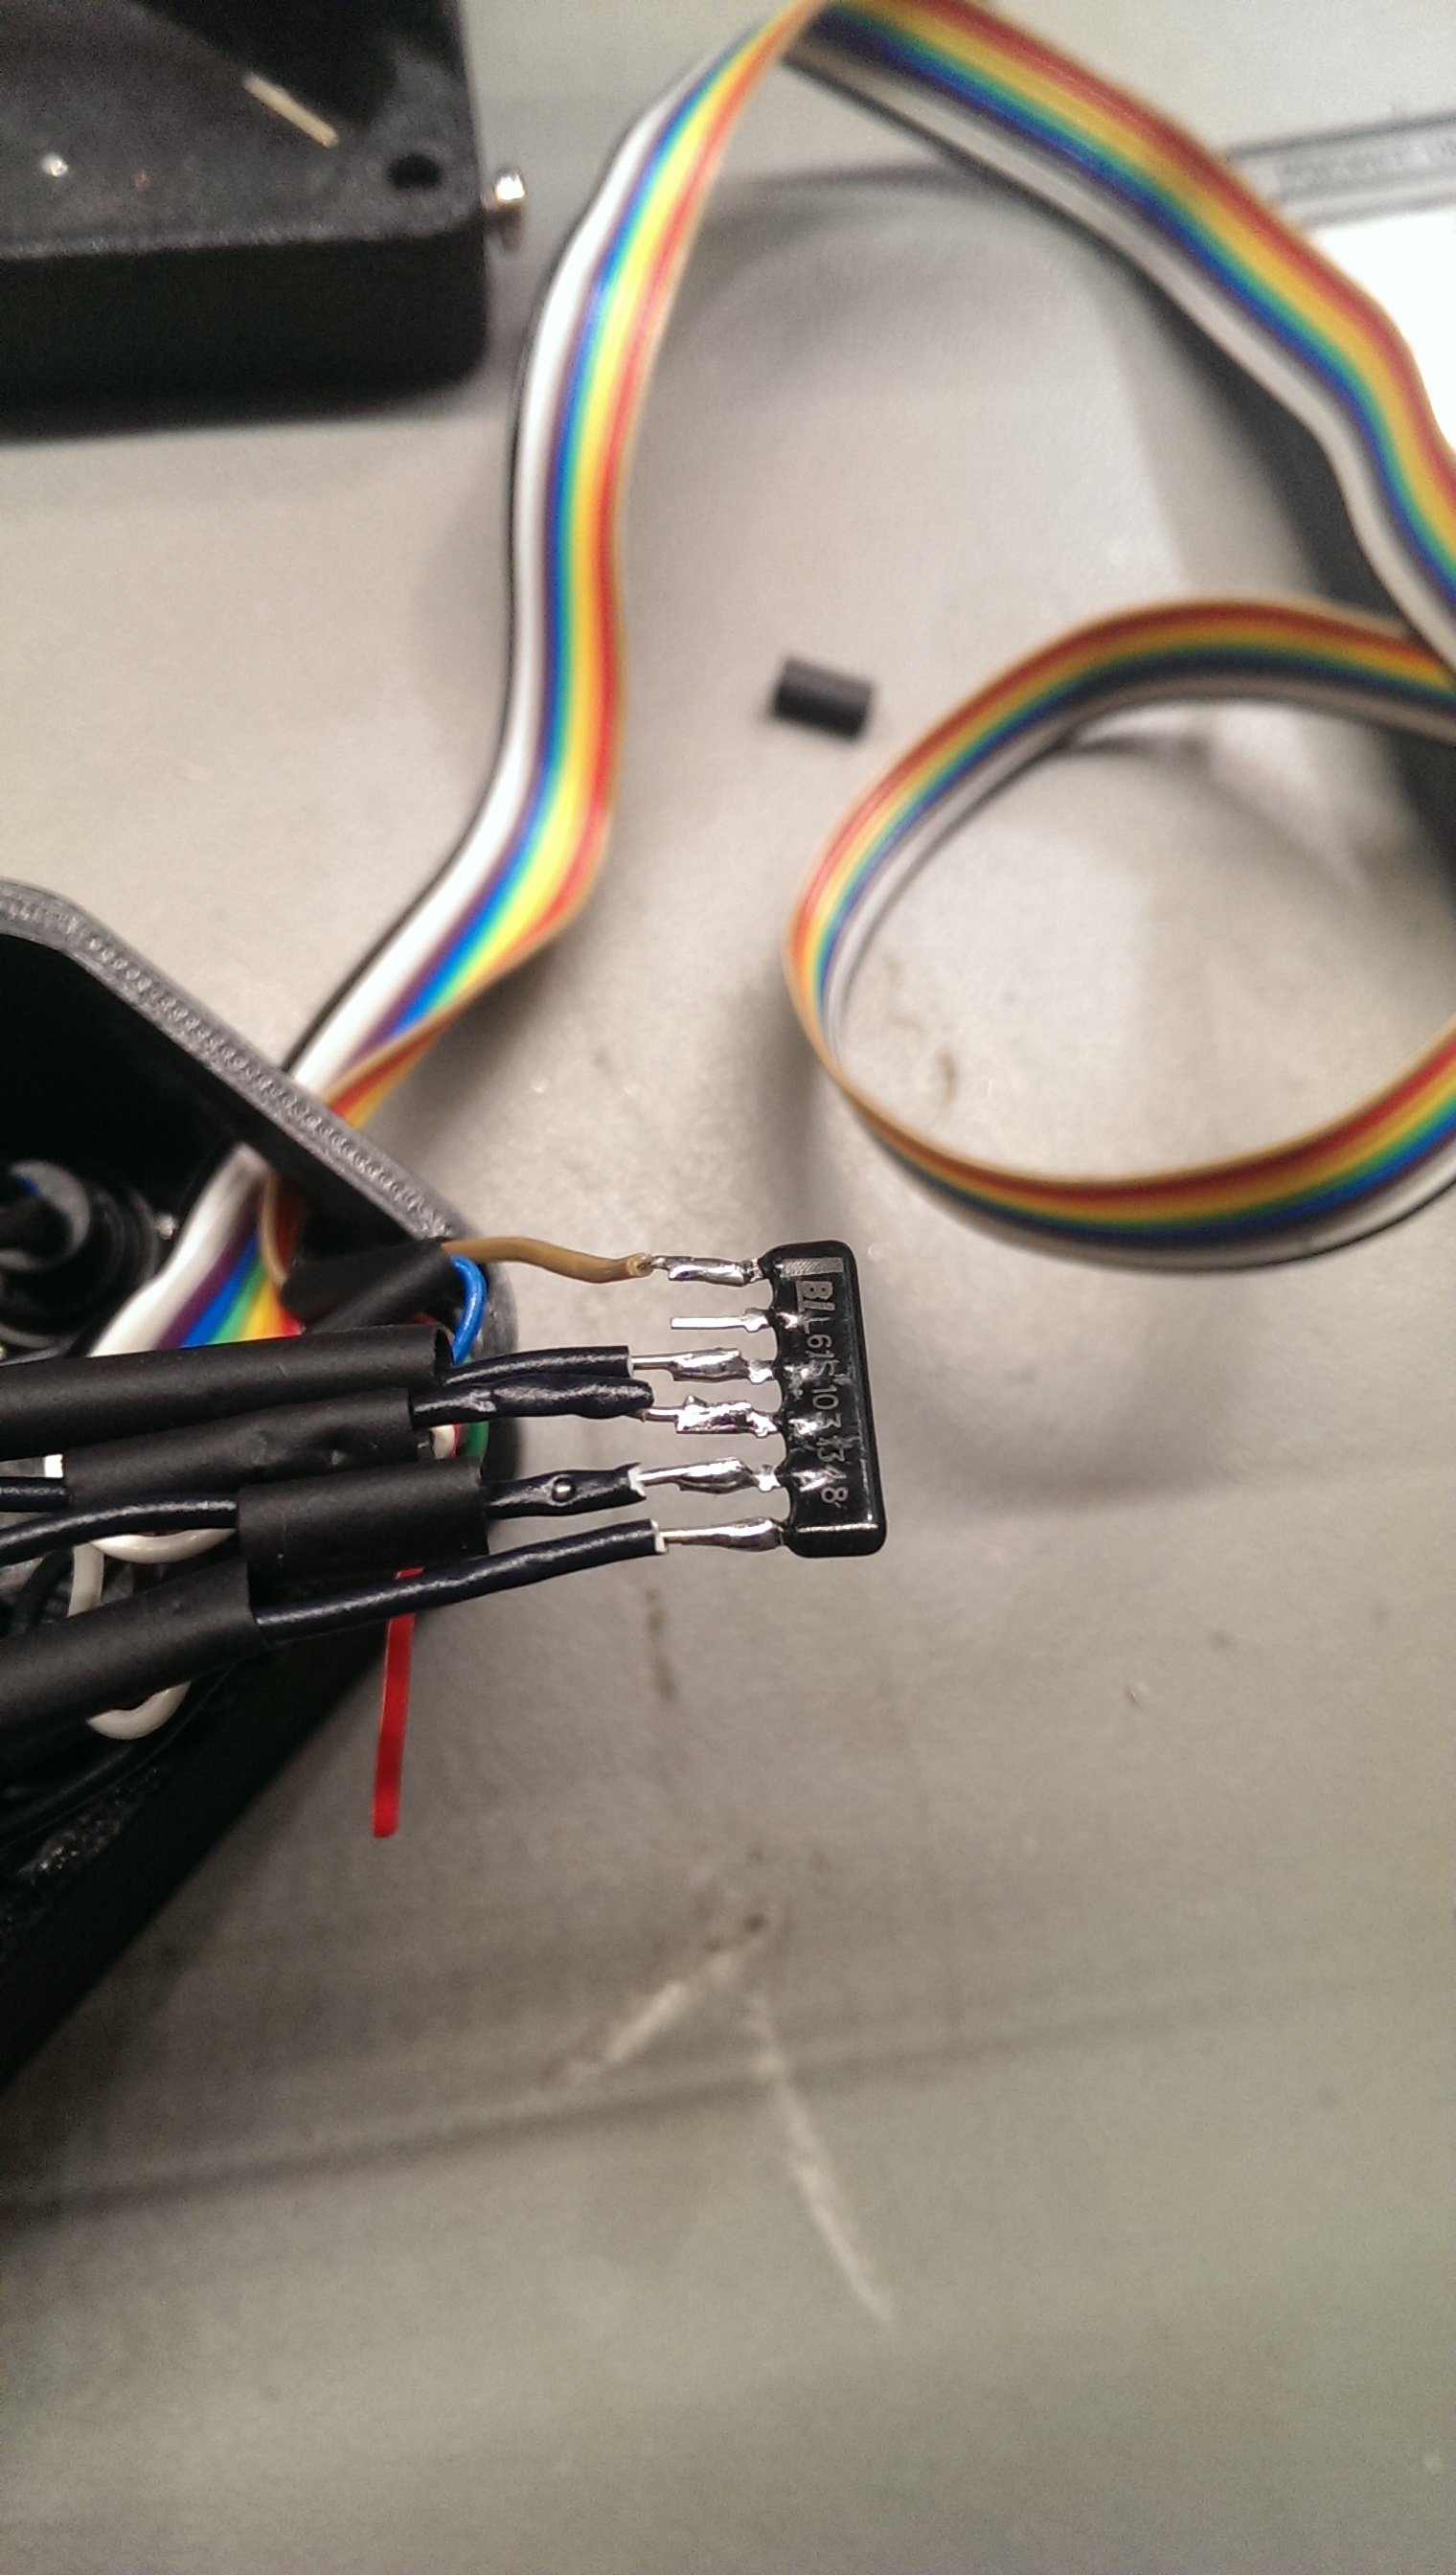
Array 1 is 8 mini arcade buttons soldered to ribbon cable on one side and on the other side of the button soldered into two 10K resistor networks

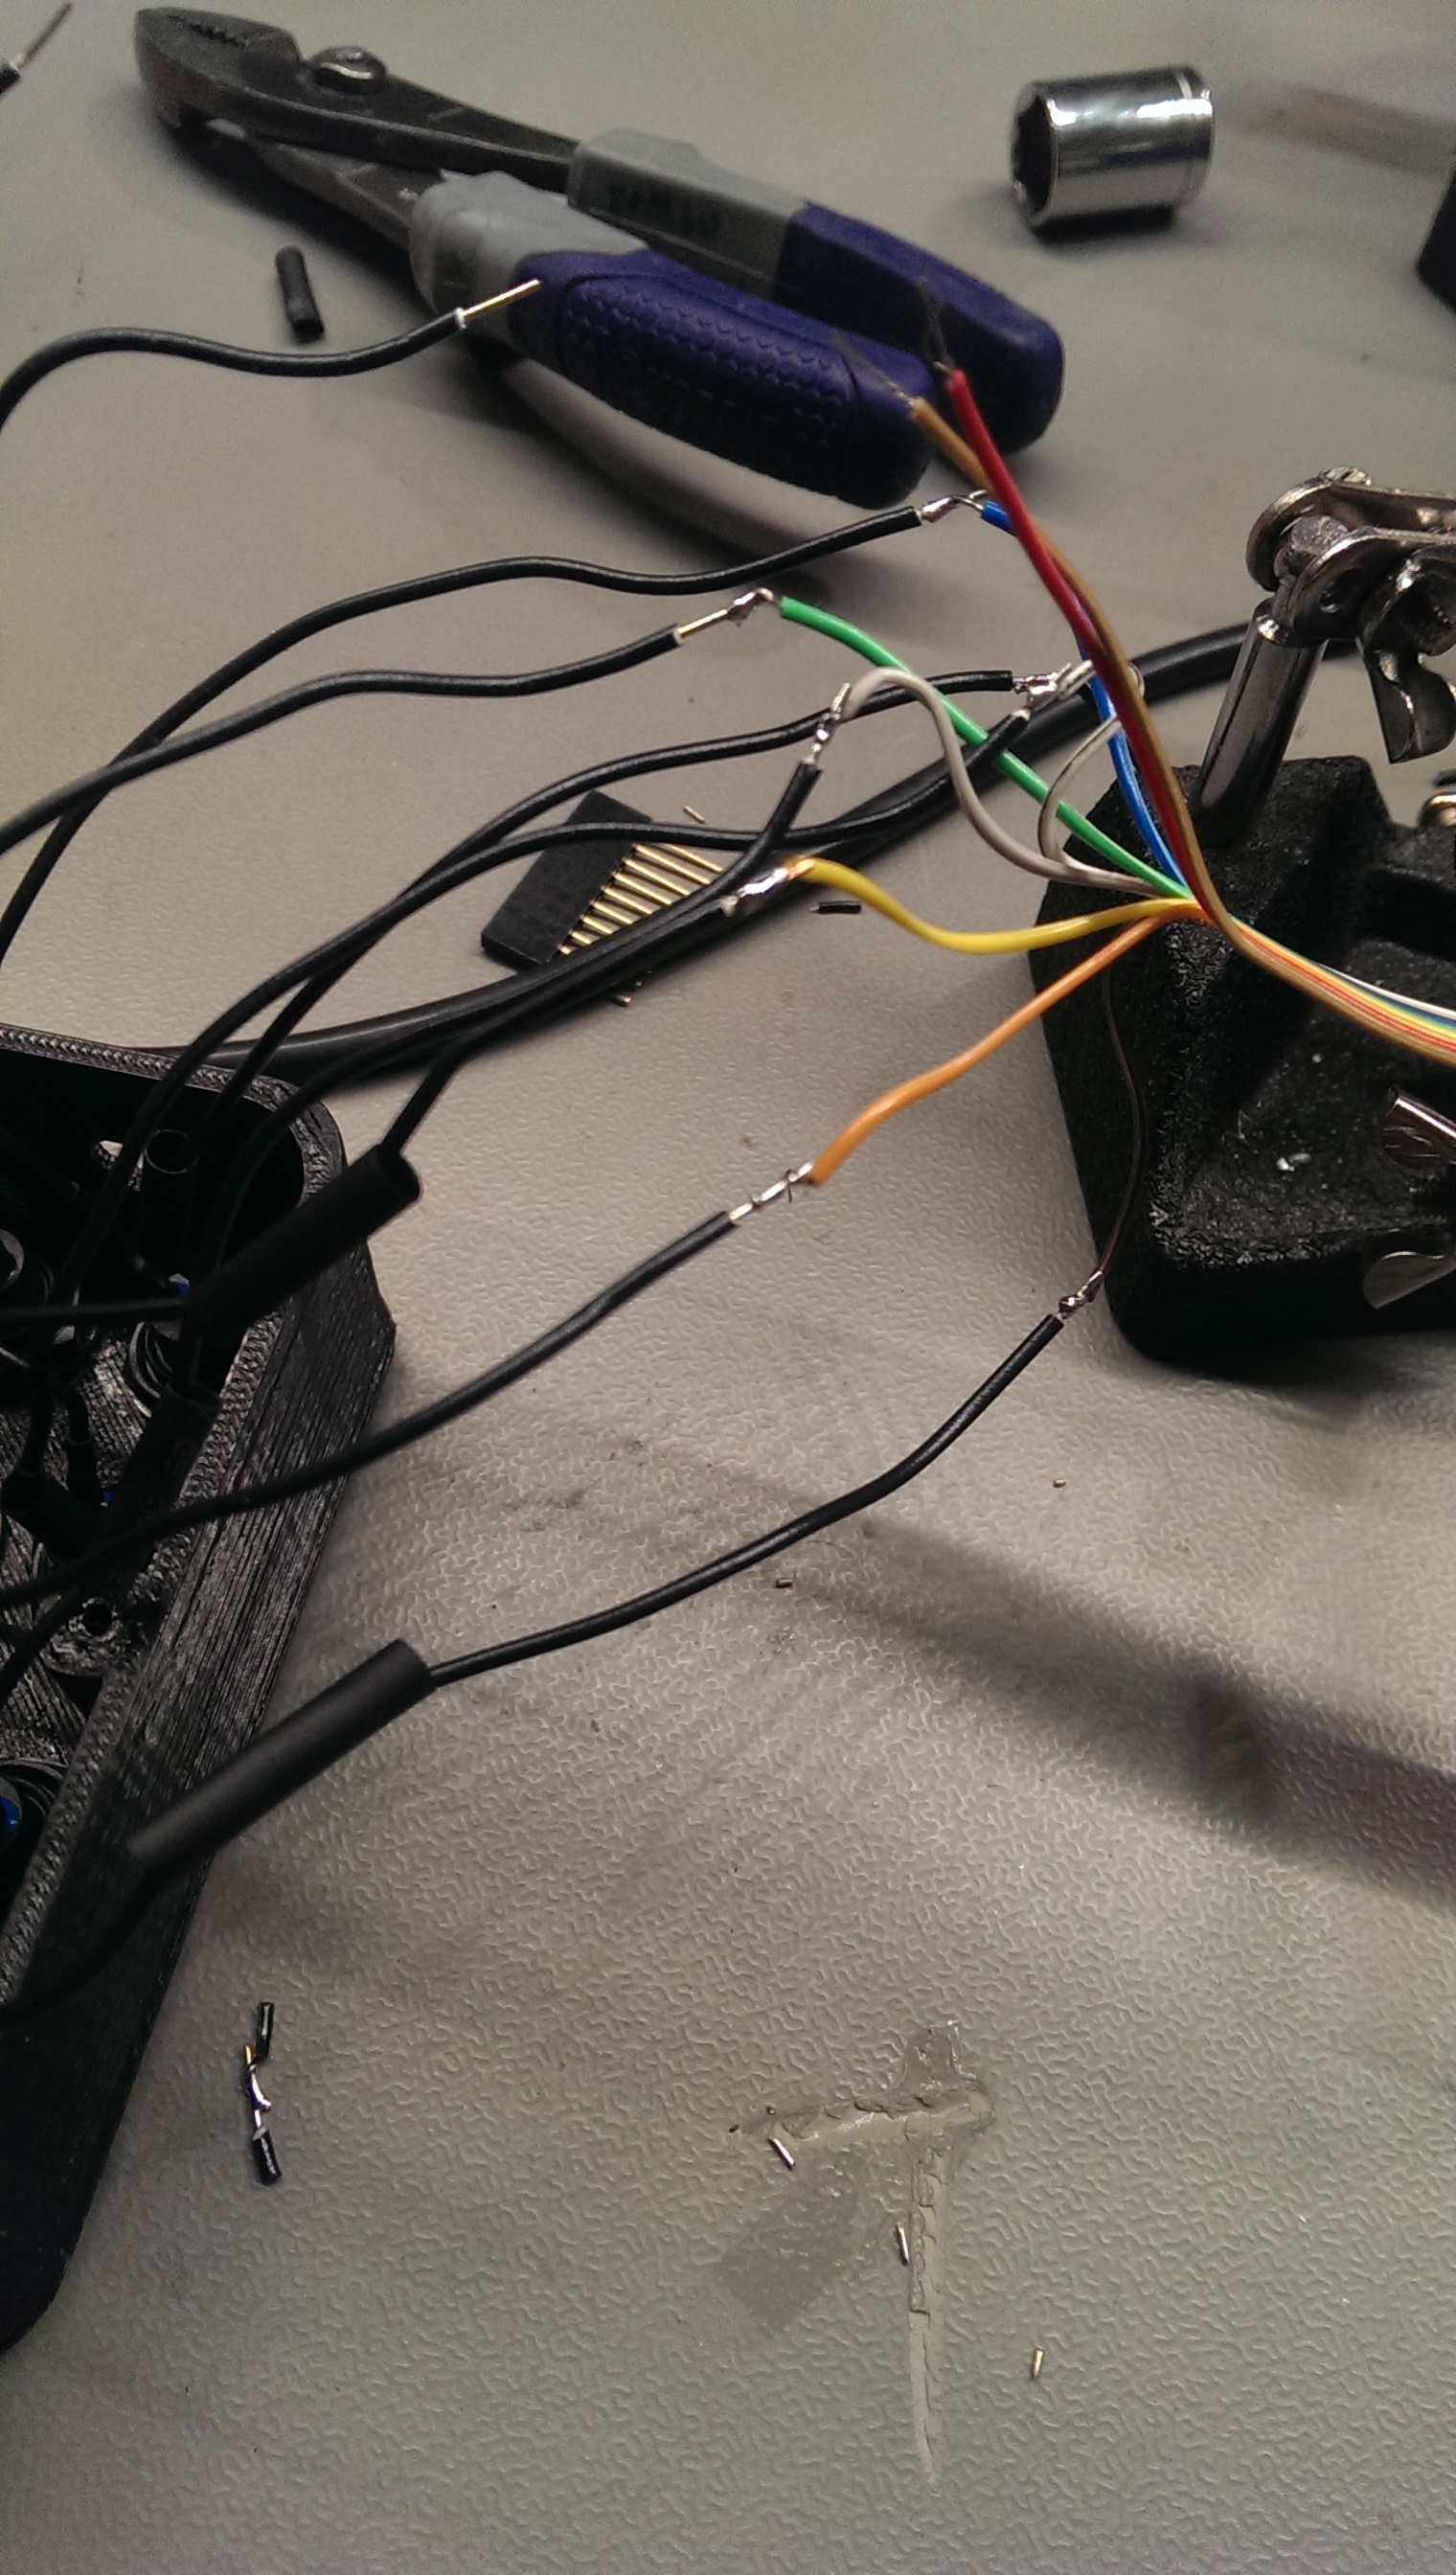
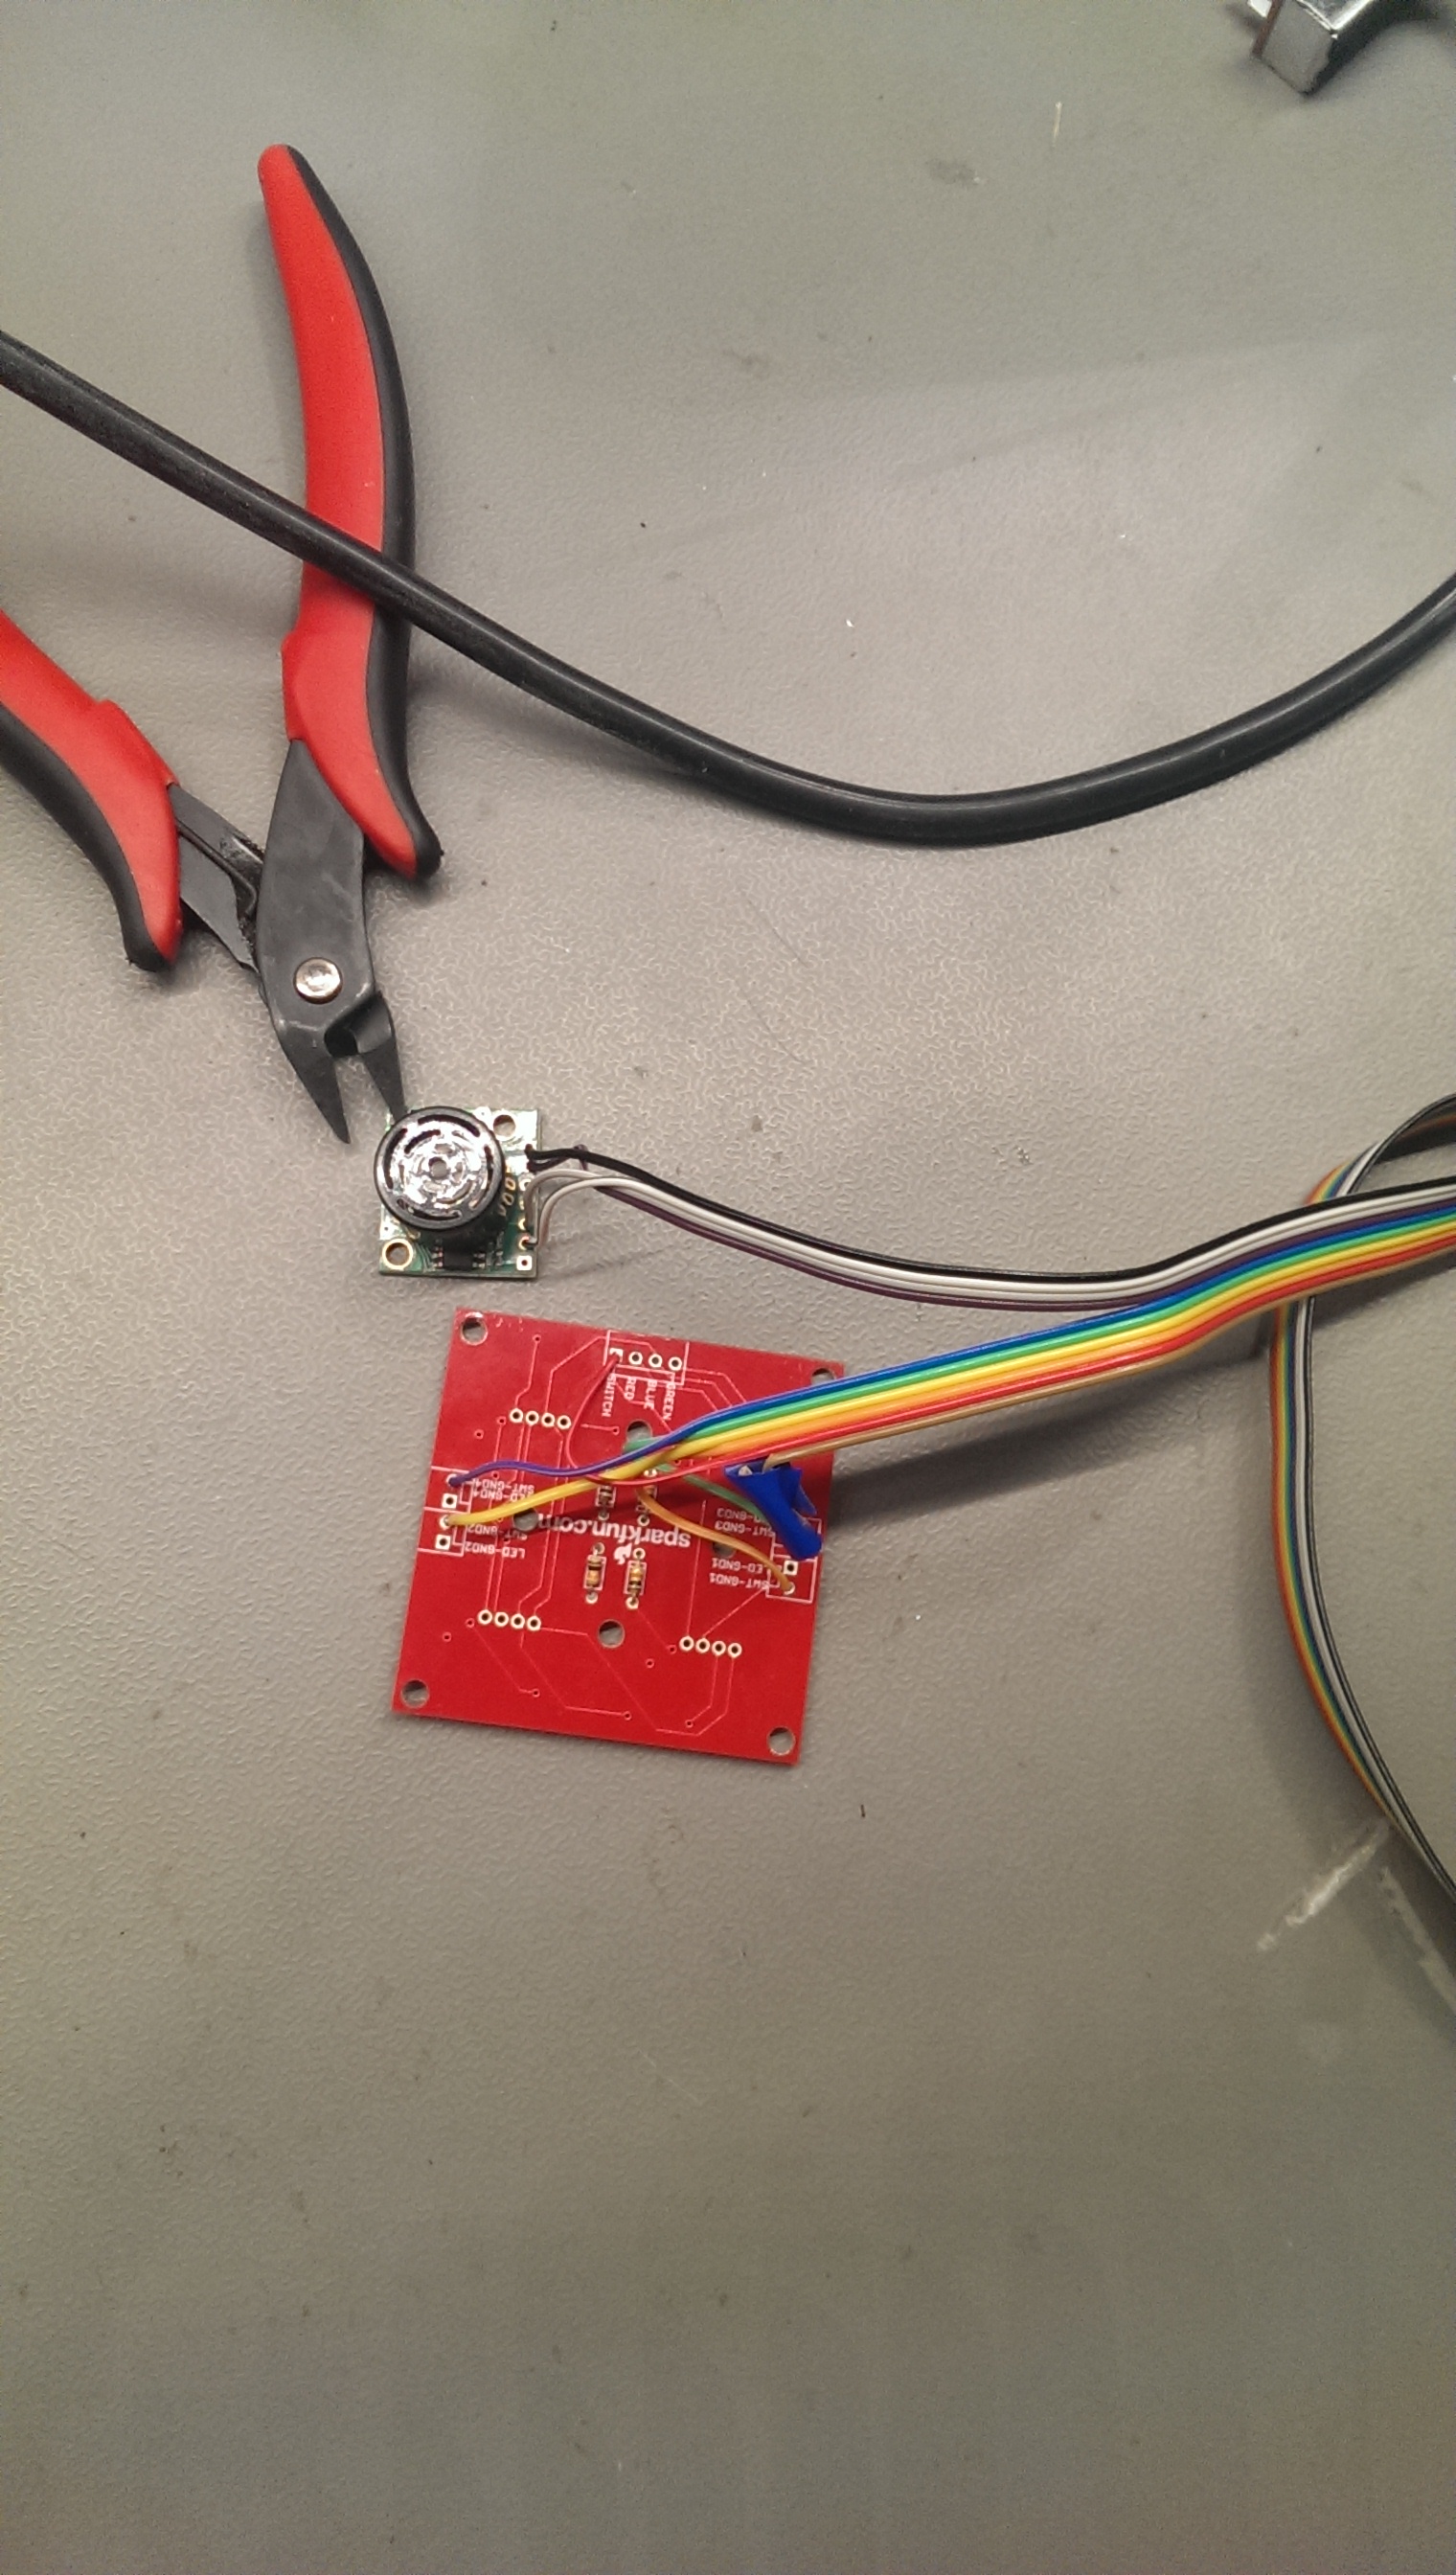
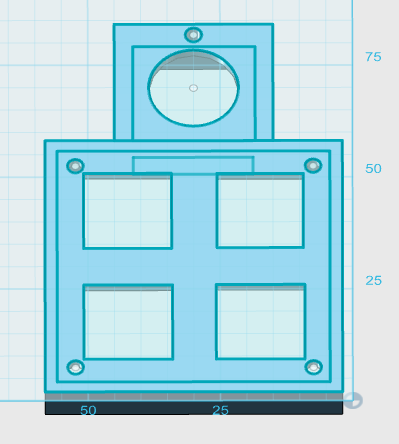
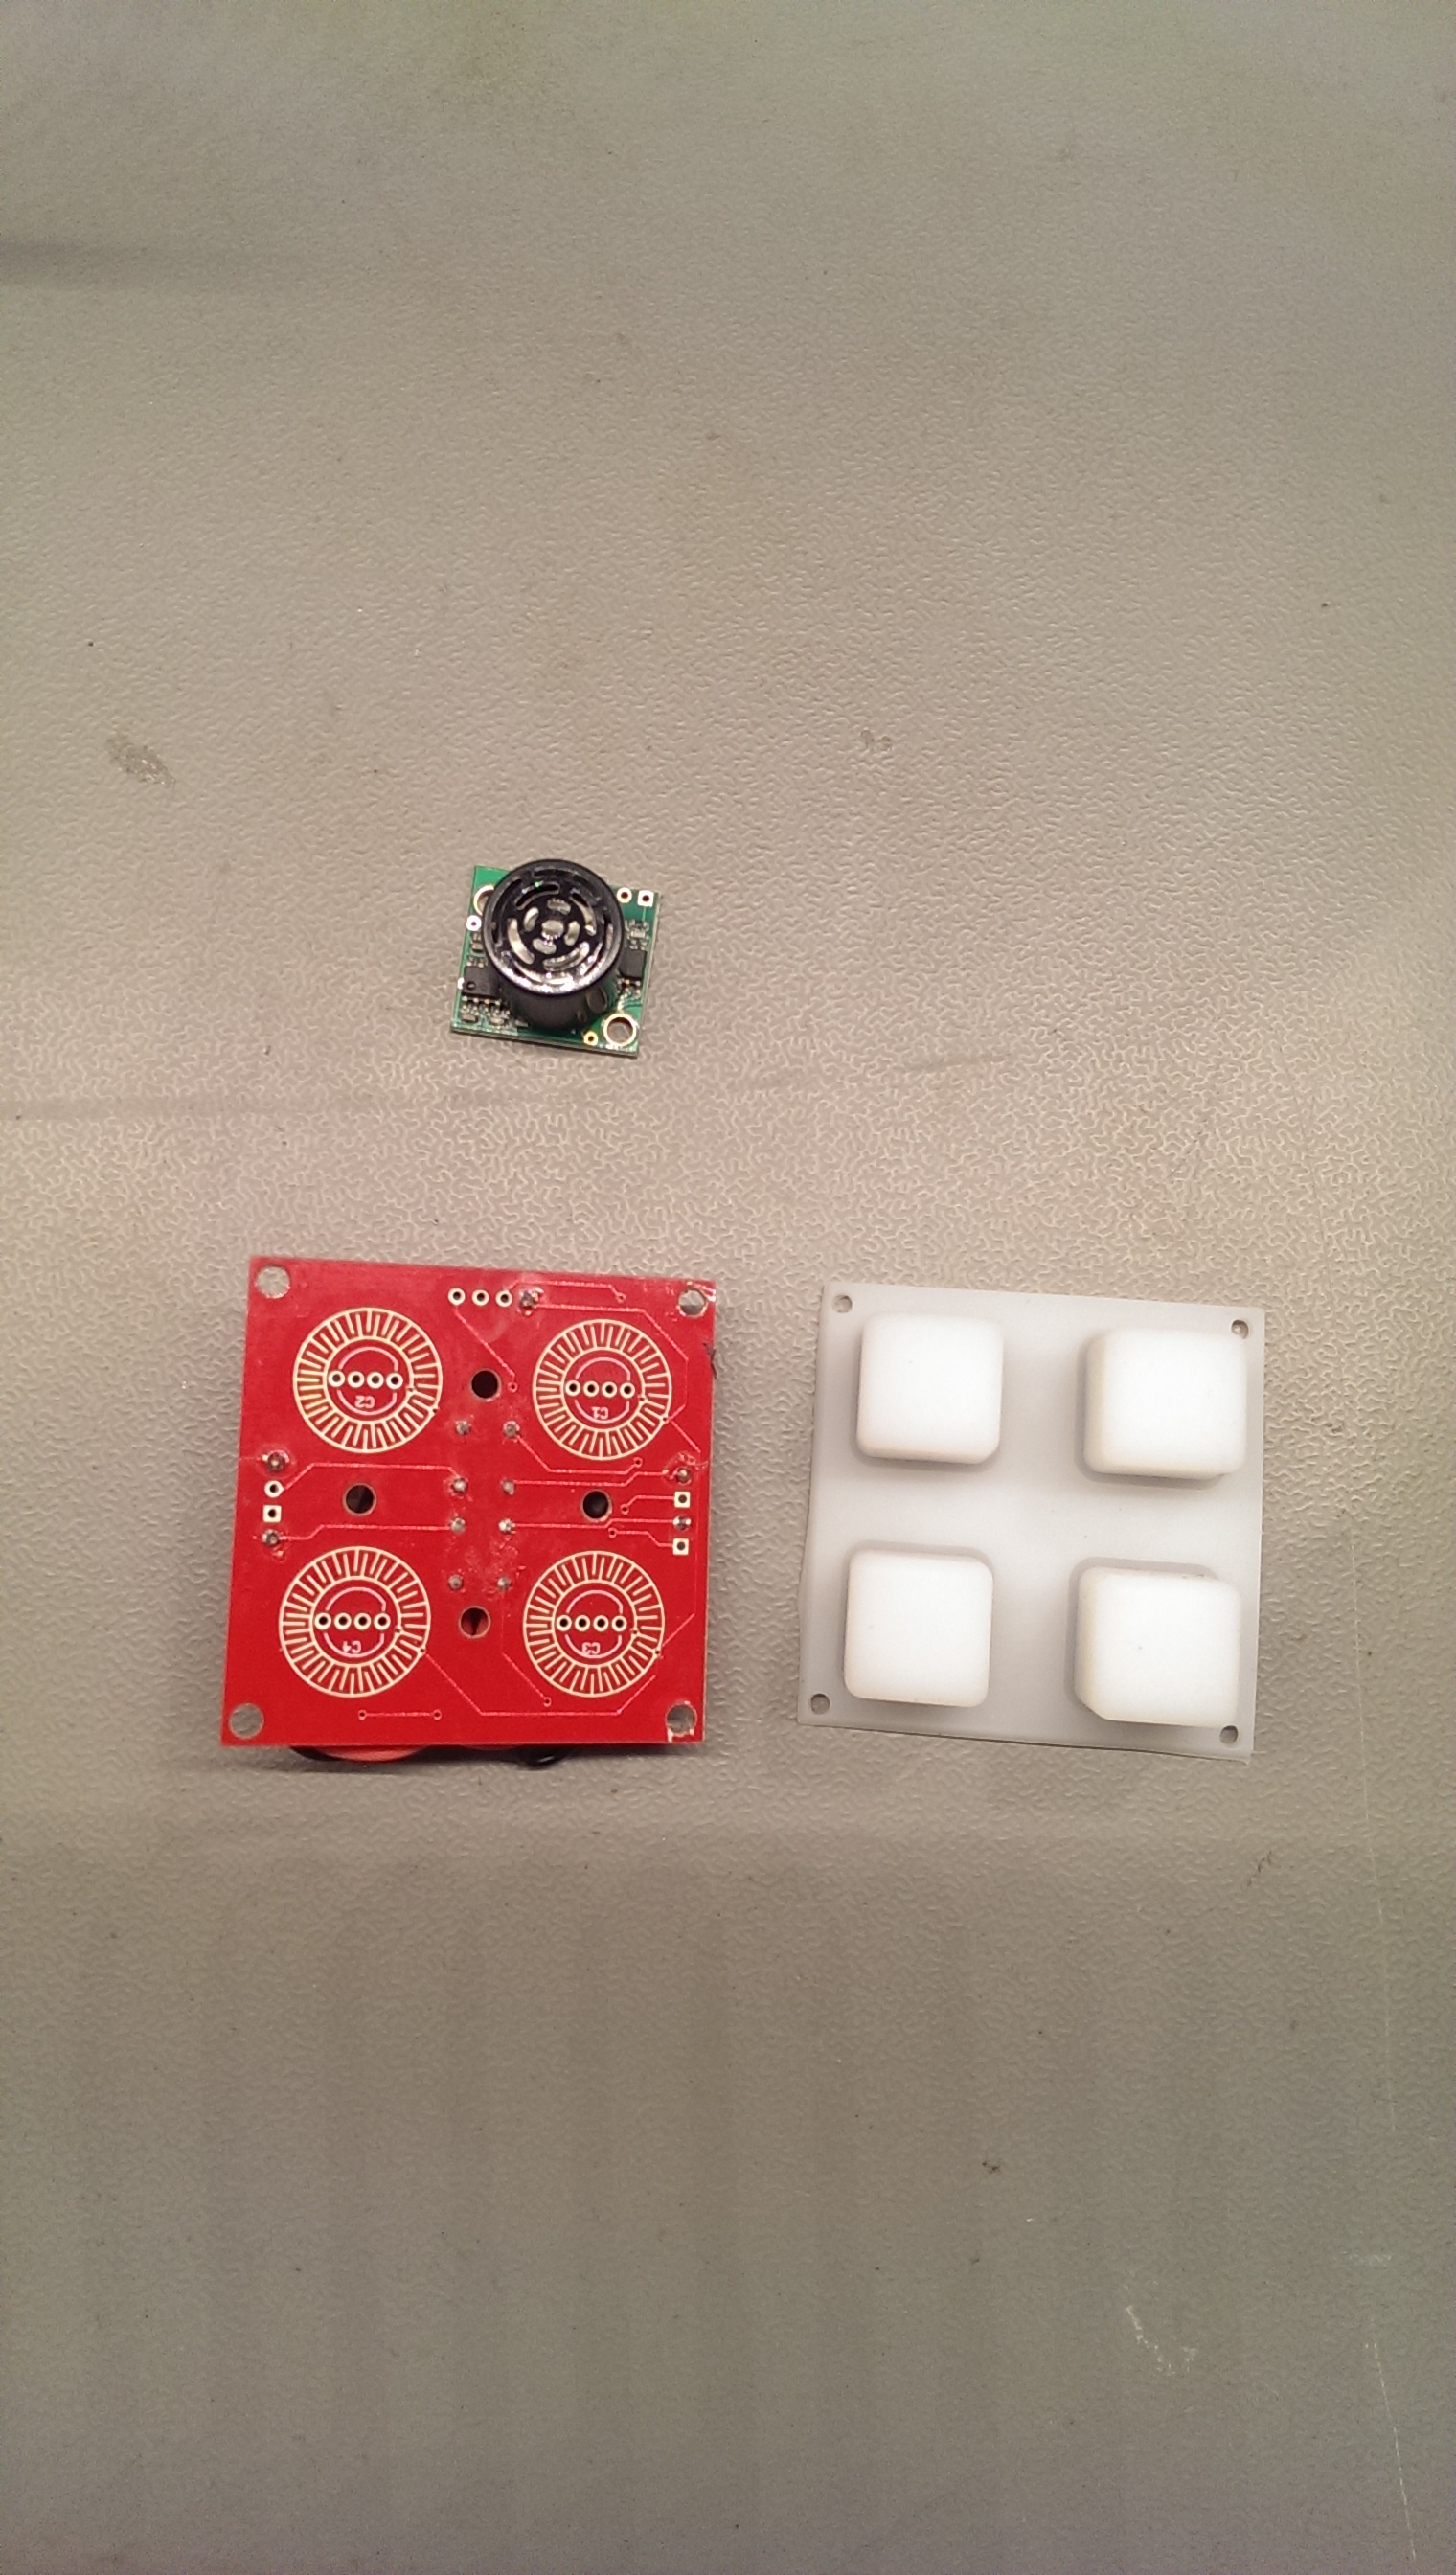
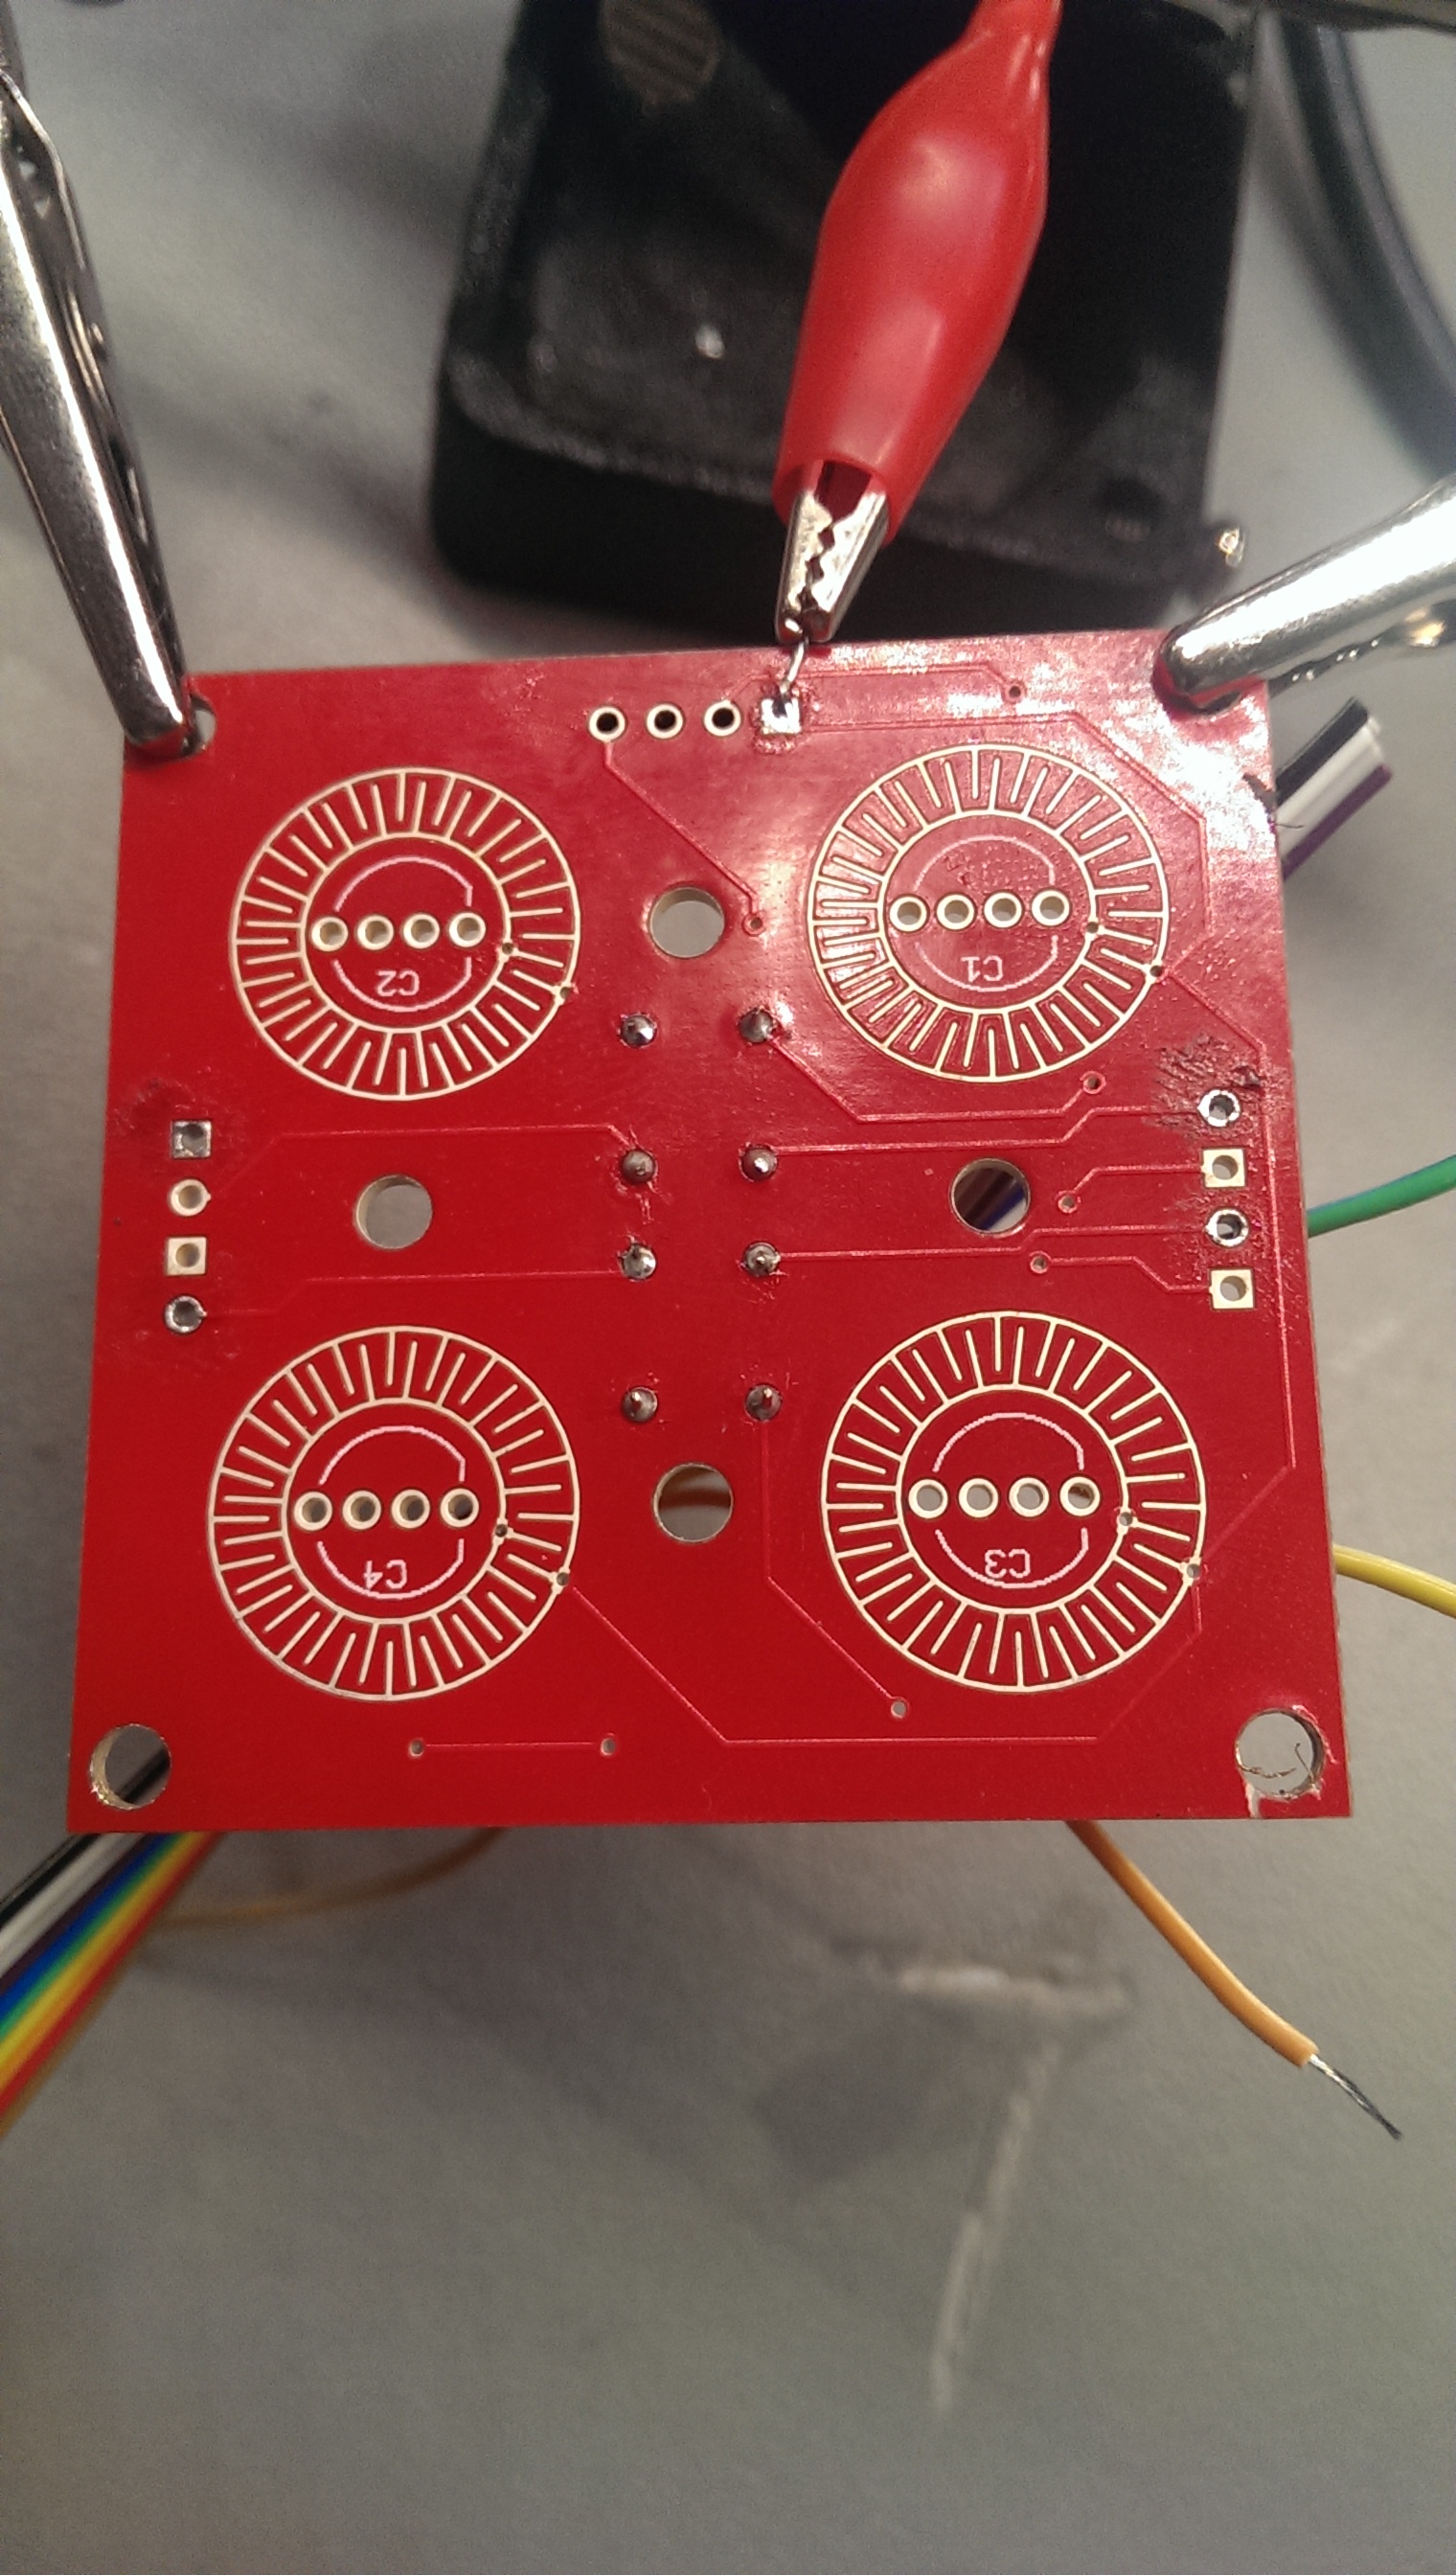
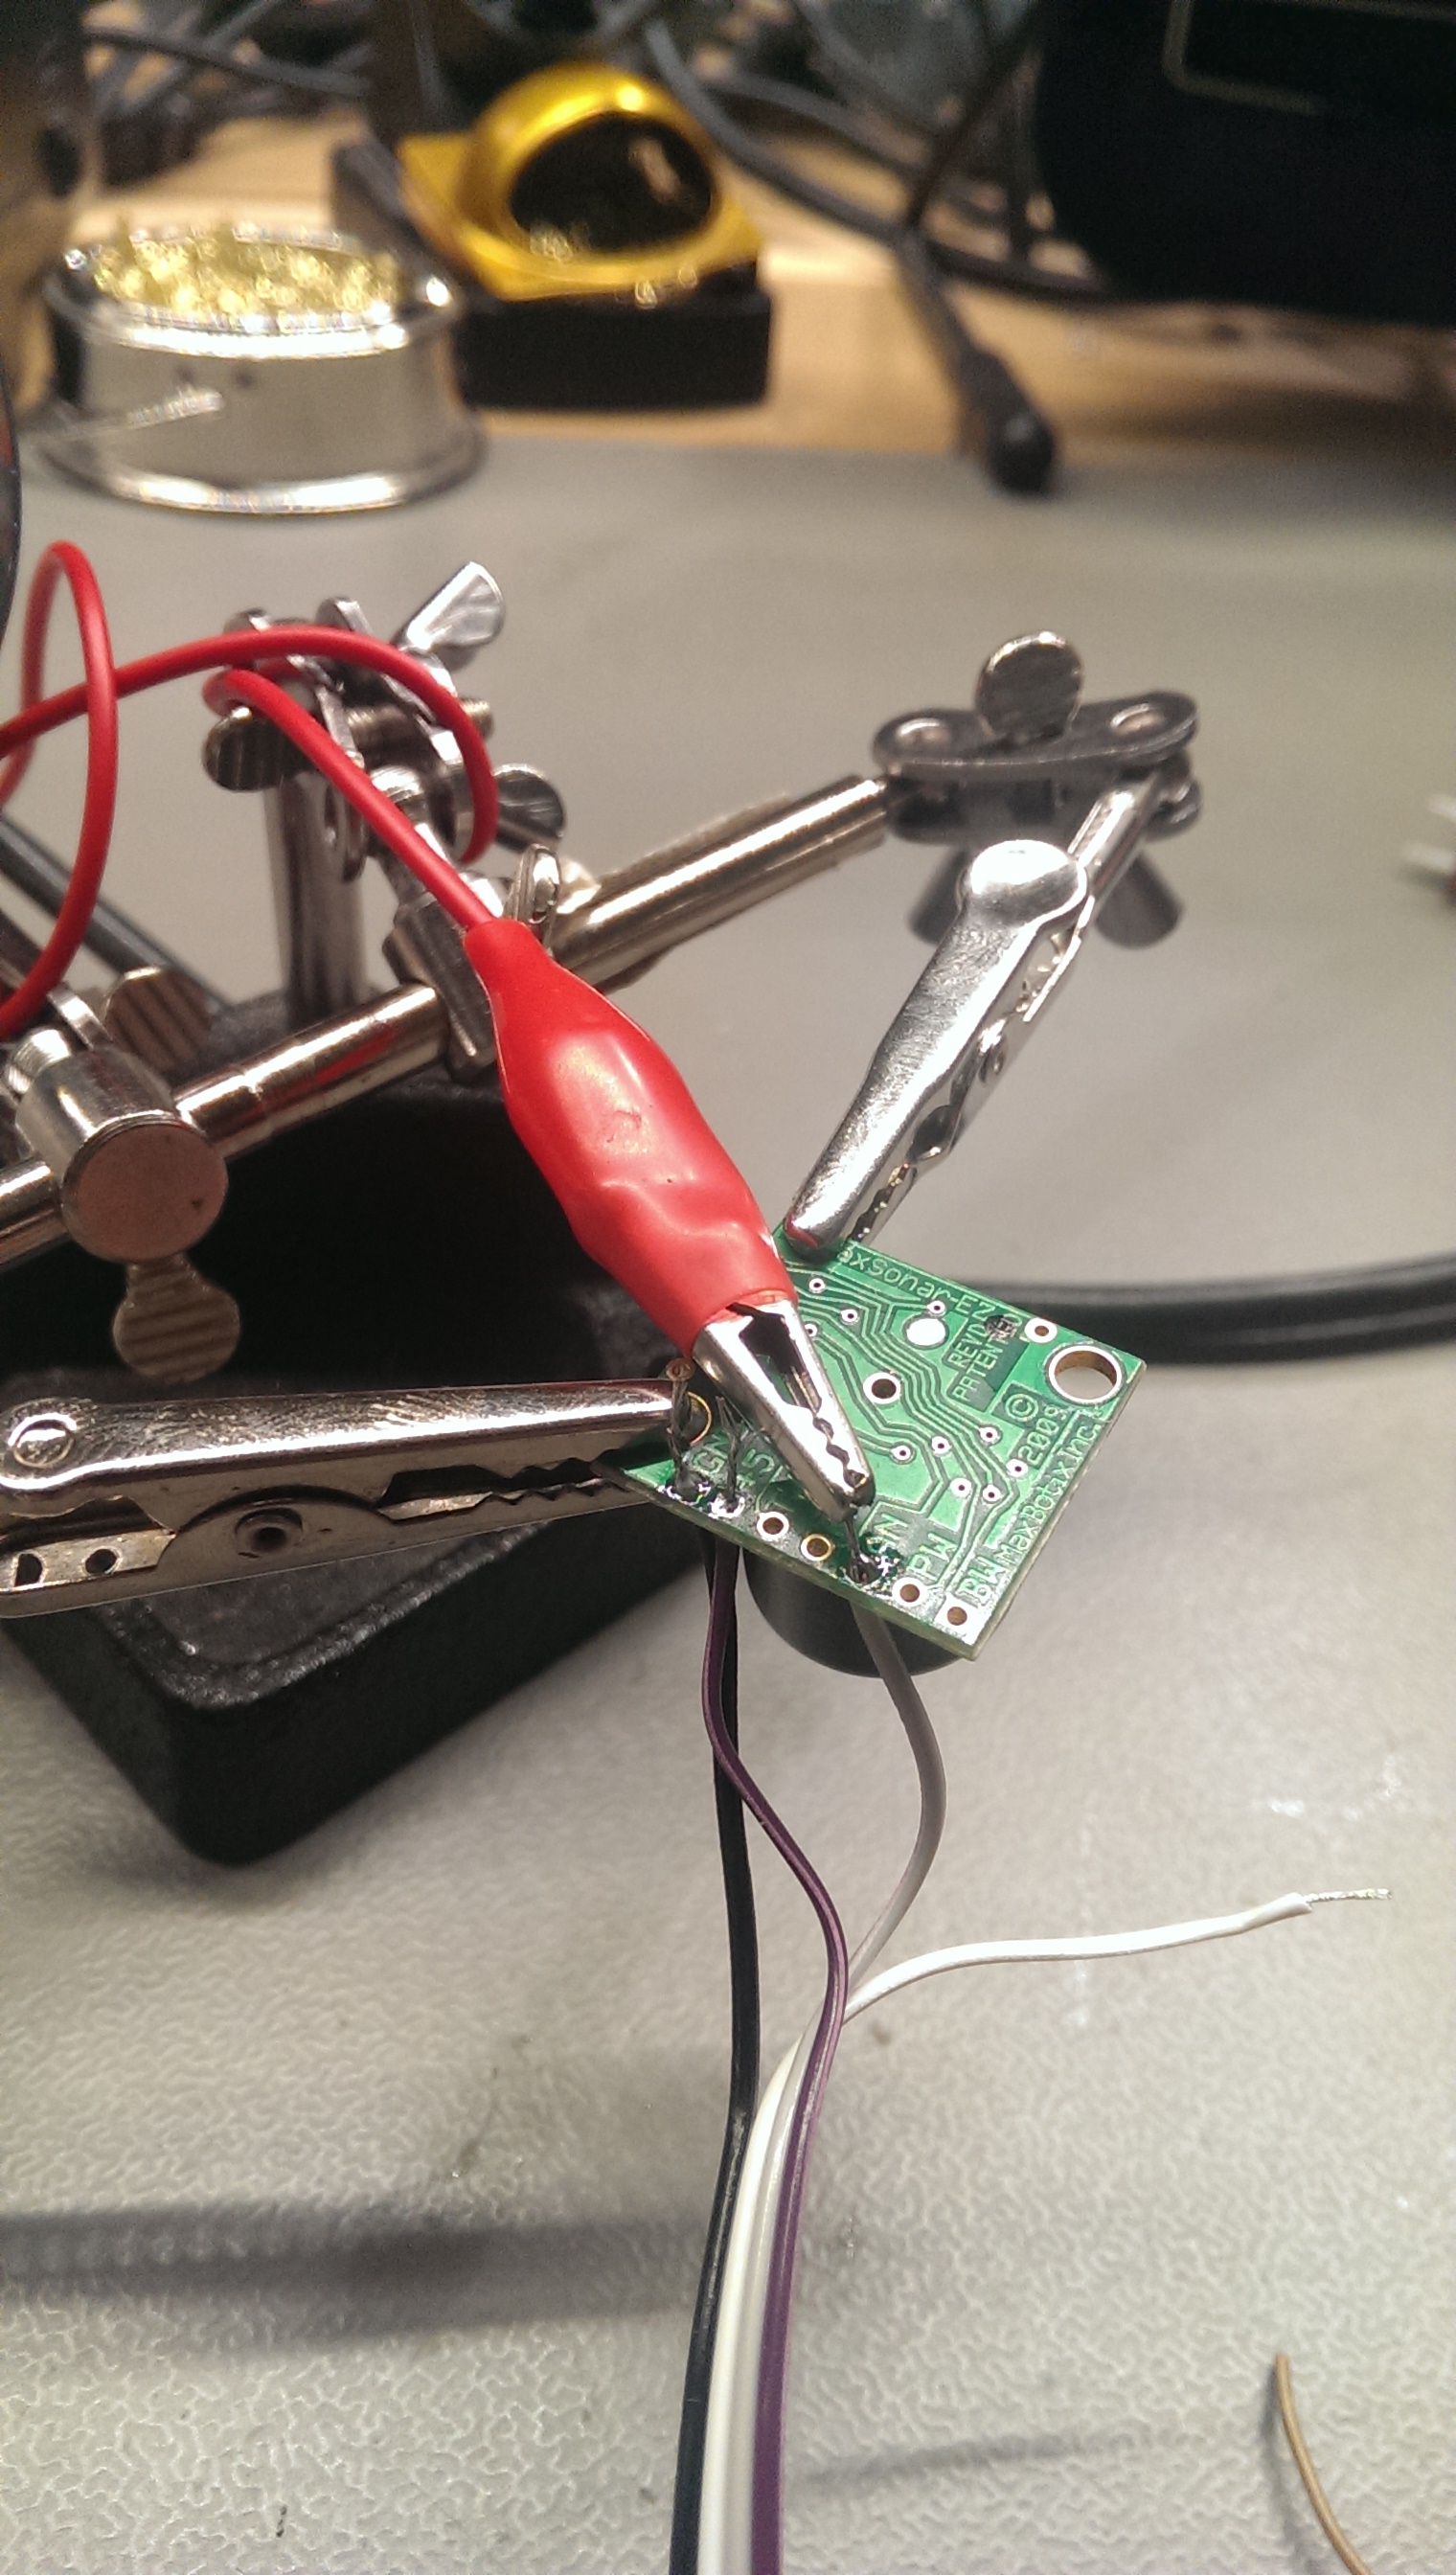
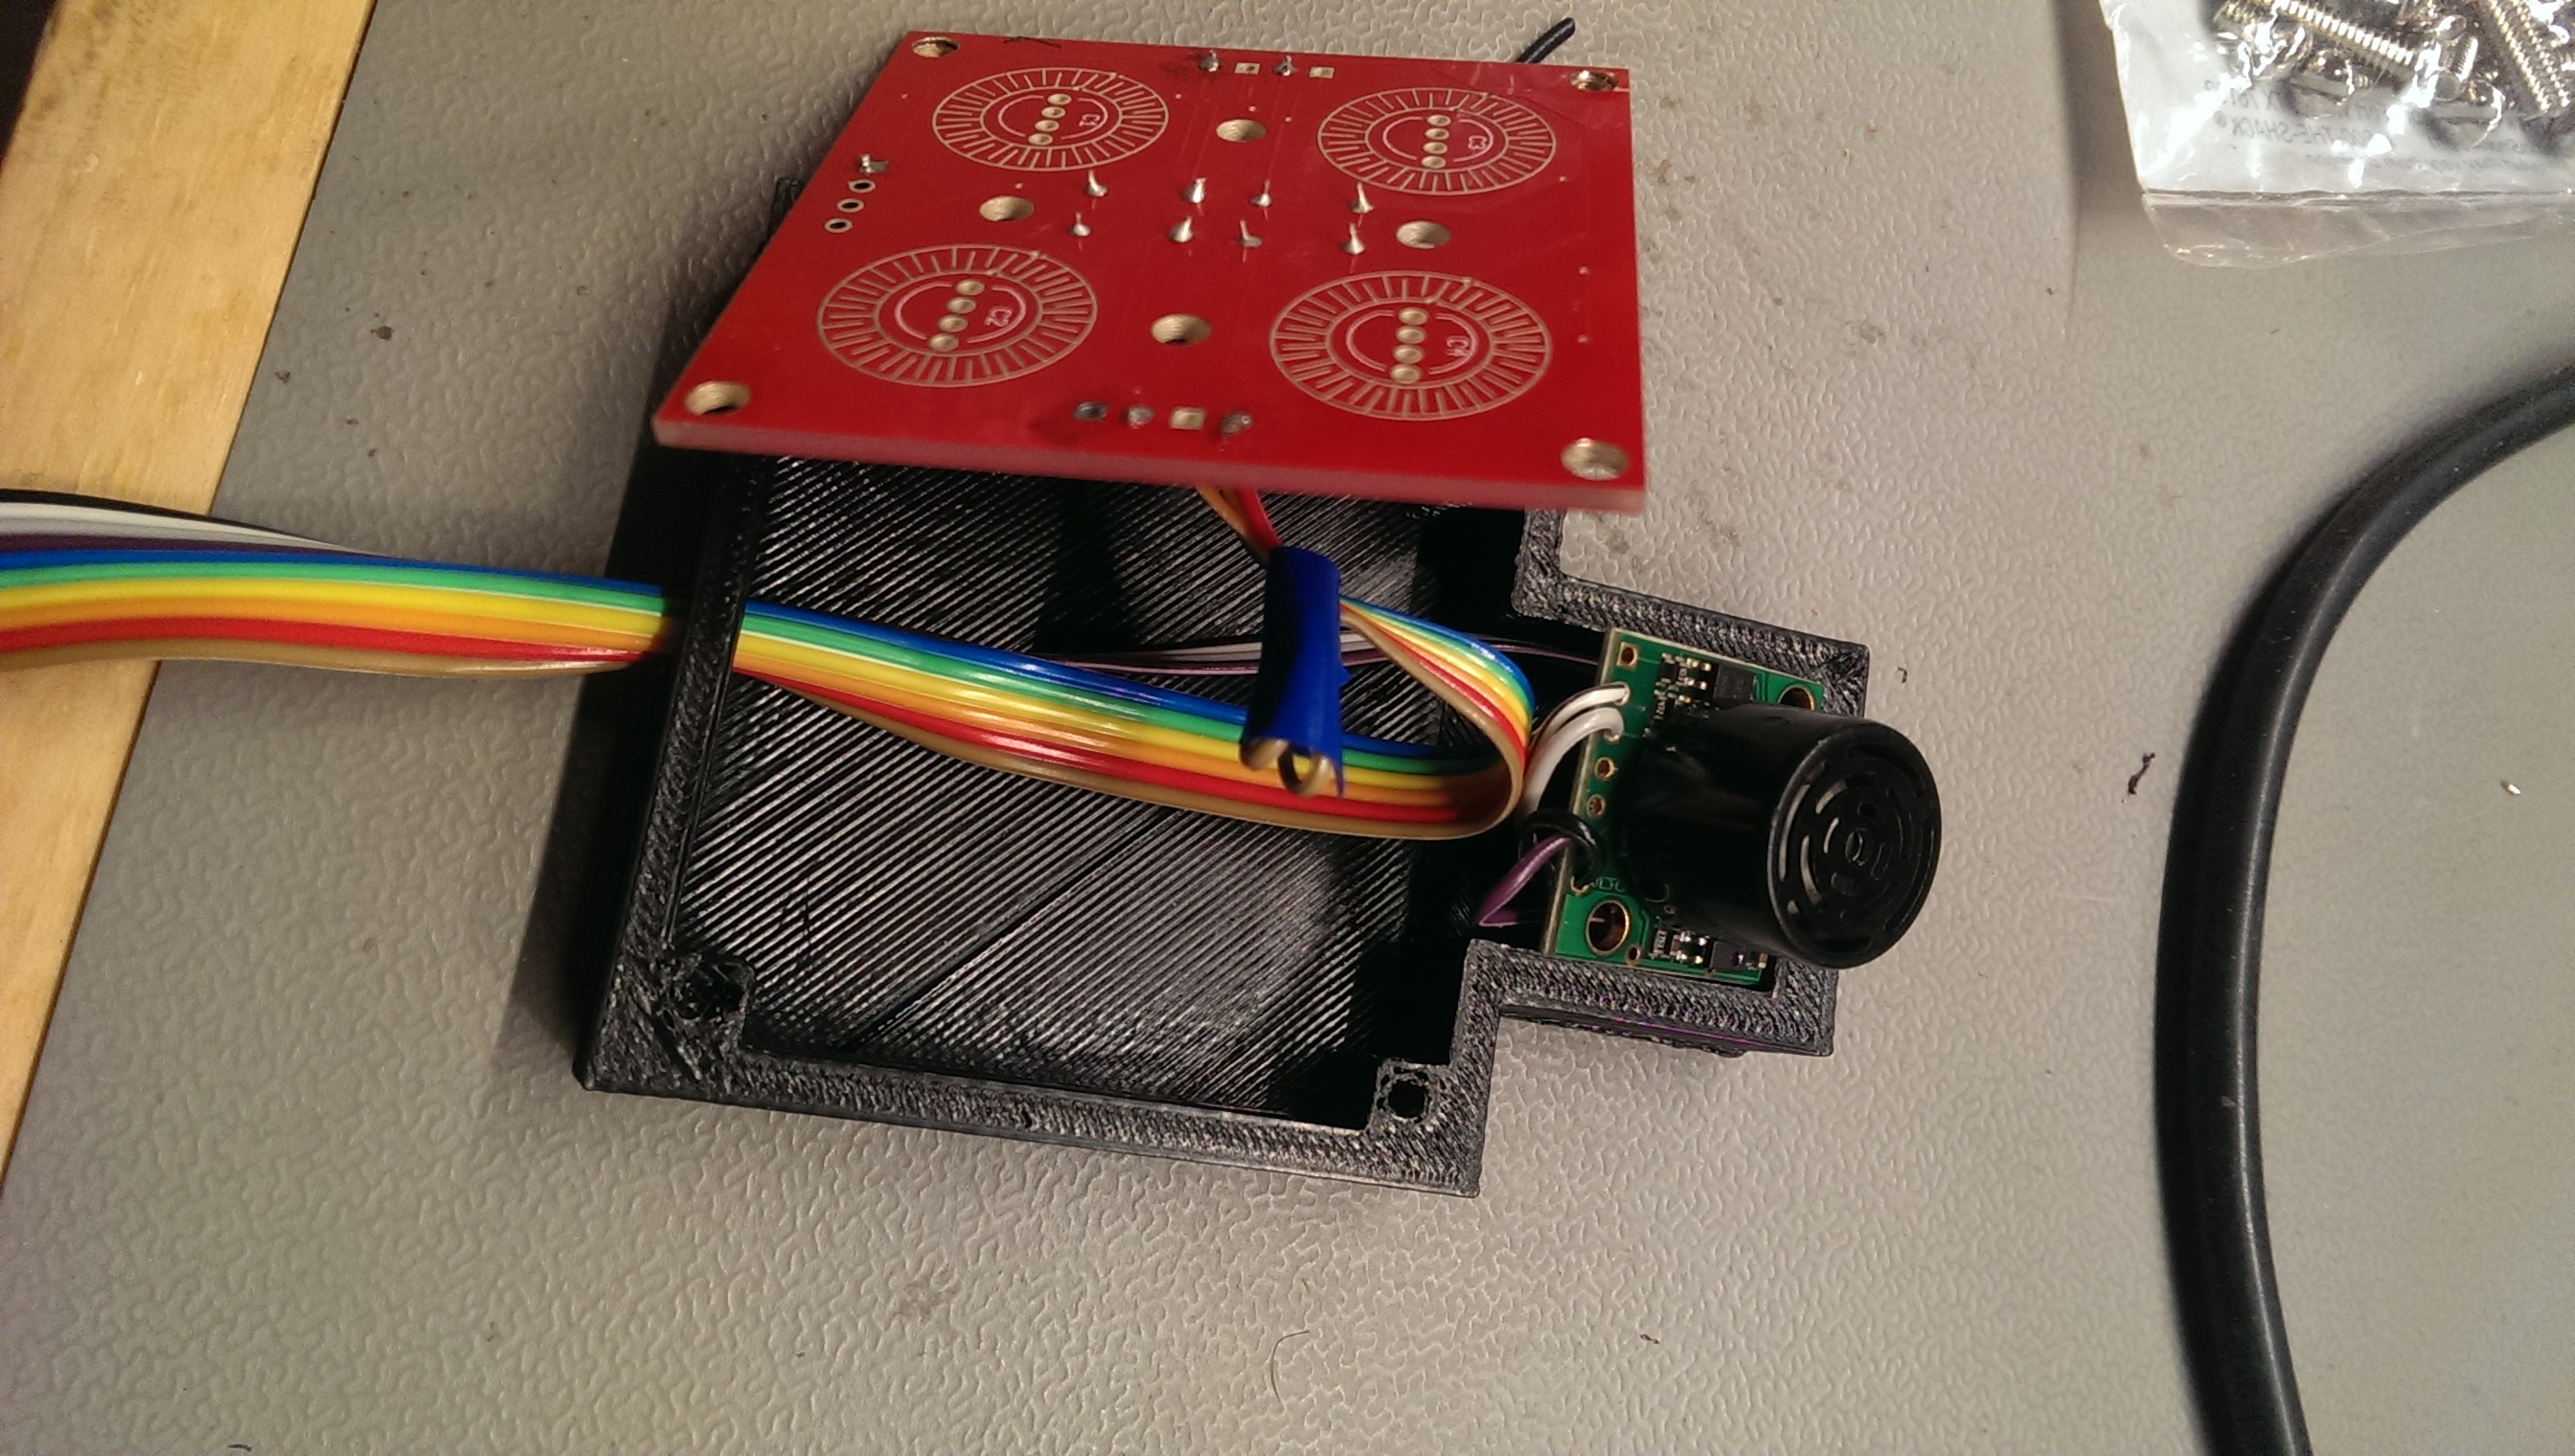
Array 2 consists of a 2×2 PCB with silicon digital buttons and an analog sonar sensor.
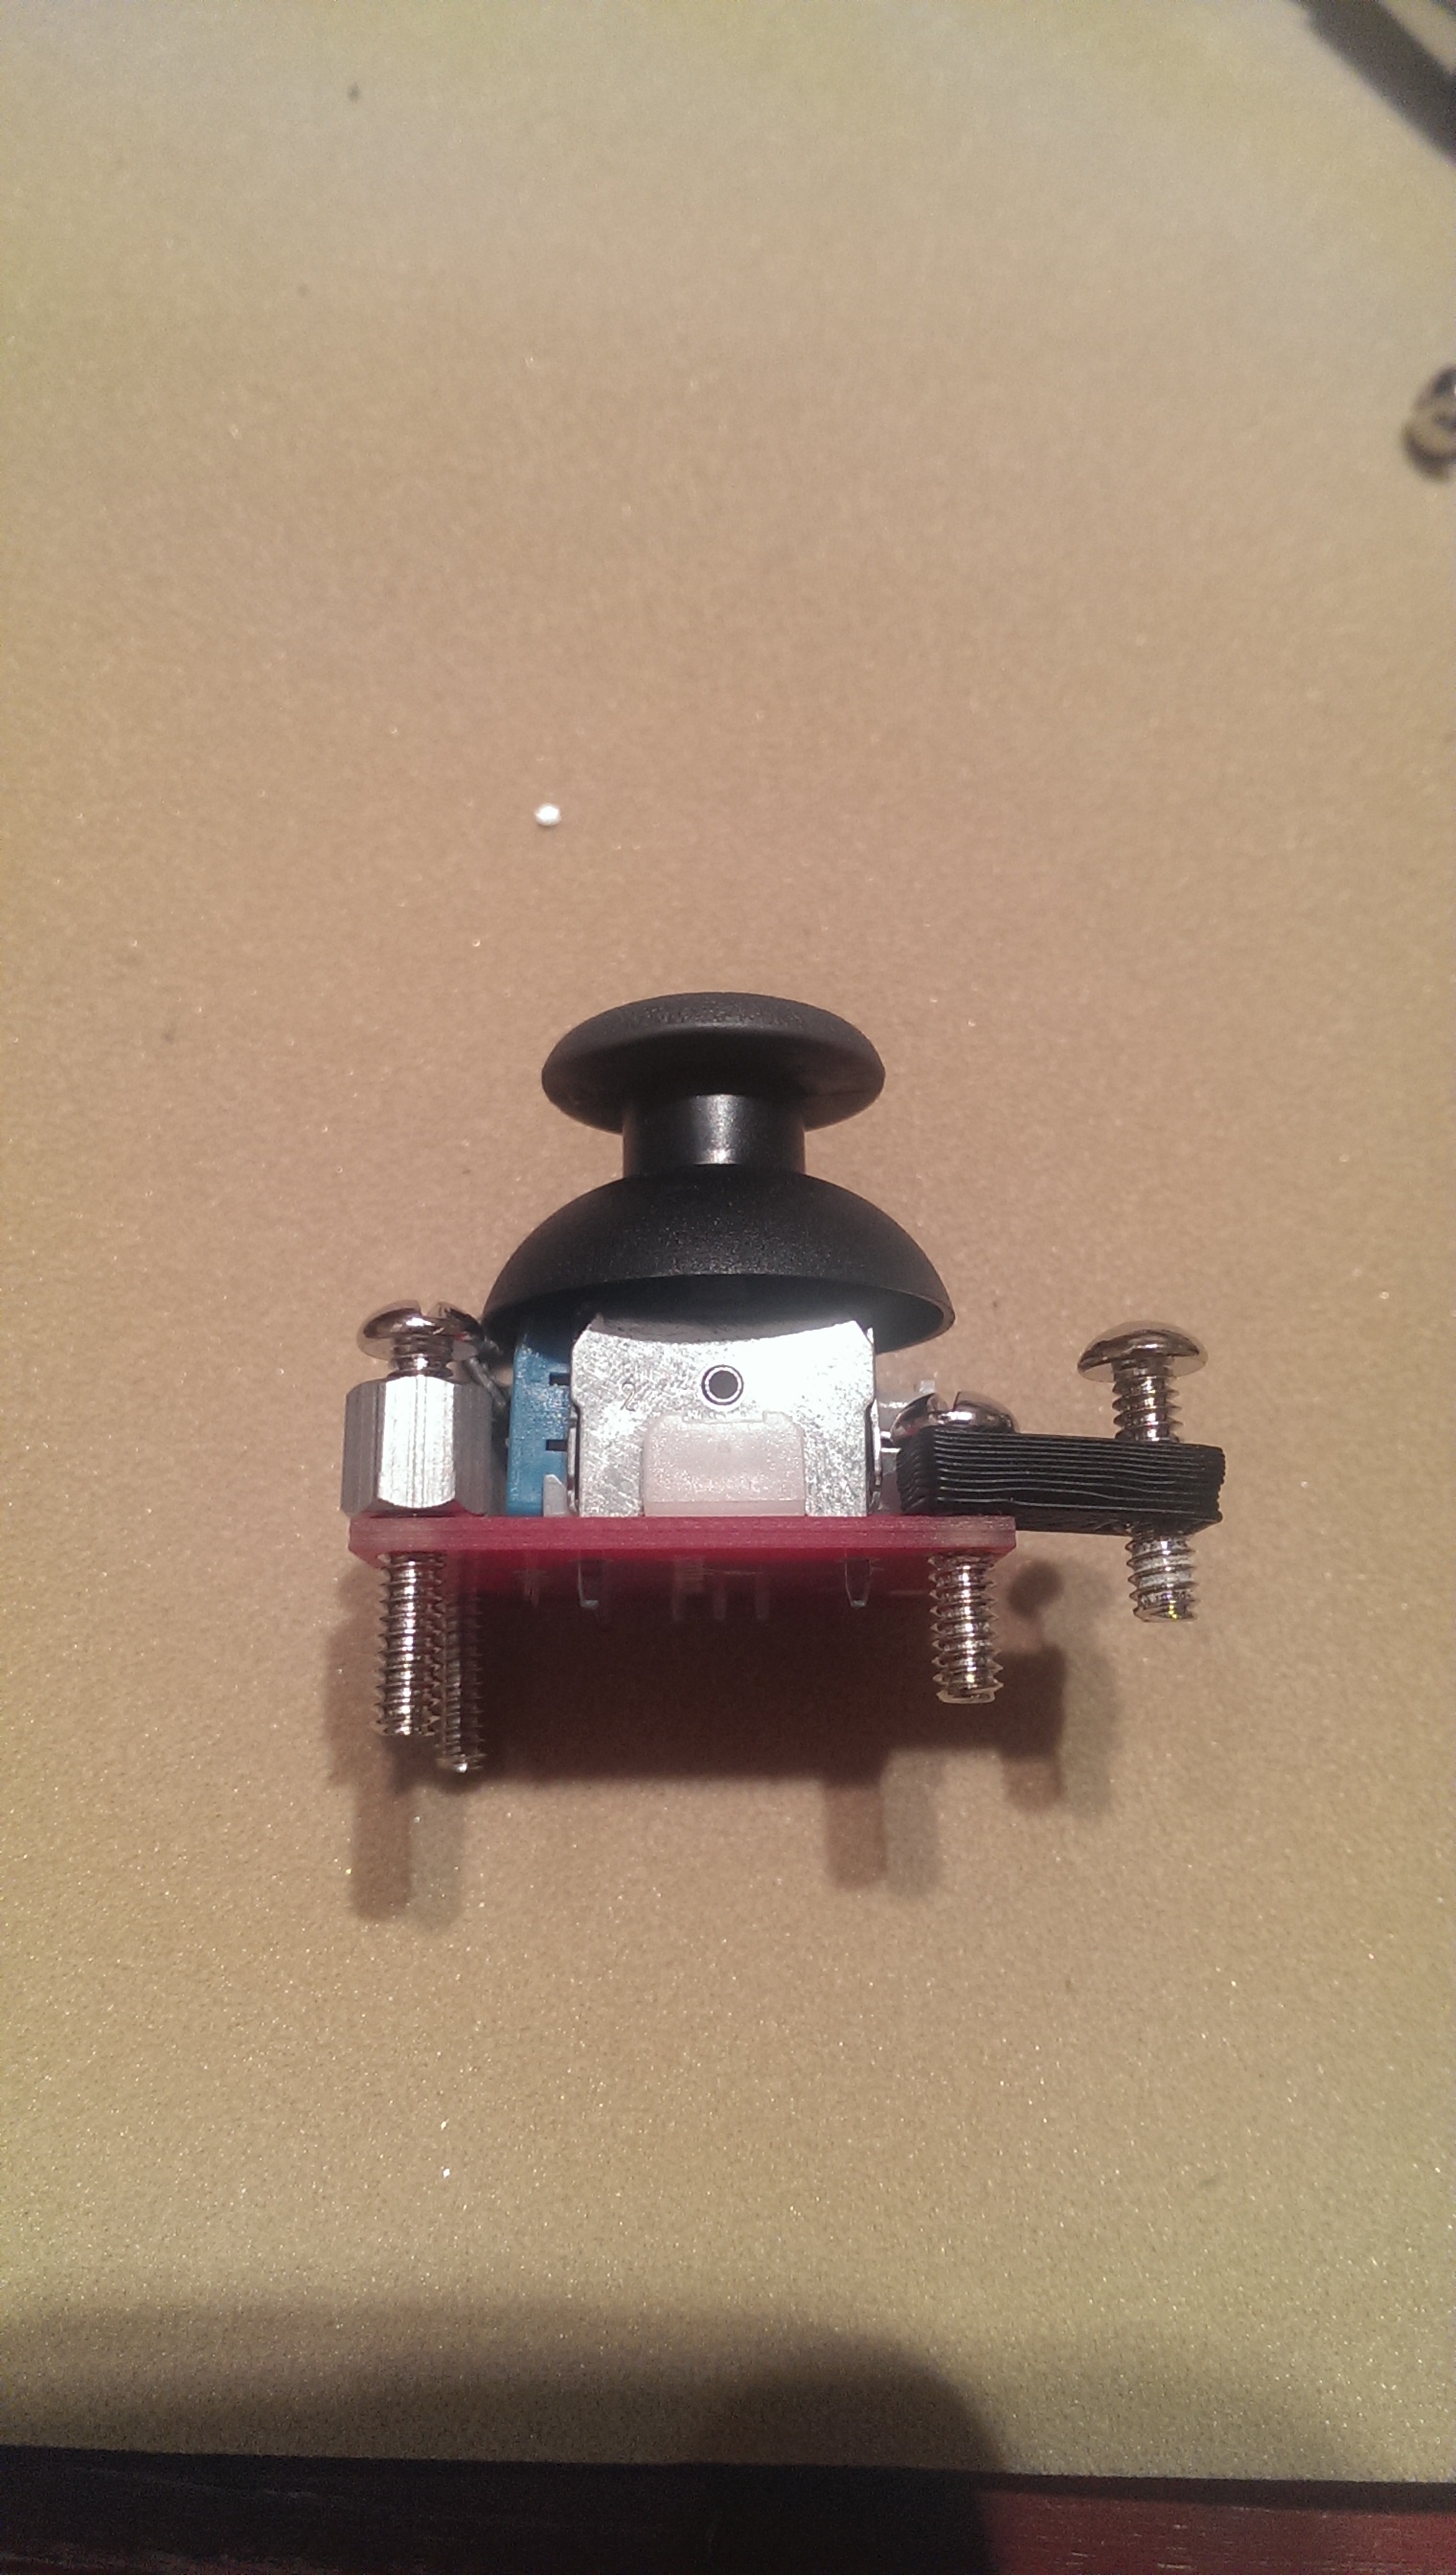
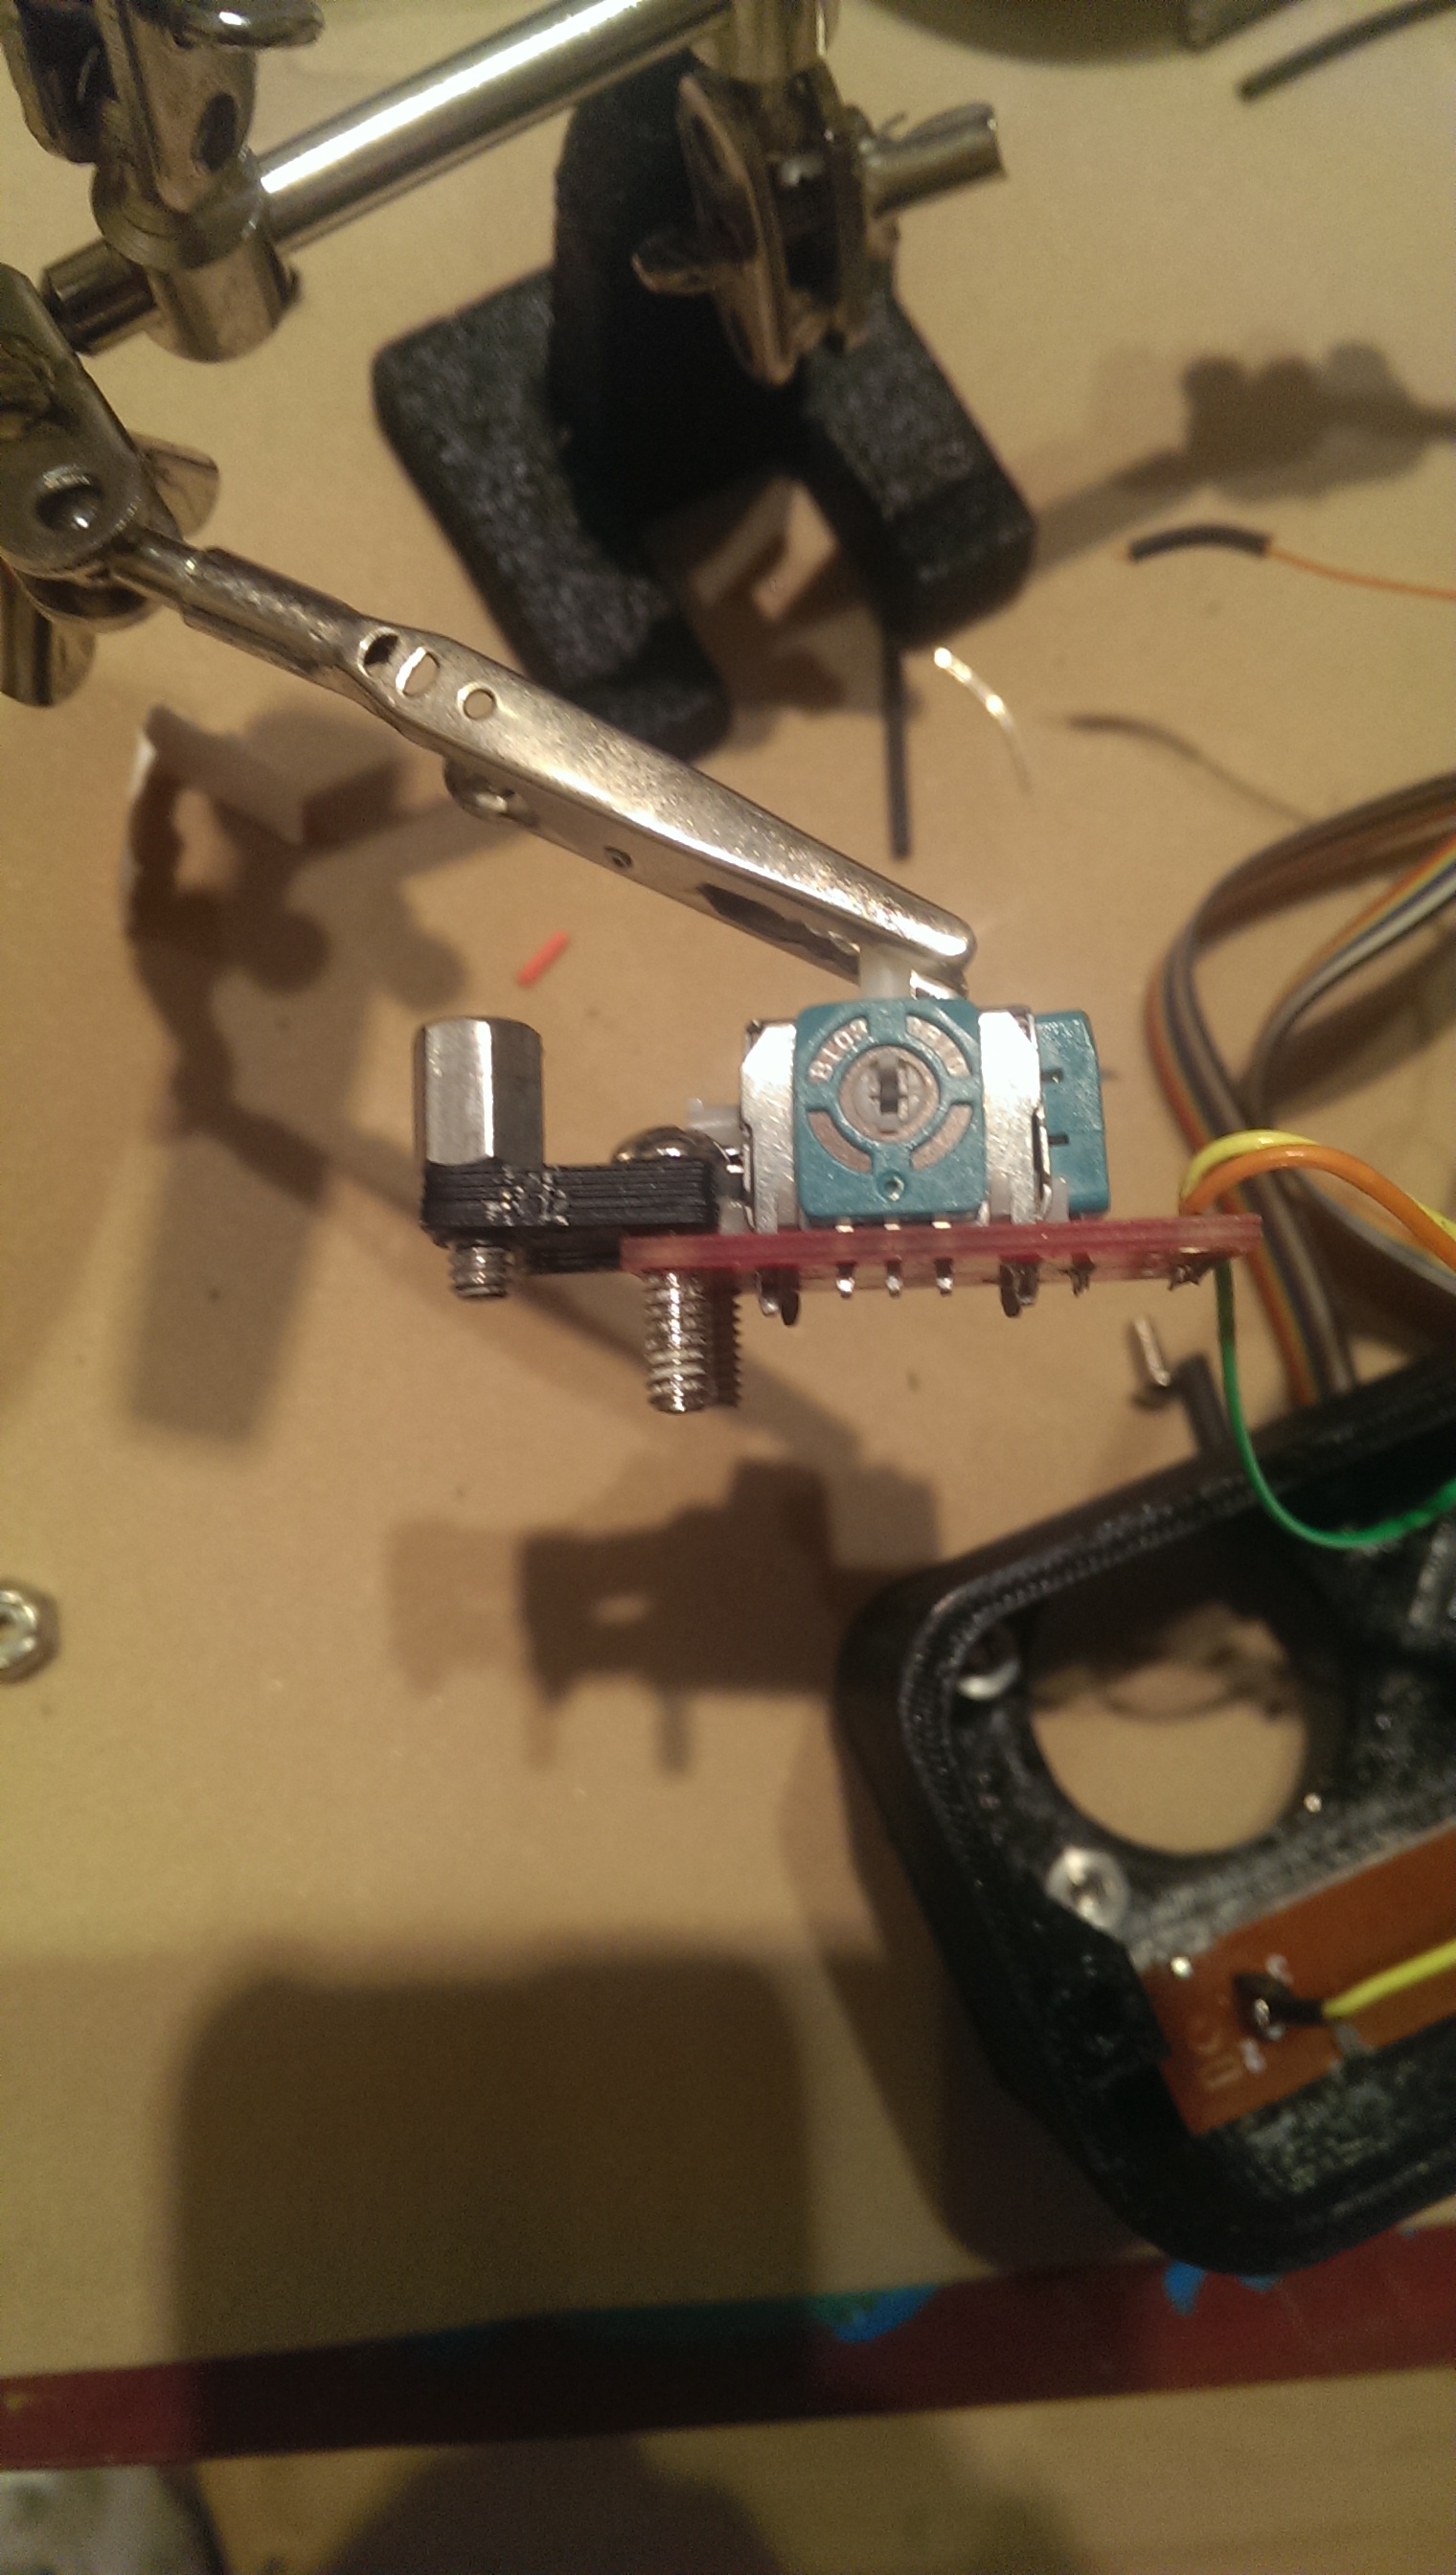
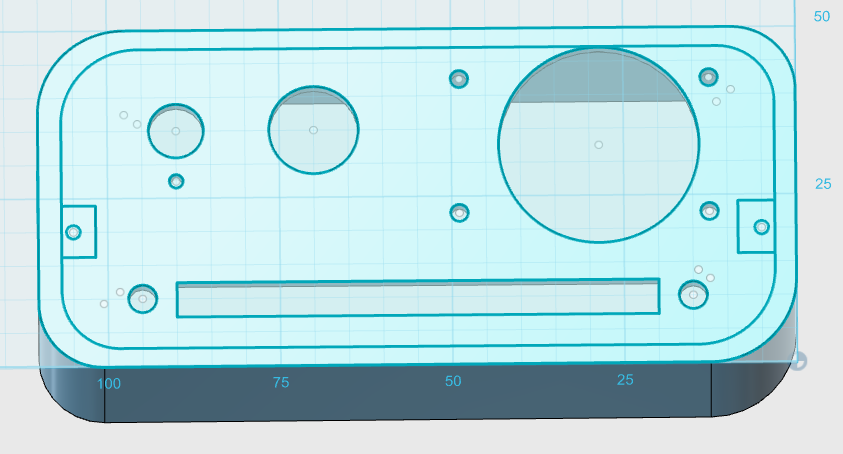
Array 3 consists of a joystick with PCB breakout board, 1 10K linear potentiometer, 1 10K rotary potentiometer and 1 mini arcade button. You will need to print the 3D file joystick attach to get the joystick to fit into the case design.